


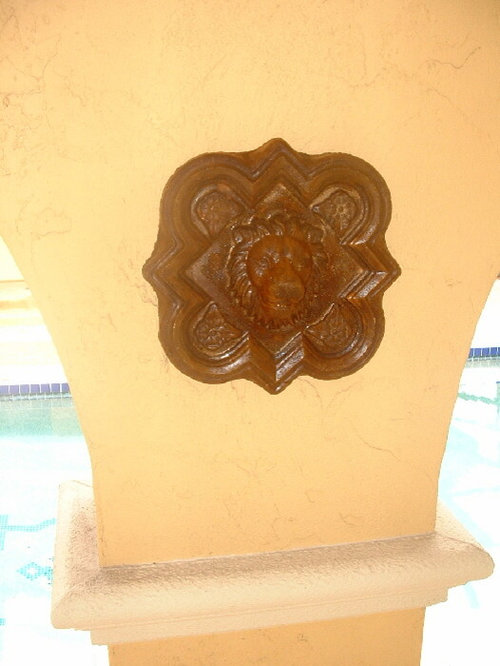
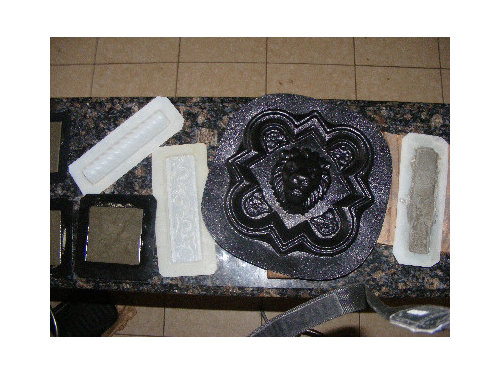
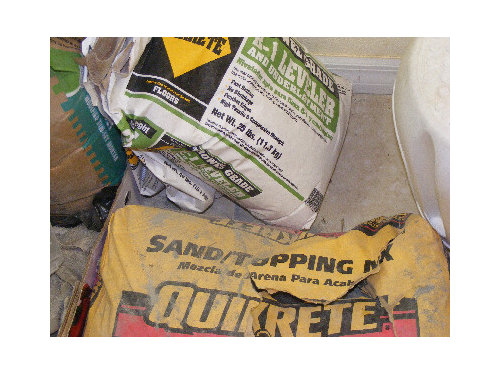
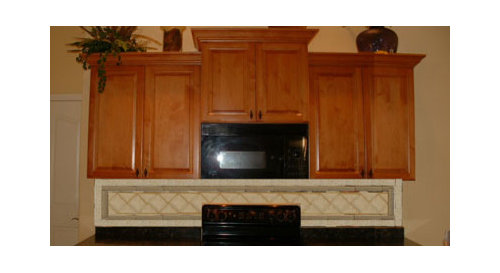
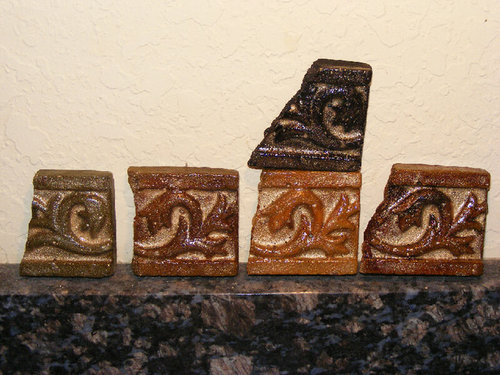
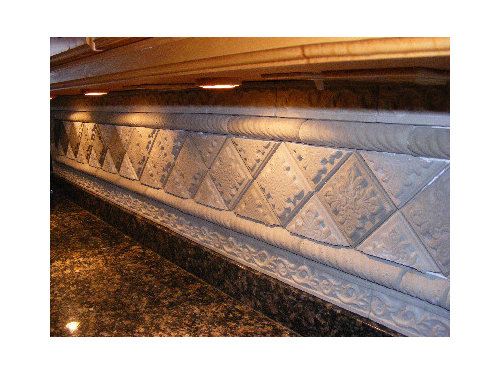
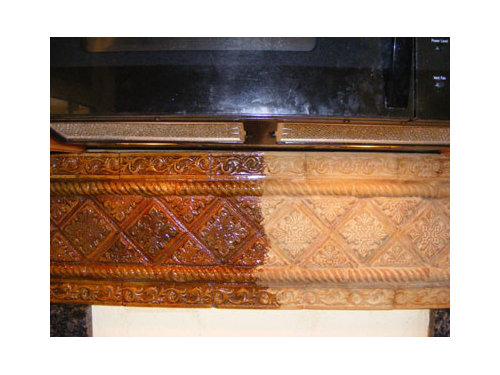
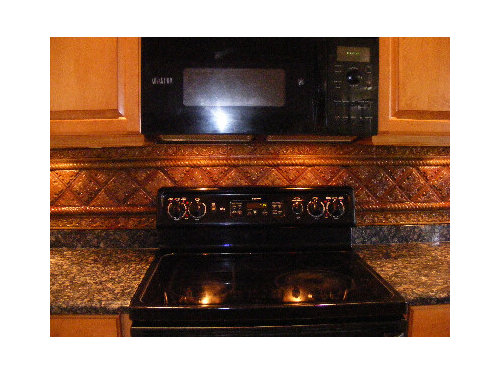
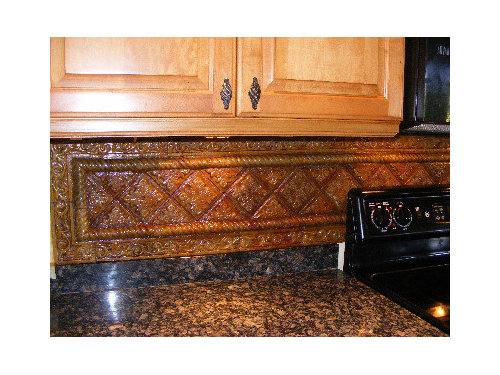
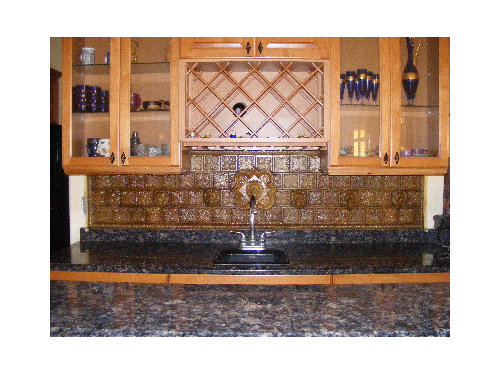
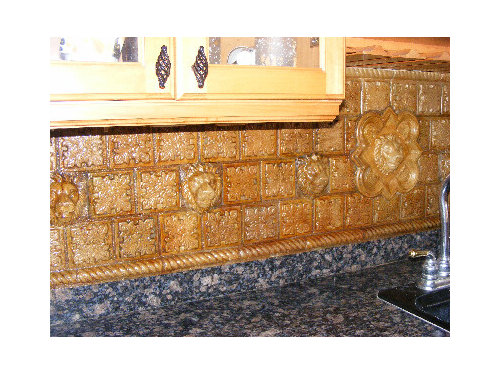
How to make your own tile and back-splash (pic heavy)
punamytsike
13 years ago


Sort by:Oldest
Comments (25)
Related Stories
KITCHEN DESIGNRenting? 15 Ways to Make Your Kitchen Your Own
If you’re feeling stuck with a blah kitchen you can’t renovate, these small moves can help make it feel like home
Full Story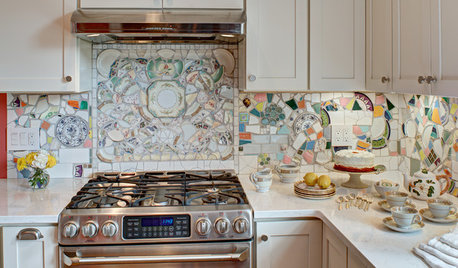
MOST POPULARKitchen of the Week: Broken China Makes a Splash in This Kitchen
When life handed this homeowner a smashed plate, her designer delivered a one-of-a-kind wall covering to fit the cheerful new room
Full Story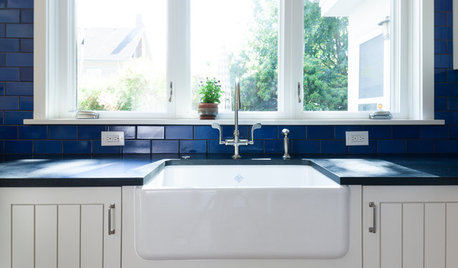
KITCHEN DESIGNKitchen Sinks: Fireclay Brims With Heavy-Duty Character
Cured at fiery temperatures, fireclay makes for farmhouse sinks that just say no to scratches and dents
Full Story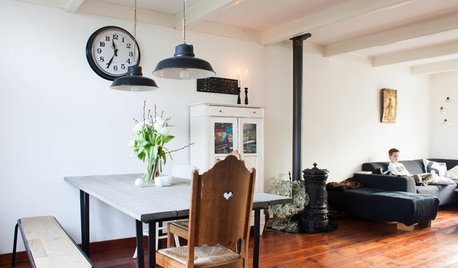
HOUZZ TOURSMy Houzz: Going Heavy on the Metal for Industrial-Style Beauty
Steel and iron pieces mix with antiques and heirlooms in an eclectic Netherlands home
Full Story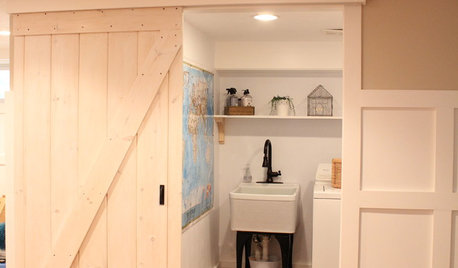
DIY PROJECTSMake Your Own Barn-Style Door — in Any Size You Need
Low ceilings or odd-size doorways are no problem when you fashion a barn door from exterior siding and a closet track
Full Story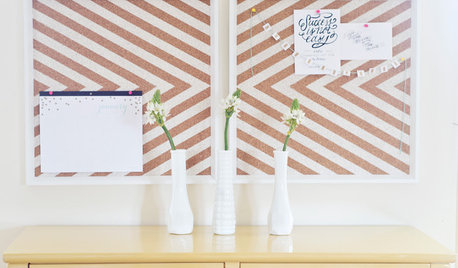
DIY PROJECTSGet Organized: Make Your Own Stylish Corkboard
New project for a new year: Craft an inexpensive custom pin board to keep papers, photos and more neatly at hand
Full Story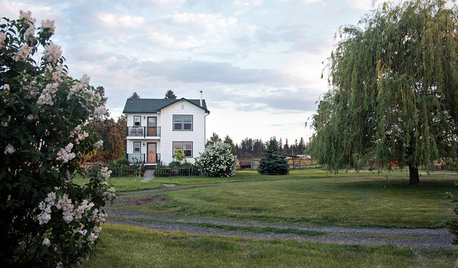
HOUZZ TOURSMy Houzz: Northwest Couple Make a Rural Homestead Their Own
Country life agrees with these first-time homeowners, who have decorated their farmhouse in a rustic, low-key style
Full Story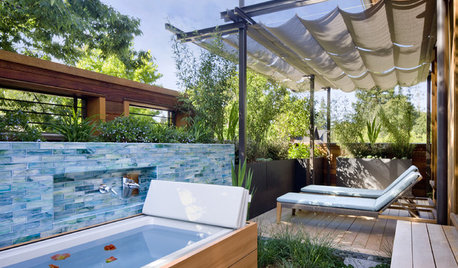
GARDENING AND LANDSCAPING13 New Ways to Make a Splash With a Hot Tub
Check out the modern options and custom features that are making outdoor spa tubs hot again
Full Story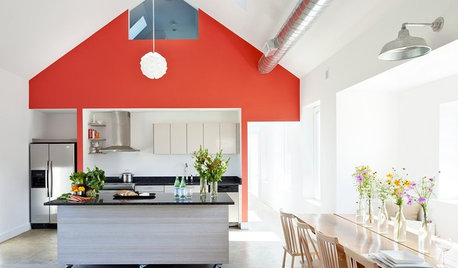
COLOR10 Reasons to Make a Splash With Tomato Red
You won’t duck at these tomatoes. See how bold red shades can play up architecture, light up a dark spot and add drama
Full Story
HOUZZ TVHouzz TV: This Dream Midcentury Home in a Forest Even Has Its Own Train
Original wood ceilings, a cool layout and, yes, a quarter-scale train persuaded these homeowners to take a chance on a run-down property
Full Story


Fori
cat_mom
Related Professionals
Beavercreek Kitchen & Bathroom Designers · Avondale Kitchen & Bathroom Remodelers · Lyons Kitchen & Bathroom Remodelers · Omaha Kitchen & Bathroom Remodelers · Rancho Palos Verdes Kitchen & Bathroom Remodelers · Rolling Hills Estates Kitchen & Bathroom Remodelers · Walnut Creek Kitchen & Bathroom Remodelers · Wilson Kitchen & Bathroom Remodelers · Alafaya Cabinets & Cabinetry · Daly City Cabinets & Cabinetry · Jefferson Valley-Yorktown Cabinets & Cabinetry · Wells Branch Cabinets & Cabinetry · Bellwood Cabinets & Cabinetry · Farragut Tile and Stone Contractors · Santa Monica Tile and Stone Contractorsoldhousegal
amysrq
punamytsikeOriginal Author
pinch_me
westsider40
plllog
dianalo
doraville
robinson622
punamytsikeOriginal Author
sabjimata
wizardnm
foosabear
shelayne
marytwit
flwrs_n_co
red_eared_slider86
warmfridge
cookingofjoy
punamytsikeOriginal Author
cookingofjoy
punamytsikeOriginal Author
gigi4321