


Removing old 'stick built' cabinets without destroying the walls?
hackwriter
12 years ago
Featured Answer
Comments (13)

oldhousegal
12 years agobrickeyee
12 years agoRelated Professionals
Haslett Kitchen & Bathroom Designers · Wesley Chapel Kitchen & Bathroom Designers · East Tulare County Kitchen & Bathroom Remodelers · Shamong Kitchen & Bathroom Remodelers · Auburn Kitchen & Bathroom Remodelers · Idaho Falls Kitchen & Bathroom Remodelers · Luling Kitchen & Bathroom Remodelers · National City Cabinets & Cabinetry · Radnor Cabinets & Cabinetry · Red Bank Cabinets & Cabinetry · Tacoma Cabinets & Cabinetry · Brentwood Tile and Stone Contractors · Whitefish Bay Tile and Stone Contractors · Schofield Barracks Design-Build Firms · Plum Design-Build FirmsPeterH2
12 years agoPeterH2
12 years ago
live_wire_oak
12 years agolive_wire_oak
12 years agodianalo
12 years agohackwriter
12 years agolive_wire_oak
12 years agobrickeyee
12 years agohackwriter
12 years agoM Rix
3 years agolast modified: 3 years ago
Related Stories
PETS5 Finishes Pets and Kids Can’t Destroy — and 5 to Avoid
Save your sanity and your decorating budget by choosing materials and surfaces that can stand up to abuse
Full Story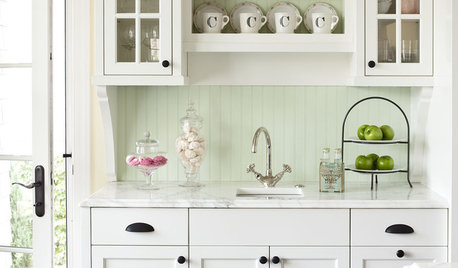
KITCHEN DESIGNModernize Your Old Kitchen Without Remodeling
Keep the charm but lose the outdated feel, and gain functionality, with these tricks for helping your older kitchen fit modern times
Full Story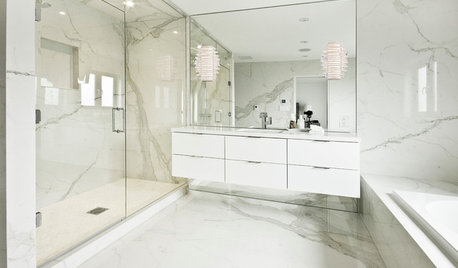
DECORATING GUIDESLook-Alikes That Save Money Without Skimping on Style
Whether in woodwork, flooring, wall treatments or tile, you can get a luxe effect while spending less
Full Story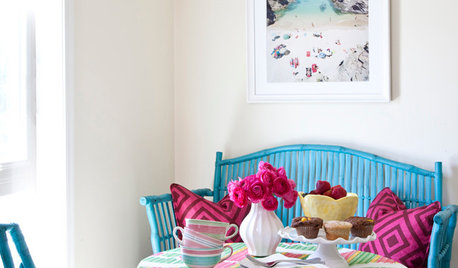
COLORSteep Your Rental in Color — Without Painting the Walls
Let your favorite hues loose without skirting your lease, with these room-by-room ideas for apartments and other rented homes
Full Story
DECORATING GUIDESQuick Fix: Find Wall Studs Without an Expensive Stud Finder
See how to find hidden wall studs with this ridiculously easy trick
Full Story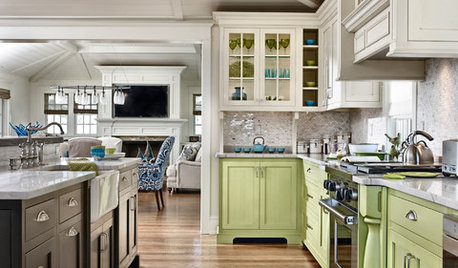
KITCHEN DESIGN11 Ways to Update Your Kitchen Without a Sledgehammer
Give your kitchen a new look by making small improvements that have big impact
Full Story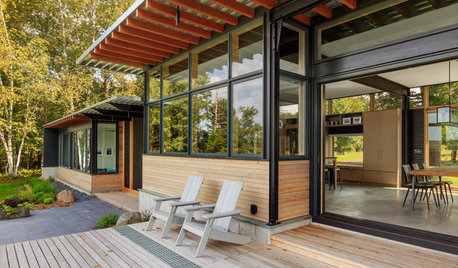
LIFE6 Ways to Cool Off Without Air Conditioning
These methods can reduce temperatures in the home and save on energy bills
Full Story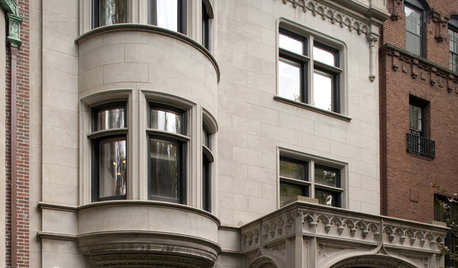
REMODELING GUIDES8 Ways to Stick to Your Budget When Remodeling or Adding On
Know thyself, plan well and beware of ‘scope creep’
Full Story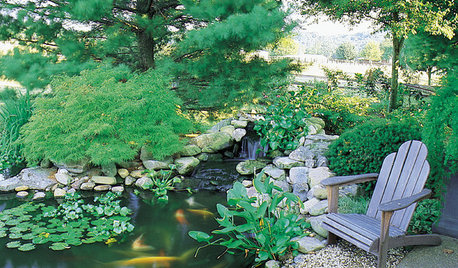
GARDENING AND LANDSCAPINGHow to Make a Pond
You can make an outdoor fish paradise of your own, for less than you might think. But you'll need this expert design wisdom
Full Story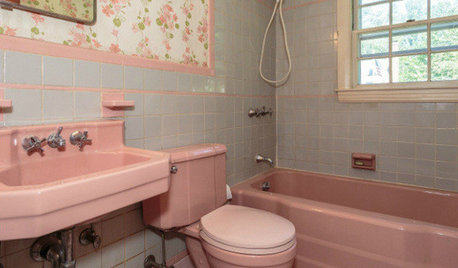
BATHROOM COLOR8 Ways to Spruce Up an Older Bathroom (Without Remodeling)
Mint tiles got you feeling blue? Don’t demolish — distract the eye by updating small details
Full StoryMore Discussions


brickeyee