


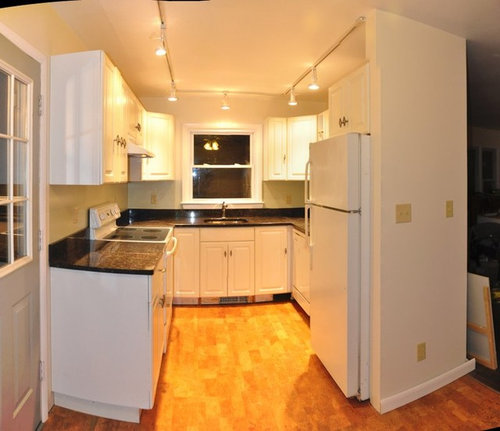
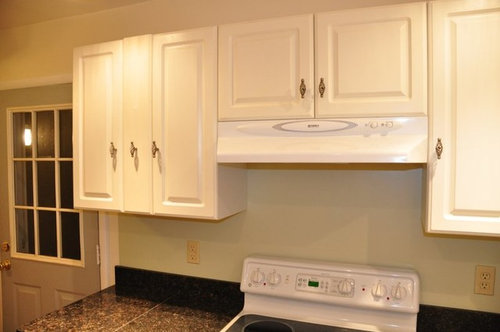
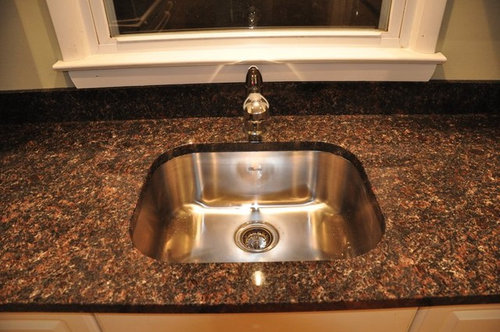
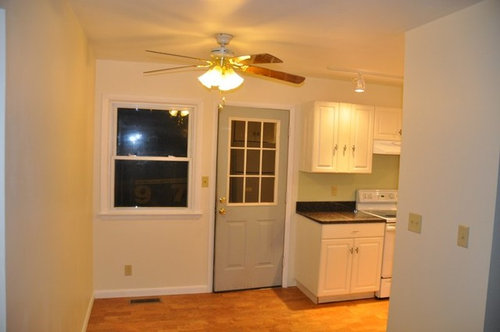
Mini reveal for low budget DIY kitchen remodel
bob_cville
10 years ago


Related Stories
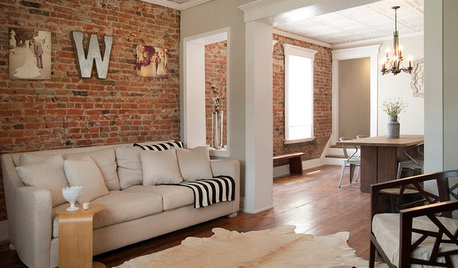
MY HOUZZMy Houzz: Surprise Revealed in a 1900s Duplex in Columbus
First-time homeowners tackle a major DIY hands-on remodel and uncover a key feature that changes their design plan
Full Story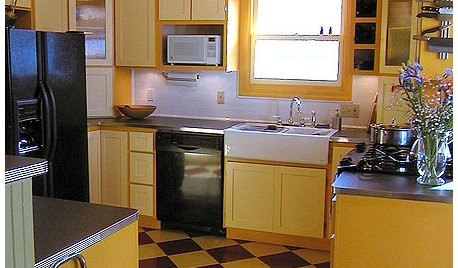
KITCHEN DESIGNKitchen Remodel Costs: 3 Budgets, 3 Kitchens
What you can expect from a kitchen remodel with a budget from $20,000 to $100,000
Full Story
KITCHEN DESIGNTry a Shorter Kitchen Backsplash for Budget-Friendly Style
Shave costs on a kitchen remodel with a pared-down backsplash in one of these great materials
Full Story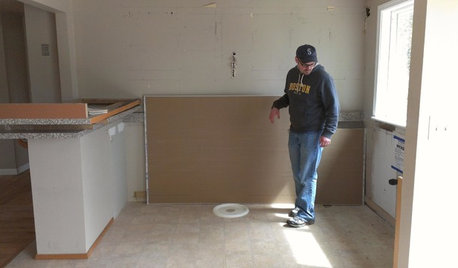
KITCHEN DESIGNStylish New Kitchen, Shoestring Budget: See the Process Start to Finish
For less than $13,000 total — and in 34 days — a hardworking family builds a kitchen to be proud of
Full StoryREMODELING GUIDESBathroom Remodel Insight: A Houzz Survey Reveals Homeowners’ Plans
Tub or shower? What finish for your fixtures? Find out what bathroom features are popular — and the differences by age group
Full Story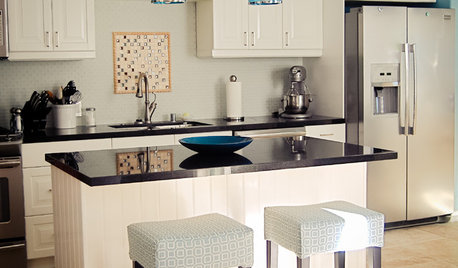
KITCHEN DESIGNKitchen of the Week: Mother-Daughter Budget Remodel
Designer Stephanie Norris redesigned her daughter's kitchen with functionality, affordability and color in mind
Full Story
WOODTry DIY Plywood Flooring for High Gloss, Low Cost
Yup, you heard right. Laid down and shined up, plywood can run with the big flooring boys at an affordable price
Full Story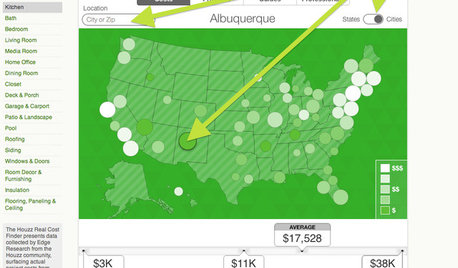
REMODELING GUIDESBreakthrough Budgeting Info: The Houzz Real Cost Finder Is Here
Get remodeling and product prices by project and U.S. city, with our easy-to-use interactive tool
Full Story
KITCHEN DESIGNKitchen of the Week: Practical, Budget-Friendly Beauty in Dallas
One month and a $25,000 budget — see how a Texas homeowner modernized her kitchen beautifully working with those remodeling constraints
Full Story
INSIDE HOUZZA New Houzz Survey Reveals What You Really Want in Your Kitchen
Discover what Houzzers are planning for their new kitchens and which features are falling off the design radar
Full StoryMore Discussions


juliekcmo
bob_cvilleOriginal Author
Related Professionals
Albany Kitchen & Bathroom Designers · Lafayette Kitchen & Bathroom Designers · Fremont Kitchen & Bathroom Remodelers · Lincoln Kitchen & Bathroom Remodelers · Lomita Kitchen & Bathroom Remodelers · Park Ridge Kitchen & Bathroom Remodelers · Placerville Kitchen & Bathroom Remodelers · Saint Augustine Kitchen & Bathroom Remodelers · Shawnee Kitchen & Bathroom Remodelers · Mountain Top Kitchen & Bathroom Remodelers · Christiansburg Cabinets & Cabinetry · Holt Cabinets & Cabinetry · Palos Verdes Estates Cabinets & Cabinetry · Channahon Tile and Stone Contractors · Chattanooga Tile and Stone ContractorsMags438
bob_cvilleOriginal Author
bpath
bob_cvilleOriginal Author
oldbat2be
Joseph Corlett, LLC
smiling
sunsoleil
SparklingWater
bob_cvilleOriginal Author
williamsem
Gooster
raehelen
cat_mom
mabeldingeldine_gw
bicyclegirl1
deedles
kruegesm
lazy_gardens
bob_cvilleOriginal Author
scrappy25
bob_cvilleOriginal Author
scrappy25