


DIYer's, any tips on getting the cabinets perfectly level?
mudworm
11 years ago
Related Stories
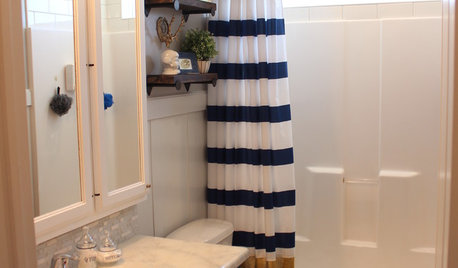
MOST POPULARShe’s Baaack! See a Savvy DIYer’s Dramatic $400 Bathroom Makeover
You’ve already seen her dramatic laundry room makeover. Now check out super budget remodeler Ronda Batchelor’s stunning bathroom update
Full Story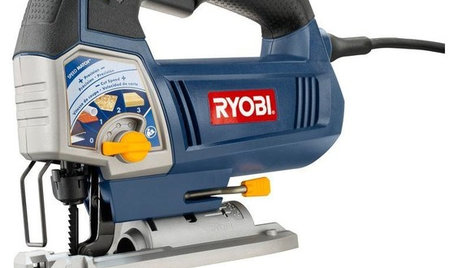
PRODUCT PICKSGuest Picks: Indispensable Tools for DIYers
Build your tool arsenal with these, and you’ll have the right equipment for any home project you take on
Full Story
MOST POPULAR12 Key Decorating Tips to Make Any Room Better
Get a great result even without an experienced touch by following these basic design guidelines
Full Story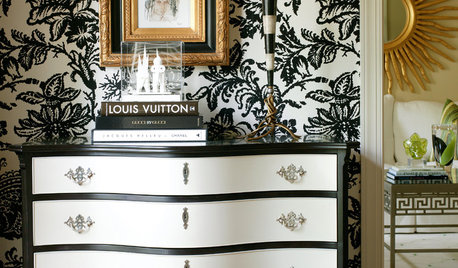
LIFEReluctant DIYer’s Diary of a Dresser Makeover
Weekend project: Glossy new black-and-white dresser, hold the sandpaper
Full Story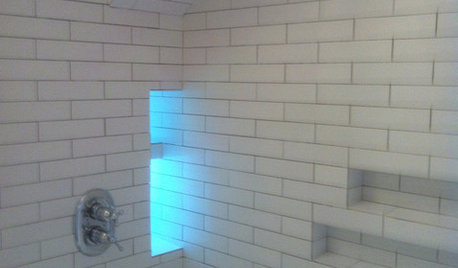
BATHROOM DESIGN10 Top Tips for Getting Bathroom Tile Right
Good planning is essential for bathroom tile that's set properly and works with the rest of your renovation. These tips help you do it right
Full Story
DECORATING GUIDES5 Decorating Tips for Getting Scale Right
Know how to work art, sectionals, coffee tables, lamps and headboards for a positively perfect interior
Full Story
KITCHEN STORAGECabinets 101: How to Get the Storage You Want
Combine beauty and function in all of your cabinetry by keeping these basics in mind
Full Story
LIFE7 Tips to Get With a New Minimalist Mentality
Feeling overwhelmed by your stuff? Here's how to pare down, simplify and keep just what you need and love at home
Full Story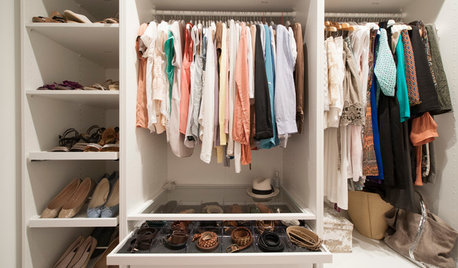
MOST POPULAR10 Tips for Organizing Your Closets and Cabinets
Add to the enjoyment of your home with these easy organizing strategies and containers — after you pare down, of course
Full Story
TRIMTrim Color Tips: Get Your White Trim Right
Set off wood tones, highlight architectural features, go minimalist ... white trim is anything but standard when you know how to use it
Full StorySponsored
Central Ohio's Trusted Home Remodeler Specializing in Kitchens & Baths
More Discussions


Donaleen Kohn
jakuvall
Related Professionals
Albany Kitchen & Bathroom Designers · Baltimore Kitchen & Bathroom Designers · Gainesville Kitchen & Bathroom Designers · Athens Kitchen & Bathroom Remodelers · Beaverton Kitchen & Bathroom Remodelers · Chester Kitchen & Bathroom Remodelers · Upper Saint Clair Kitchen & Bathroom Remodelers · West Palm Beach Kitchen & Bathroom Remodelers · Foster City Cabinets & Cabinetry · Indian Creek Cabinets & Cabinetry · Kentwood Cabinets & Cabinetry · Lakeside Cabinets & Cabinetry · Little Chute Cabinets & Cabinetry · Warr Acres Cabinets & Cabinetry · Dana Point Tile and Stone Contractorsangie_diy
sombreuil_mongrel
williamsem
jakuvall
jakuvall
snoonyb
ci_lantro
mudwormOriginal Author
CEFreeman
chiefneil
angie_diy
CEFreeman
mudwormOriginal Author
angie_diy