


Anybody make Kitchen improvements with Oak Cabinets?
bixa525
14 years ago
Sort by:Oldest
Comments (13)
Related Stories
KITCHEN OF THE WEEKKitchen of the Week: An Awkward Layout Makes Way for Modern Living
An improved plan and a fresh new look update this family kitchen for daily life and entertaining
Full Story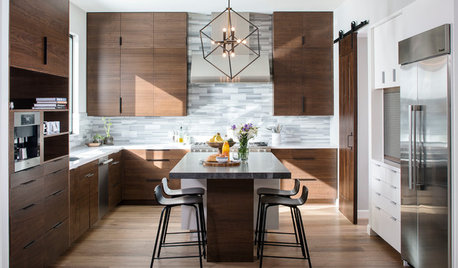
KITCHEN DESIGNNew This Week: Moody Kitchens to Make You Rethink All-White
Not into the all-white fascination? Look to these kitchens for a glimpse of the dark side
Full Story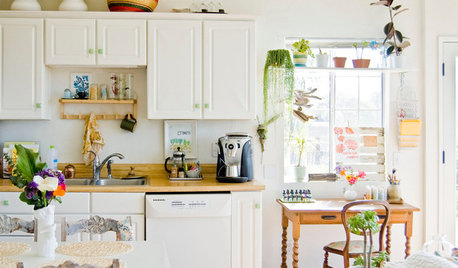
KITCHEN CABINETSColorful Ways to Make Over Your Kitchen Cabinetry
Try these inspiring color updates to spice up your kitchen a little — or a lot
Full Story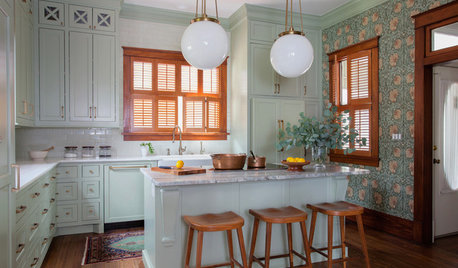
KITCHEN OF THE WEEKKitchen of the Week: Goodbye, Honey Oak — Hello, Minty Green
After more than 30 years, the Kloesels revamped their space to reflect their rural country town and Victorian-style home
Full Story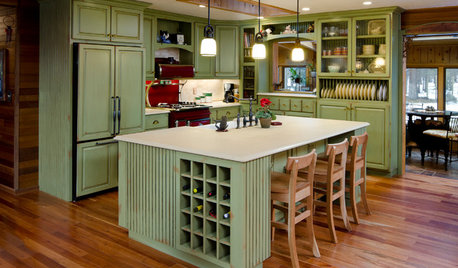
MOST POPULARHow to Reface Your Old Kitchen Cabinets
Find out what’s involved in updating your cabinets by refinishing or replacing doors and drawers
Full Story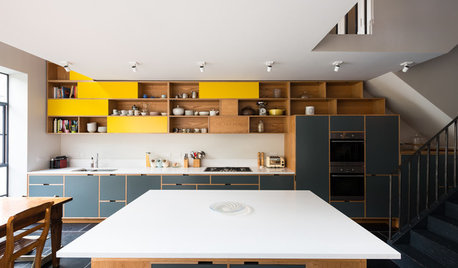
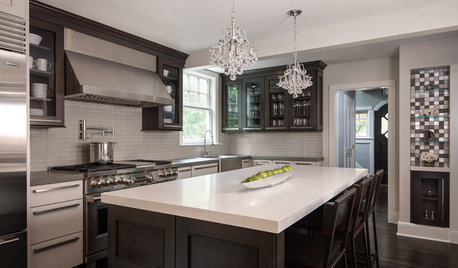
ADDITIONSKitchen of the Week: Cabinets Make a Bold Statement
This one-of-a-kind kitchen in a Victorian house is a testament to what can be achieved with a little bravery
Full Story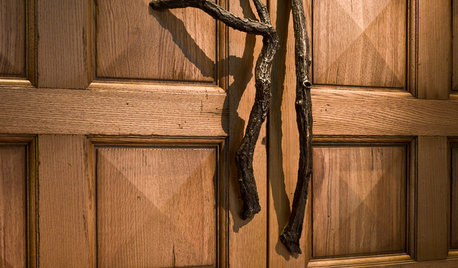
WOODWoodipedia: Make a Solid Choice With Oak
Forget those low-end products of old. Red and white oak today are beautiful, versatile and relatively inexpensive
Full Story
KITCHEN DESIGNPet-Friendly Design: Making Room for the Dog Dish
In a dog’s life, you eat on the floor. Except in kitchens like these, where pets are factored into the design
Full Story
KITCHEN DESIGNCountertop and Backsplash: Making the Perfect Match
Zero in on a kitchen combo you'll love with these strategies and great countertop-backsplash mixes for inspiration
Full Story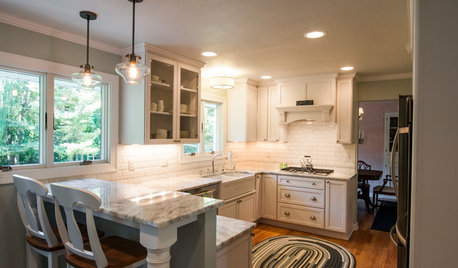
KITCHEN OF THE WEEKKitchen of the Week: 27 Years in the Making for New Everything
A smarter floor plan and updated finishes help create an efficient and stylish kitchen for a couple with grown children
Full Story

desertsteph
worldmom
Related Professionals
La Verne Kitchen & Bathroom Designers · Mount Prospect Kitchen & Bathroom Designers · Saint Peters Kitchen & Bathroom Designers · Bensenville Kitchen & Bathroom Designers · Waianae Kitchen & Bathroom Designers · Plainview Kitchen & Bathroom Remodelers · Kettering Kitchen & Bathroom Remodelers · Londonderry Kitchen & Bathroom Remodelers · Mesquite Kitchen & Bathroom Remodelers · Overland Park Kitchen & Bathroom Remodelers · Christiansburg Cabinets & Cabinetry · Drexel Hill Cabinets & Cabinetry · Tinton Falls Cabinets & Cabinetry · Wilkinsburg Cabinets & Cabinetry · Englewood Tile and Stone Contractorsjb1176
worldmom
desertsteph
celticmoon
katsmah
worldmom
festusbodine
beekeeperswife
justagirl
susanlynn2012
celticmoon