


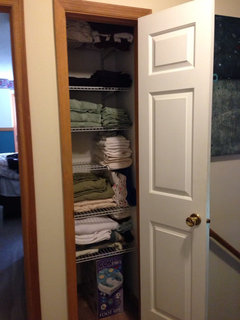
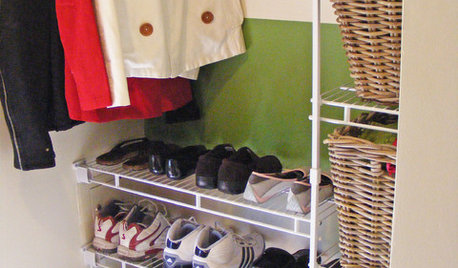
Utility closet done! One step closer...
williamsem
10 years ago


Featured Answer
Comments (18)

a2gemini
10 years ago
williamsem
10 years agoRelated Professionals
Beavercreek Kitchen & Bathroom Designers · Four Corners Kitchen & Bathroom Designers · Knoxville Kitchen & Bathroom Designers · Portland Kitchen & Bathroom Designers · Terryville Kitchen & Bathroom Designers · Waianae Kitchen & Bathroom Designers · Avondale Kitchen & Bathroom Remodelers · Eureka Kitchen & Bathroom Remodelers · Garden Grove Kitchen & Bathroom Remodelers · Oceanside Kitchen & Bathroom Remodelers · Salinas Kitchen & Bathroom Remodelers · Parsippany Cabinets & Cabinetry · Tabernacle Cabinets & Cabinetry · University Park Cabinets & Cabinetry · Saint James Cabinets & Cabinetry
mpagmom (SW Ohio)
10 years agoannkh_nd
10 years agojesshs
10 years agodeedles
10 years agowilliamsem
10 years ago
bpath
10 years agoangela12345
10 years agoKBSpider
10 years ago
oldbat2be
10 years agorosie
10 years agoali80ca
10 years agowilliamsem
10 years agoKBSpider
10 years agowilliamsem
10 years agoMgoblue85
10 years ago


Related Stories
CLOSETSGet It Done: Attack the Coat Closet
With a concrete plan and a little elbow grease, you can tame your jumble of jackets in a single afternoon
Full Story
DECLUTTERINGGet It Done: Clean Out Your Bedroom Closet
You can do it. Sort, purge, clean — and luxuriate in all the extra space you’ll gain — with this motivating, practical how-to
Full Story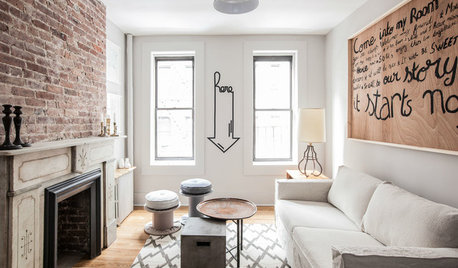
HOUSEKEEPINGThree More Magic Words to Help the Housekeeping Get Done
As a follow-up to "How about now?" these three words can help you check more chores off your list
Full Story
KITCHEN STORAGEGet It Done: How to Clean Out the Pantry
Crumbs, dust bunnies and old cocoa, beware — your pantry time is up
Full Story
TINY HOUSESHouzz TV: Step Inside One Woman’s 140-Square-Foot Dream Home
You may have seen the story on Houzz — now check out the video tour of Vina Lustado’s warm and welcoming tiny house
Full Story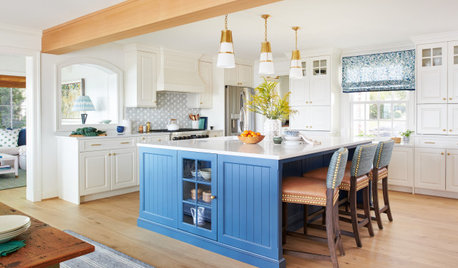
MOST POPULAROrganizing? Don’t Forget the Essential First Step
Simplify the process of getting your home in order by taking it one step at a time. Here’s how to get on the right path
Full Story
KITCHEN DESIGN7 Steps to Pantry Perfection
Learn from one homeowner’s plan to reorganize her pantry for real life
Full Story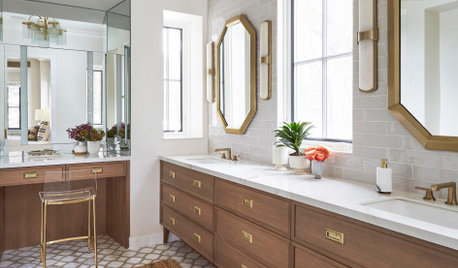
BATHROOM WORKBOOKA Step-by-Step Guide to Designing Your Bathroom Vanity
Here are six decisions to make with your pro to get the best vanity layout, look and features for your needs
Full Story
MOST POPULARHow to Refine Your Renovation Vision to Fit Your Budget
From dream to done: When planning a remodel that you can afford, expect to review, revise and repeat
Full Story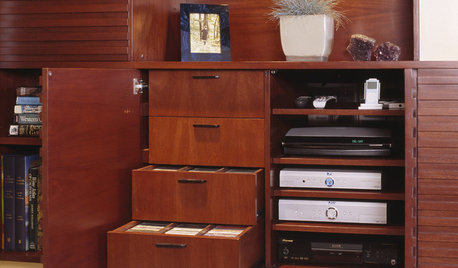
MEDIA ROOMSGet It Done: Organize the Media Cabinet
Ditch the worn-out VHS tapes, save valuable storage space and find hidden gems with this quick weekend spruce-up
Full Story


williamsemOriginal Author