


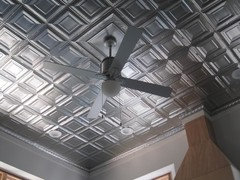
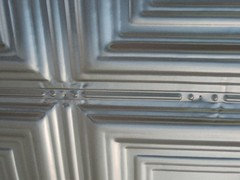
Nailing into plywood overhead - nails bounce
JHZR2
9 years ago
Featured Answer
Sort by:Oldest
Comments (12)

mushcreek
9 years ago
Elraes Miller
9 years agoRelated Professionals
San Jose Kitchen & Bathroom Designers · Winton Kitchen & Bathroom Designers · Plainview Kitchen & Bathroom Remodelers · Folsom Kitchen & Bathroom Remodelers · Idaho Falls Kitchen & Bathroom Remodelers · Key Biscayne Kitchen & Bathroom Remodelers · Pinellas Park Kitchen & Bathroom Remodelers · Phillipsburg Kitchen & Bathroom Remodelers · Fairmont Kitchen & Bathroom Remodelers · Bon Air Cabinets & Cabinetry · Marco Island Cabinets & Cabinetry · Radnor Cabinets & Cabinetry · Tinton Falls Cabinets & Cabinetry · Warr Acres Cabinets & Cabinetry · Santa Monica Tile and Stone Contractorsjakuvall
9 years agoJHZR2
9 years agoElraes Miller
9 years agoJHZR2
9 years agomushcreek
9 years agomushcreek
9 years agoJHZR2
9 years agomushcreek
9 years agomushcreek
9 years ago
Related Stories
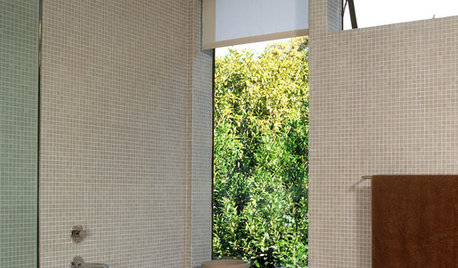
BATHROOM DESIGNFloor-to-Ceiling Tile Takes Bathrooms Above and Beyond
Generous tile in a bathroom can bounce light, give the illusion of more space and provide a cohesive look
Full Story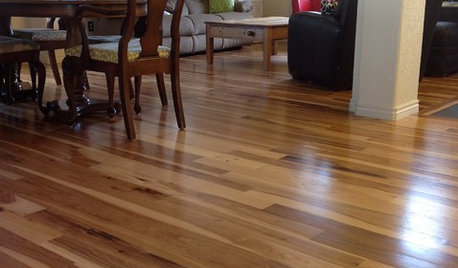
MATERIALSWhat to Ask Before Choosing a Hardwood Floor
We give you the details on cost, installation, wood varieties and more to help you pick the right hardwood flooring
Full Story
KITCHEN CABINETSKitchen Cabinet Color: Should You Paint or Stain?
Learn about durability, looks, cost and more for wooden cabinet finishes to make the right choice for your kitchen
Full Story
REMODELING GUIDESOriginal Home Details: What to Keep, What to Cast Off
Renovate an older home without regrets with this insight on the details worth preserving
Full Story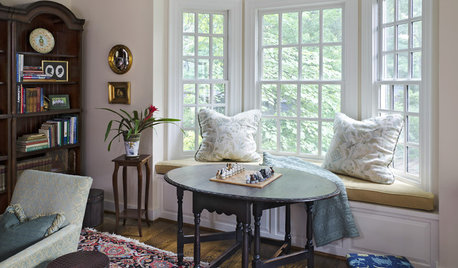
GREAT HOME PROJECTSHow to Add a Window Seat
Get a comfy, cozy spot with a view — and maybe even extra storage too
Full Story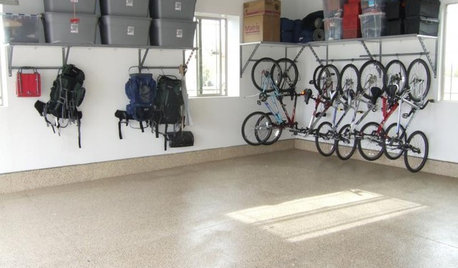
MOST POPULARGarage Cleaning Tips for the Overwhelmed
Don’t let this catch-all space get the better of you. These baby steps can get you started
Full Story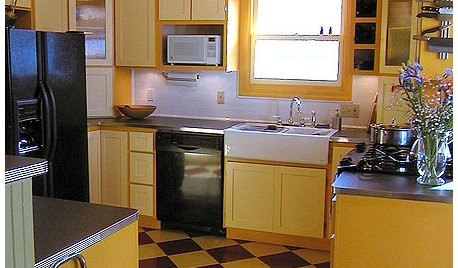
KITCHEN DESIGNKitchen Remodel Costs: 3 Budgets, 3 Kitchens
What you can expect from a kitchen remodel with a budget from $20,000 to $100,000
Full Story
DECORATING GUIDESImproving a Rental: Great Ideas for the Short and Long Haul
Don't settle for bland or blech just because you rent. Make your home feel more like you with these improvements from minor to major
Full Story
REMODELING GUIDESContractor Tips: Finish Your Basement the Right Way
Go underground for the great room your home has been missing. Just make sure you consider these elements of finished basement design
Full Story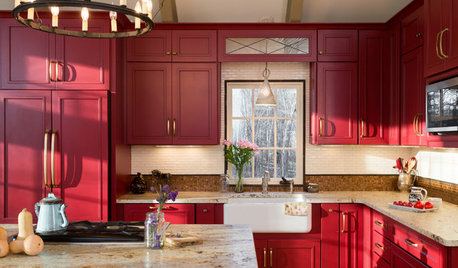
KITCHEN DESIGNKitchen of the Week: Casual Equestrian Feel on a Horse Farm
Red cabinetry, salvaged barn decor and a window for feeding treats to horses combine in a lively, comfortable family kitchen
Full Story

sombreuil_mongrel