


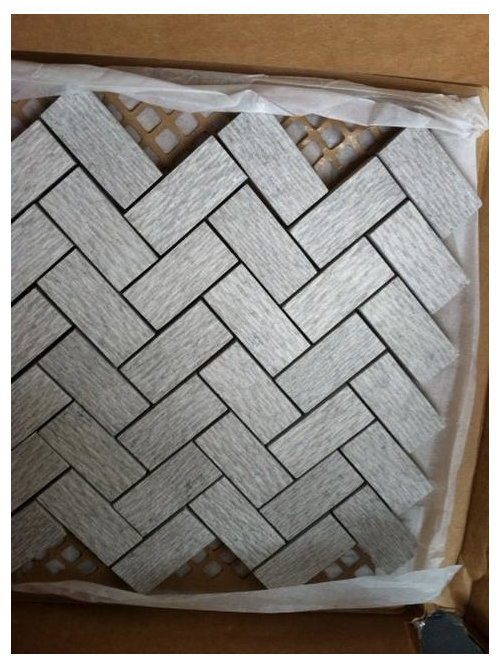
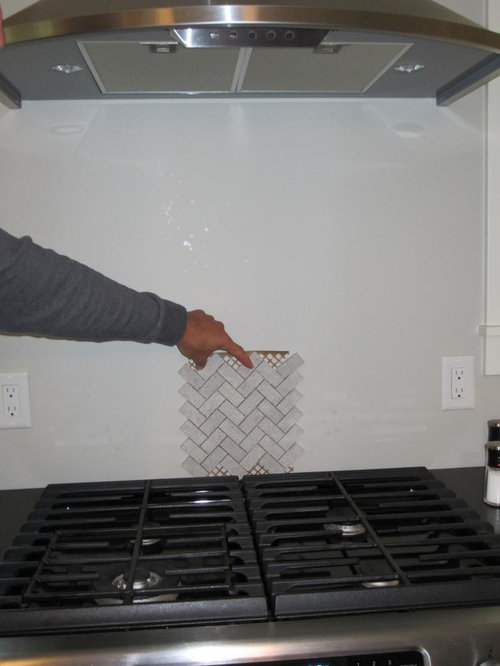
Photoshop help anyone? Herringbone bs
autumn.4
9 years ago
Sort by:Oldest
Comments (17)
Related Stories
KITCHEN BACKSPLASHESWhy You Should Embrace a Solid Slab Backsplash
The effect is stunning, and yet the cost can be minimal. Here’s what to know about using full slabs of stone in your kitchen
Full Story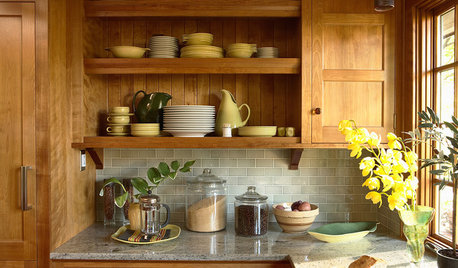
KITCHEN BACKSPLASHESHow to Choose a Backsplash for Your Granite Counters
If you’ve fallen for a gorgeous slab, pair it with a backsplash material that will show it at its best
Full Story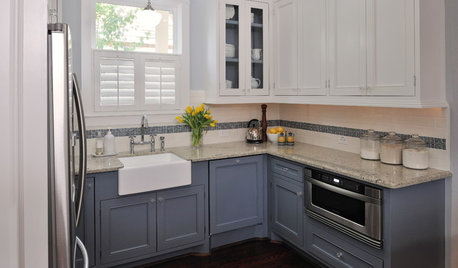
KITCHEN CABINETSKeeping Cabinet Color on the Down Low
Give just base cabinets a colorful coat for a kitchen sporting character and a spacious look
Full Story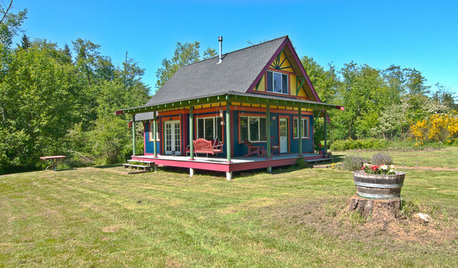
HOUZZ TOURSMy Houzz: Small, Vivid Island Home in Washington
A family guest home on Vashon Island becomes a primary dwelling with salvaged materials, efficient space planning and thoughtful details
Full StoryMore Discussions

oldbat2be
oldbat2be
Related Professionals
Pike Creek Valley Kitchen & Bathroom Designers · Feasterville Trevose Kitchen & Bathroom Remodelers · Chandler Kitchen & Bathroom Remodelers · Charlottesville Kitchen & Bathroom Remodelers · Elk Grove Kitchen & Bathroom Remodelers · Islip Kitchen & Bathroom Remodelers · Kuna Kitchen & Bathroom Remodelers · Overland Park Kitchen & Bathroom Remodelers · Sharonville Kitchen & Bathroom Remodelers · Aspen Hill Cabinets & Cabinetry · Bonita Cabinets & Cabinetry · Cranford Cabinets & Cabinetry · Lackawanna Cabinets & Cabinetry · Watauga Cabinets & Cabinetry · Brentwood Tile and Stone Contractorsjdez
autumn.4Original Author
oldbat2be
autumn.4Original Author
oldbat2be
autumn.4Original Author
Gracie
Bunny
Mags438
annettacm
ck_squared
autumn.4Original Author
annettacm
jdez
autumn.4Original Author