


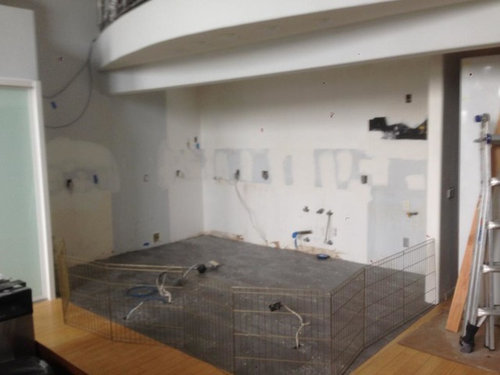
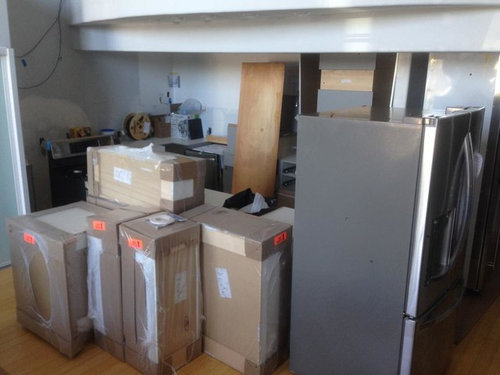
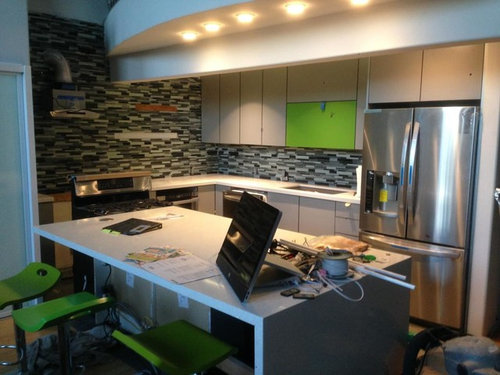
We're in the final inning! Progress post!
Marc Johnson
9 years ago


Sort by:Oldest
Comments (20)
Related Stories
ORGANIZINGHouzz Call: Show Us How You're Getting Organized
If you’ve found successful ways to declutter and create order at home, we want to hear about it. Share your ideas and photos!
Full Story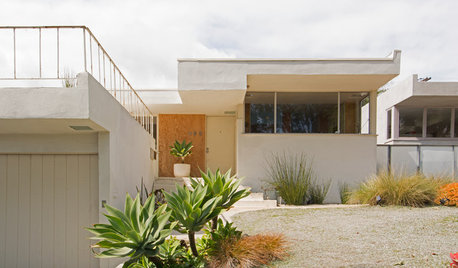
EVENTSMy Houzz: They’re Right at Home in Their Schindler House
Chance brought a couple to their Inglewood home designed by the L.A. midcentury architect. It will be part of a June design tour
Full Story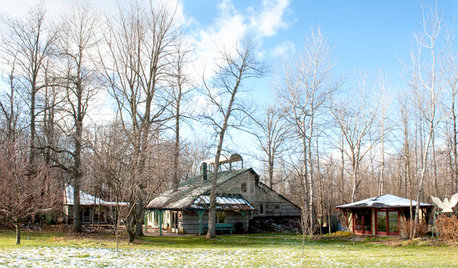
LIFEWhen You're Suddenly Solo at Home
Whether you stay in a home alone or move on, these strategies from professional organizers can help you with the process
Full Story
ORGANIZINGGet the Organizing Help You Need (Finally!)
Imagine having your closet whipped into shape by someone else. That’s the power of working with a pro
Full Story
LIFEThe Polite House: On Dogs at House Parties and Working With Relatives
Emily Post’s great-great-granddaughter gives advice on having dogs at parties and handling a family member’s offer to help with projects
Full StoryRANCH HOMESHouzz Tour: An Eclectic Ranch Revival in Washington, D.C.
Well-considered renovations, clever art and treasures from family make their mark on an architect’s never-ending work in progress
Full Story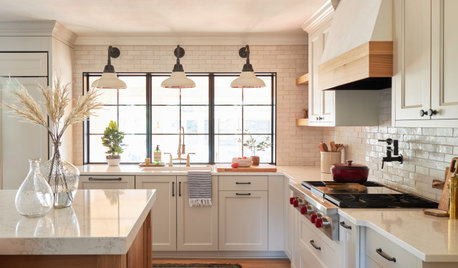
REMODELING GUIDESThe 4 Stages of a Remodel: The Honeymoon Phase
Prepare for the fast-paced progress of demolition — and the potentially jolting slowdown of structural issues
Full Story
KITCHEN WORKBOOKHow to Remodel Your Kitchen
Follow these start-to-finish steps to achieve a successful kitchen remodel
Full Story
CONTRACTOR TIPSYour Complete Guide to Building Permits
Learn about permit requirements, the submittal process, final inspection and more
Full Story
PETSHouzz Call: Send in the Design Cats
Post your best photo of your cat at home, in the garden or with you in your studio. It could be published in a featured ideabook
Full Story

sjhockeyfan325
Marc JohnsonOriginal Author
Related Professionals
Sun City Kitchen & Bathroom Designers · South Farmingdale Kitchen & Bathroom Designers · Terryville Kitchen & Bathroom Designers · Bensenville Kitchen & Bathroom Designers · Fullerton Kitchen & Bathroom Remodelers · 93927 Kitchen & Bathroom Remodelers · Bellevue Kitchen & Bathroom Remodelers · Port Orange Kitchen & Bathroom Remodelers · Salinas Kitchen & Bathroom Remodelers · Tempe Kitchen & Bathroom Remodelers · Tuckahoe Kitchen & Bathroom Remodelers · Shaker Heights Kitchen & Bathroom Remodelers · North Chicago Kitchen & Bathroom Remodelers · Foster City Cabinets & Cabinetry · Castaic Design-Build FirmsCEFreeman
Lisa
greenhaven
brightm
Mags438
breezygirl
Marc JohnsonOriginal Author
vdinli
purrus
schicksal
mgmum
romy718
Marc JohnsonOriginal Author
marg143
Marc JohnsonOriginal Author
marg143
Marc JohnsonOriginal Author
lisa_a