


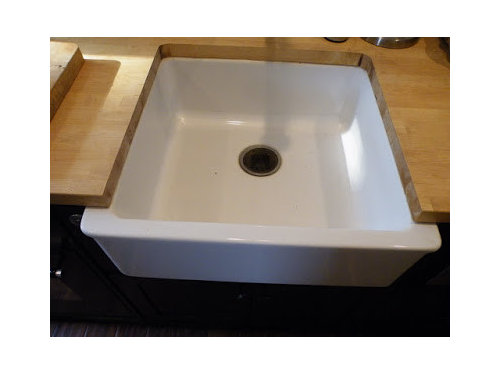
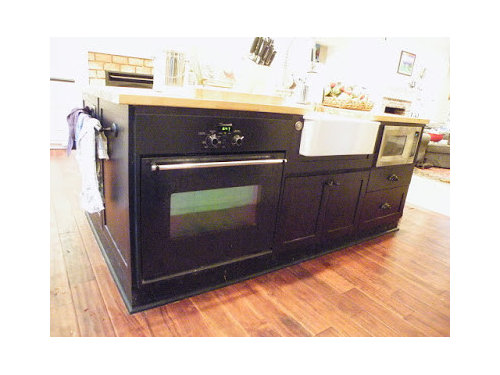
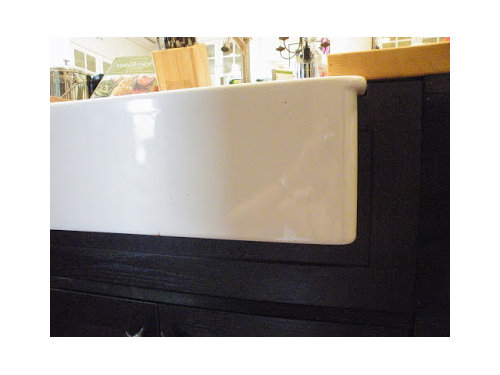
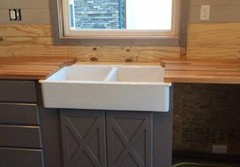
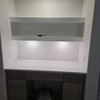
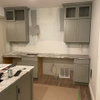
Undermounting the IKEA Domsjo Sink
brickmanhouse
13 years ago


Featured Answer
Sort by:Oldest
Comments (8)

writersblock (9b/10a)
13 years agolast modified: 9 years agobrickmanhouse
13 years agolast modified: 9 years agoRelated Professionals
Bonita Kitchen & Bathroom Designers · Flint Kitchen & Bathroom Designers · Ridgefield Kitchen & Bathroom Designers · Southampton Kitchen & Bathroom Designers · Sunrise Manor Kitchen & Bathroom Remodelers · Alpine Kitchen & Bathroom Remodelers · Clovis Kitchen & Bathroom Remodelers · Key Biscayne Kitchen & Bathroom Remodelers · Langley Park Cabinets & Cabinetry · Glendale Heights Cabinets & Cabinetry · Holt Cabinets & Cabinetry · Indian Creek Cabinets & Cabinetry · Oakland Park Cabinets & Cabinetry · Rowland Heights Cabinets & Cabinetry · Bellwood Cabinets & Cabinetrywritersblock (9b/10a)
13 years agolast modified: 9 years agogeoffreyR
10 years agolast modified: 9 years agokam76
10 years agolast modified: 9 years agomissmeliss15318
7 years ago
Troy Farwell
7 years ago
Related Stories
KITCHEN DESIGNHow to Choose the Best Sink Type for Your Kitchen
Drop-in, undermount, integral or apron-front — a design pro lays out your sink options
Full Story
KITCHEN DESIGNKitchen Sinks: Easy-Clean, Surprisingly Affordable Ceramic
You get a lot for the price with ceramic sinks, and they're available everywhere. See the pros and cons here
Full Story
KITCHEN SINKSEverything You Need to Know About Farmhouse Sinks
They’re charming, homey, durable, elegant, functional and nostalgic. Those are just a few of the reasons they’re so popular
Full Story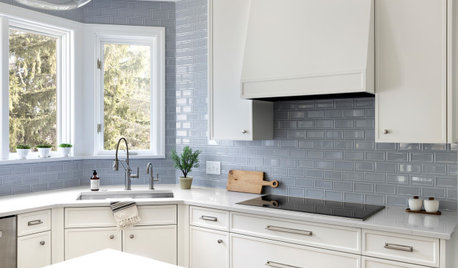
KITCHEN DESIGNHow to Choose the Right Depth for Your Kitchen Sink
Avoid an achy back, a sore neck and messy countertops with a sink depth that works for you
Full Story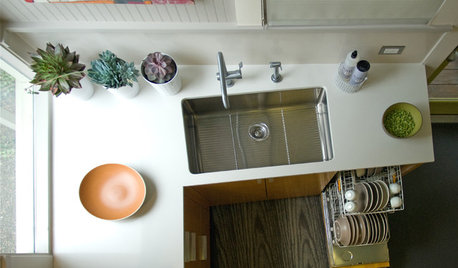
MOST POPULARHow to Choose the Right Kitchen Sink
Learn about basin configurations, sink shapes, materials and even accessories and specialty sinks
Full Story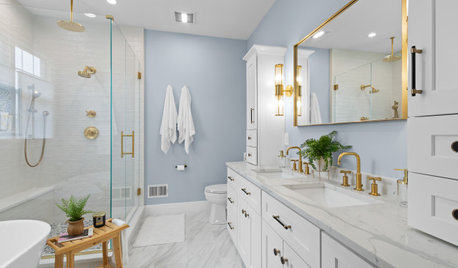
BATHROOM DESIGNHow to Choose the Right Bathroom Sink
Learn the differences among eight styles of bathroom sinks, and find the perfect one for your space
Full Story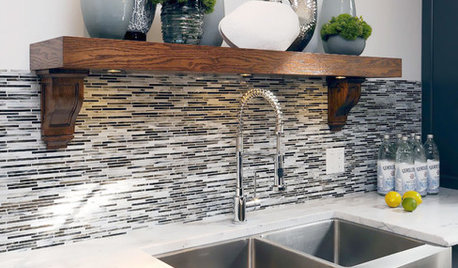
KITCHEN DESIGNKitchen Sinks: Stainless Steel Shines for Affordability and Strength
Look to a stainless steel sink for durability and sleek aesthetics at a budget-minded price
Full Story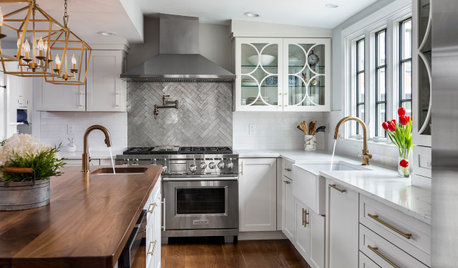
KITCHEN DESIGN8 Ways to Configure Your Kitchen Sink
One sink or two? Single bowl or double? Determine which setup works best for you
Full Story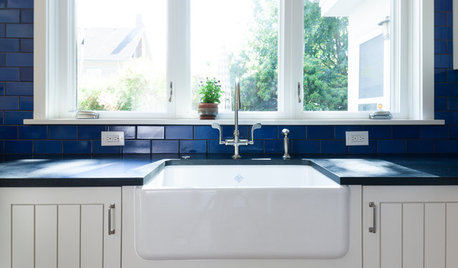
KITCHEN DESIGNKitchen Sinks: Fireclay Brims With Heavy-Duty Character
Cured at fiery temperatures, fireclay makes for farmhouse sinks that just say no to scratches and dents
Full Story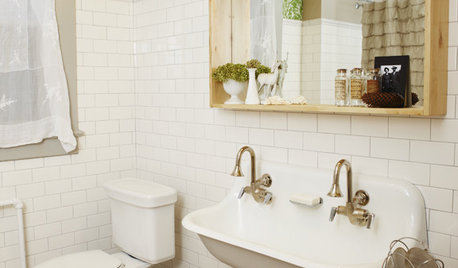
BATHROOM DESIGNSmall-Bathroom Secret: Free Up Space With a Wall-Mounted Sink
Make a tiny bath or powder room feel more spacious by swapping a clunky vanity for a pared-down basin off the floor
Full Story


buckheadhillbilly