


Creating Cove Tile Backsplash
Joseph Corlett, LLC
9 years ago


Sort by:Oldest
Comments (2)
Related Stories
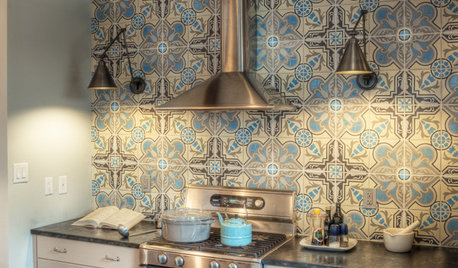
DECORATING GUIDESHow to Create a Mood With Tile
Set the tone for your space with tantalizing tile patterns and techniques
Full Story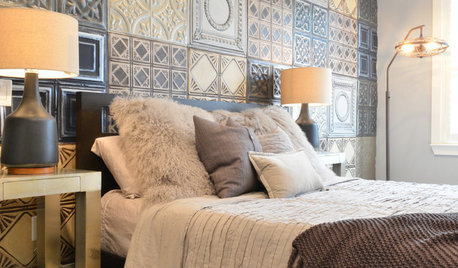
WALL TREATMENTSIdea of the Day: Tin Tiles Create a Striking Accent Wall
A bachelor's bedroom has the industrial style he loves but also is warm and comfortable
Full Story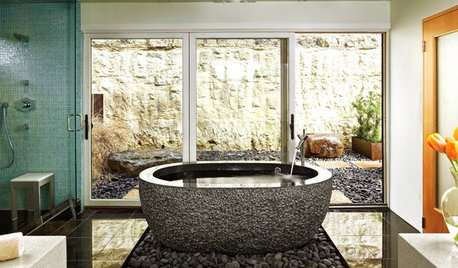
BATHROOM DESIGNYour Bath: Create Calm With Natural Materials
Wood, Pebbles and Stone Give Your Bath a Soothing Look and Feel
Full Story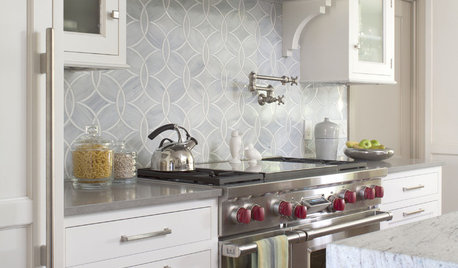
KITCHEN DESIGN8 Top Tile Types for Your Kitchen Backsplash
Backsplash designs don't have to be set in stone; glass, mirror and mosaic tiles can create kitchen beauty in a range of styles
Full Story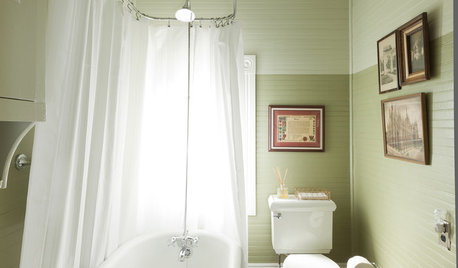
MOST POPULAR7 Soothing Spaces: How to Use Color to Create Calm at Home
Started your new year on the wrong foot? Feeling the February blahs? Maybe you need a color fix in your home
Full Story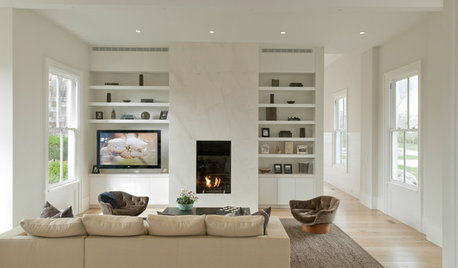
CEILINGS13 Ways to Create the Illusion of Room Height
Low ceilings? Here are a baker’s dozen of elements you can alter to give the appearance of a taller space
Full Story
DECORATING GUIDESStrategies to Create Color Flow Throughout a Home — a Case Study
Unite your indoor and outdoor rooms with a consistent color palette, for cohesion and a polished look
Full Story
COLORPick-a-Paint Help: How to Create a Whole-House Color Palette
Don't be daunted. With these strategies, building a cohesive palette for your entire home is less difficult than it seems
Full Story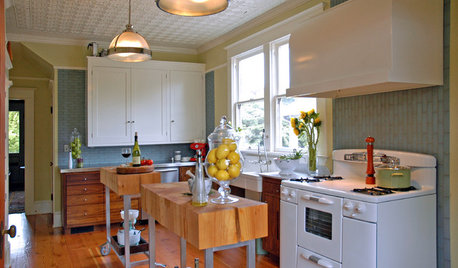
VINTAGE STYLEKitchen of the Week: Preservation Instincts Create Vintage Modern Style
Original features in this 1908 kitchen join new custom accents for a look that bridges the years
Full Story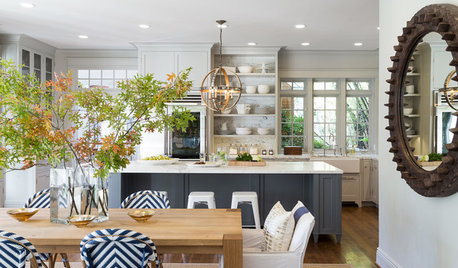
KITCHEN DESIGNKitchen of the Week: Classic Style Creates Calm for a Busy Family
Fresh take on traditional lightens up a kitchen in a large, open space
Full Story
oldbat2be
palimpsest
Related Professionals
Kalamazoo Kitchen & Bathroom Designers · Manchester Kitchen & Bathroom Designers · Pleasant Grove Kitchen & Bathroom Designers · Bay Shore Kitchen & Bathroom Remodelers · Chandler Kitchen & Bathroom Remodelers · Fort Washington Kitchen & Bathroom Remodelers · Morgan Hill Kitchen & Bathroom Remodelers · Sioux Falls Kitchen & Bathroom Remodelers · Sweetwater Kitchen & Bathroom Remodelers · Waukegan Kitchen & Bathroom Remodelers · Burlington Cabinets & Cabinetry · Niceville Tile and Stone Contractors · Bell Design-Build Firms · Glassmanor Design-Build Firms · Schofield Barracks Design-Build Firms