


Ikea kitchen - the cabinet over the fridge
jjaazzy
11 years ago
Featured Answer
Comments (11)

remodelfla
11 years agolast modified: 9 years agoRelated Professionals
Amherst Kitchen & Bathroom Designers · Georgetown Kitchen & Bathroom Designers · Oneida Kitchen & Bathroom Designers · Reedley Kitchen & Bathroom Designers · Town 'n' Country Kitchen & Bathroom Designers · Charlottesville Kitchen & Bathroom Remodelers · Lincoln Kitchen & Bathroom Remodelers · Lyons Kitchen & Bathroom Remodelers · Oklahoma City Kitchen & Bathroom Remodelers · Pasadena Kitchen & Bathroom Remodelers · Harrison Cabinets & Cabinetry · Mount Prospect Cabinets & Cabinetry · Warr Acres Cabinets & Cabinetry · Beachwood Tile and Stone Contractors · Chattanooga Tile and Stone Contractors
bmorepanic
11 years agolast modified: 9 years agoJumpilotmdm
11 years agolast modified: 9 years agojjaazzy
11 years agolast modified: 9 years agojjaazzy
11 years agolast modified: 9 years agojjaazzy
11 years agolast modified: 9 years agomeggswife
11 years agolast modified: 9 years agojakabedy
11 years agolast modified: 9 years agobmorepanic
11 years agolast modified: 9 years agojstehl
11 years agolast modified: 9 years ago


Related Stories
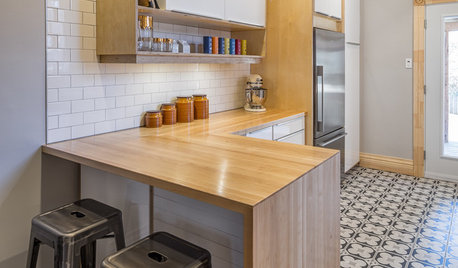
KITCHEN OF THE WEEKKitchen of the Week: Ikea-Hack Cabinets and Fun Floor Tile
A designer turns an uninspiring kitchen into an inviting and functional contemporary space
Full Story
KITCHEN LAYOUTSMove Over, 3-Zone Kitchen. Meet the 5-Zone Kitchen
With open-plan kitchens so popular, has the classic kitchen triangle had its day?
Full Story
INSIDE HOUZZTop Kitchen and Cabinet Styles in Kitchen Remodels
Transitional is the No. 1 kitchen style and Shaker leads for cabinets, the 2019 U.S. Houzz Kitchen Trends Study finds
Full Story
KITCHEN DESIGNEcofriendly Kitchen: Healthier Kitchen Cabinets
Earth-friendly kitchen cabinet materials and finishes offer a host of health benefits for you and the planet. Here's a rundown
Full Story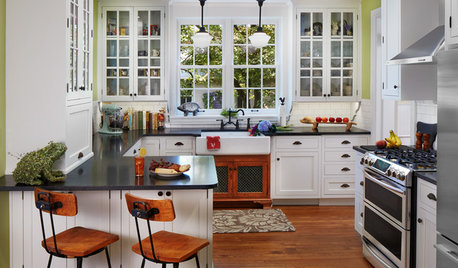
KITCHEN MAKEOVERSBefore and After: Glass-Front Cabinets Set This Kitchen’s Style
Beautiful cabinetry, mullioned windows and richly refinished floors refresh the kitchen in an 1879 Pennsylvania home
Full Story
KITCHEN CABINETSColorful Ways to Make Over Your Kitchen Cabinetry
Try these inspiring color updates to spice up your kitchen a little — or a lot
Full Story
KITCHEN CABINETS9 Ways to Save Money on Kitchen Cabinets
Hold on to more dough without sacrificing style with these cost-saving tips
Full Story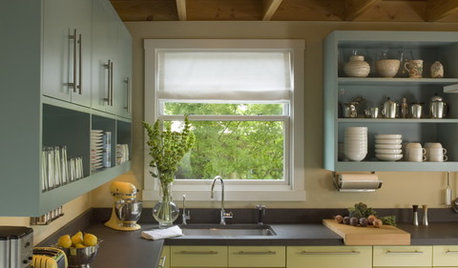
MOST POPULAR8 Great Kitchen Cabinet Color Palettes
Make your kitchen uniquely yours with painted cabinetry. Here's how (and what) to paint them
Full Story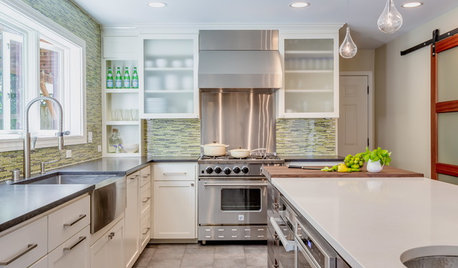
KITCHEN DESIGNKitchen of the Week: Taking Over a Hallway to Add Needed Space
A renovated kitchen’s functional new design is light, bright and full of industrial elements the homeowners love
Full Story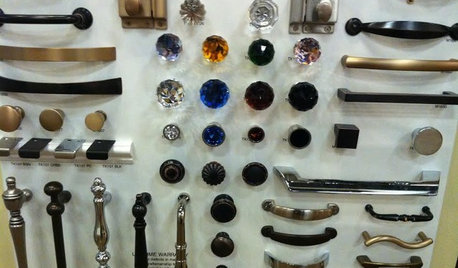
KITCHEN DESIGNGet a Grip on Kitchen Cabinets With the Right Knobs and Pulls
Here's how to pair the right style, type and finish of cabinet hardware with your kitchen style
Full Story

live_wire_oak