


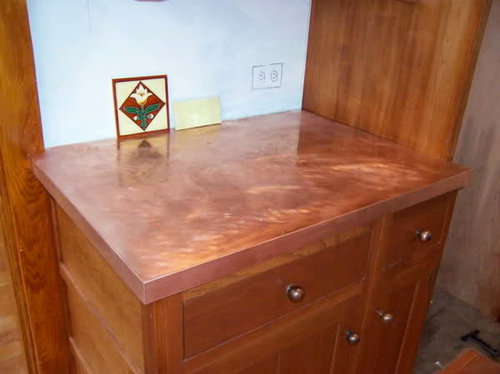
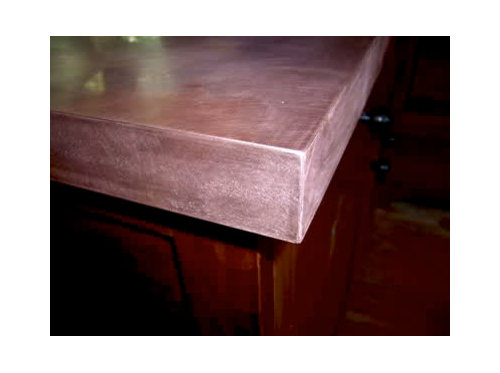
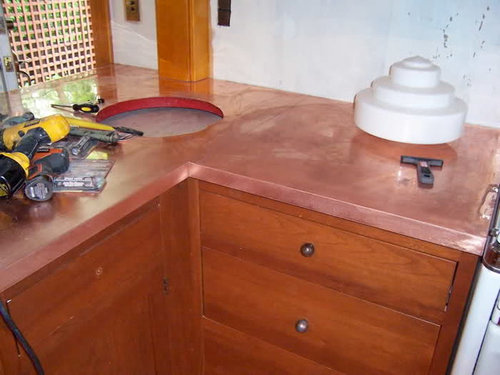
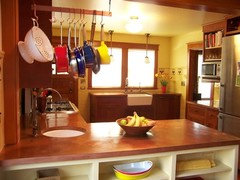
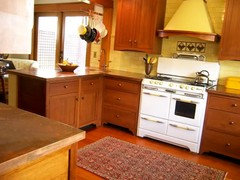
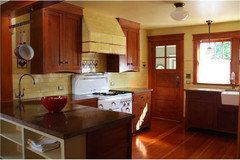
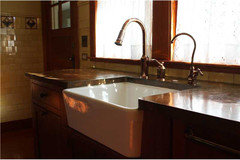
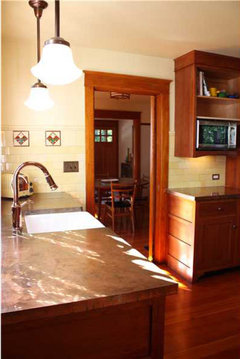
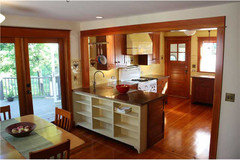
I did it! DIY copper countertops
Circus Peanut
15 years ago
Featured Answer
Sort by:Oldest
Comments (100)

lyno
15 years agodanielle00
15 years agoRelated Professionals
Highland Kitchen & Bathroom Designers · Ocala Kitchen & Bathroom Designers · West Virginia Kitchen & Bathroom Designers · Ewa Beach Kitchen & Bathroom Remodelers · Saint Augustine Kitchen & Bathroom Remodelers · Toledo Kitchen & Bathroom Remodelers · Phillipsburg Kitchen & Bathroom Remodelers · Maywood Cabinets & Cabinetry · Prior Lake Cabinets & Cabinetry · Prospect Heights Cabinets & Cabinetry · Tenafly Cabinets & Cabinetry · Vermillion Cabinets & Cabinetry · Wadsworth Cabinets & Cabinetry · North Bay Shore Cabinets & Cabinetry · Turlock Tile and Stone ContractorsBuehl
15 years agokitchendetective
15 years agonapagirl
15 years agobudgeteer_s
15 years ago
Circus Peanut
15 years agosalmon_slayer
15 years agoCircus Peanut
15 years agorussellrobertson
15 years agoPoorOwner
15 years agoCircus Peanut
15 years agorussellrobertson
15 years agoma-bookreader
15 years agoCircus Peanut
15 years agomegsy
13 years agoCircus Peanut
13 years agoCircus Peanut
13 years agoclg7067
13 years agoclg7067
13 years agoCircus Peanut
13 years agoclg7067
13 years agoCircus Peanut
13 years agoladyamity
13 years agorookie_2010
13 years ago
gsciencechick
13 years agoclg7067
13 years agostjamesb
13 years agoajard
13 years agosurface-encounters
13 years agojudyoso
13 years agozenstella
13 years agoareilla10
13 years agodyno
13 years agobill_vincent
13 years agoEATREALFOOD
12 years agoCircus Peanut
12 years agodeedles
11 years agoCircus Peanut
11 years agoDonaleen Kohn
11 years agodeedles
11 years agojerzeegirl
11 years ago
Bunny
11 years agoDonaleen Kohn
11 years agodeedles
11 years ago
Missi (4b IA)
6 years agososha68
3 years agososha68
3 years agoMissi (4b IA)
2 years ago


Related Stories
DISASTER PREP & RECOVERYRemodeling After Water Damage: Tips From a Homeowner Who Did It
Learn the crucial steps and coping mechanisms that can help when flooding strikes your home
Full Story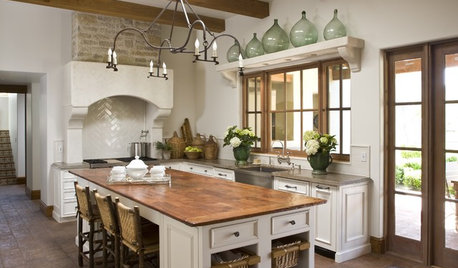
KITCHEN DESIGNSurprise Contender: Copper for Kitchen Countertops
Unexpected and full of character, copper is getting buffed for its growing appearance on the countertop scene
Full Story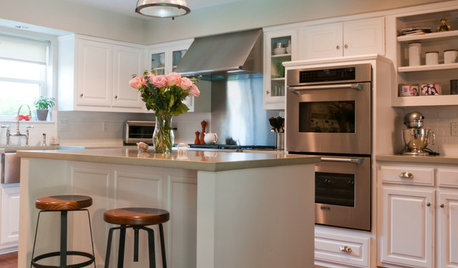
KITCHEN DESIGNShow Us Your Fabulous DIY Kitchen
Did you do a great job when you did it yourself? We want to see and hear about it
Full Story
BUDGETING YOUR PROJECTHouzz Call: What Did Your Kitchen Renovation Teach You About Budgeting?
Cost is often the biggest shocker in a home renovation project. Share your wisdom to help your fellow Houzzers
Full Story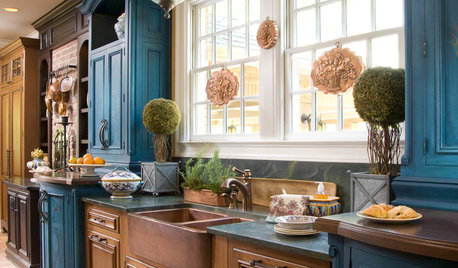
KITCHEN DESIGNKitchen Sinks: Antibacterial Copper Gives Kitchens a Gleam
If you want a classic sink material that rejects bacteria, babies your dishes and develops a patina, copper is for you
Full Story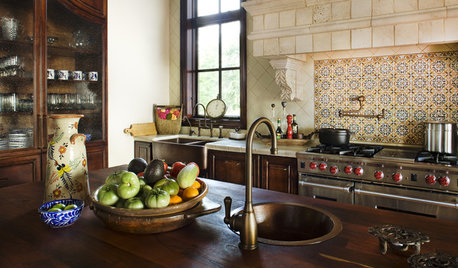
KITCHEN DESIGNTry a Copper Sink for a Warm Glow in the Kitchen
Bring polish and patina to your kitchen with a sink done in endlessly interesting copper
Full Story
BEFORE AND AFTERSHouzz TV: See Recycled Walls and Cool Cassette Art in a Woodsy DIY Home
Walnut countertops join hardwood floors and pieces made from leftover framing in a bright Spanish colonial
Full Story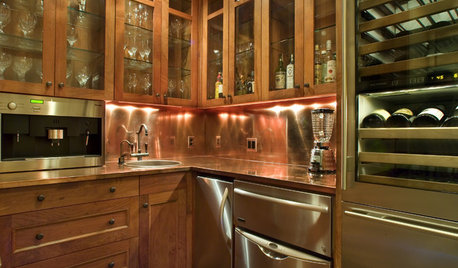
METALCopper, the Dynamic Topper
Time changes copper’s appearance on walls, fireplaces and more, but your love of its look may spring eternal
Full Story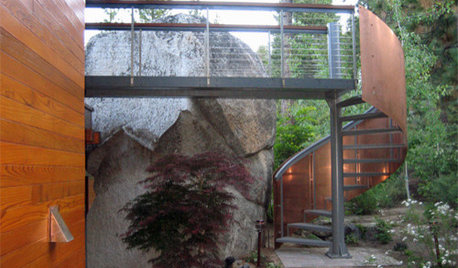
REMODELING GUIDES15 Ways to Design With Copper
Get Inspired to Add the Long-Lasting Beauty of Copper to Your Home
Full Story
COTTAGE STYLEHouzz Tour: Beach Shack Reborn as a Copper-Clad Cottage
A tranquil home with a copper exterior lets in ocean air, sunlight and greenery on a challenging site
Full StoryMore Discussions


Circus PeanutOriginal Author