


My Dual Purpose Kitchen Table
houseful
12 years ago


Sort by:Oldest
Comments (14)
Related Stories
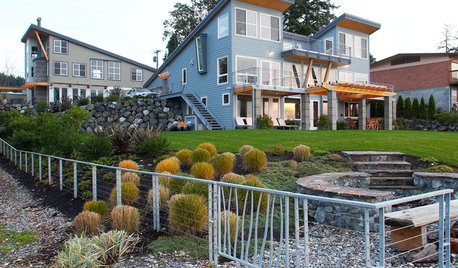
HOUZZ TOURSHouzz Tour: Dual Island Homes for a Reunion-Loving Family
Breathtaking views form the backdrop for family gatherings on a generations-old Washington site
Full Story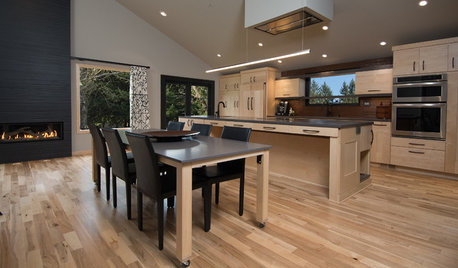
KITCHEN DESIGNKitchen of the Week: A Handy Rollout Dining Table Adds Flexibility
The dual-use eating surface is just one of the smart design features in this renovated Oregon kitchen
Full Story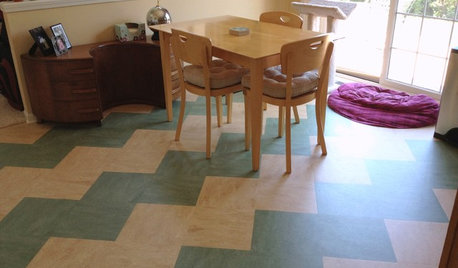
REMODELING GUIDESLinoleum, the All-Purpose Flooring Wonder
Dashing in a rainbow of colors, able to be cleaned with ease and courteous to budgets everywhere, linoleum is a super choice for floors
Full Story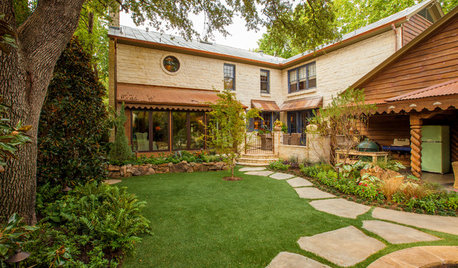
HOUZZ TOURSHouzz Tour: 'Pieced Together With a Purpose' in Dallas
This collected-over-time look comes from antiques, retro pieces and treatments that celebrate age
Full Story
KITCHEN DESIGNKitchen of the Week: Surprise Storage in Sydney
Hidden appliances and a secret scullery make for a kitchen so streamlined, you might not guess its true purpose
Full Story
KITCHEN DESIGNGoodbye, Island. Hello, Kitchen Table
See why an ‘eat-in’ table can sometimes be a better choice for a kitchen than an island
Full Story
KITCHEN DESIGNDouble Islands Put Pep in Kitchen Prep
With all that extra space for slicing and dicing, dual islands make even unsavory kitchen tasks palatable
Full Story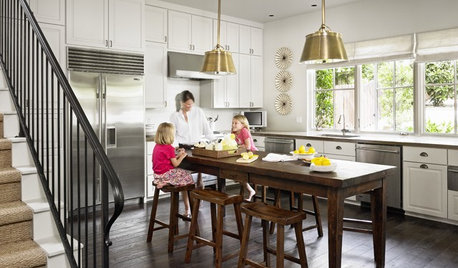
KITCHEN DESIGNTake a Seat at the New Kitchen-Table Island
Hybrid kitchen islands swap storage for a table-like look and more seating
Full Story
PRODUCT PICKSGuest Picks: Stylish Extra Seating and Side Tables
These folding chairs, nesting tables and benches look so good, you may want to keep them out all year
Full Story


dianalo
rhome410
Related Professionals
Carson Kitchen & Bathroom Designers · Knoxville Kitchen & Bathroom Designers · Apex Kitchen & Bathroom Remodelers · Cocoa Beach Kitchen & Bathroom Remodelers · Lomita Kitchen & Bathroom Remodelers · Oklahoma City Kitchen & Bathroom Remodelers · Overland Park Kitchen & Bathroom Remodelers · Weston Kitchen & Bathroom Remodelers · Bonita Cabinets & Cabinetry · Cranford Cabinets & Cabinetry · Wilkinsburg Cabinets & Cabinetry · Cornelius Tile and Stone Contractors · Farragut Tile and Stone Contractors · Soledad Tile and Stone Contractors · Shady Hills Design-Build Firmsroarah
shelayne
flwrs_n_co
User
rj56
housefulOriginal Author
bigjim24
barbcollins
housefulOriginal Author
erinct
dee850
housefulOriginal Author