


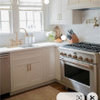
Modifying A Poster's Layout
Buehl
15 years ago
Sort by:Oldest
Comments (11)
Related Stories
KITCHEN DESIGNKitchen Layouts: A Vote for the Good Old Galley
Less popular now, the galley kitchen is still a great layout for cooking
Full Story
KITCHEN LAYOUTSThe Pros and Cons of 3 Popular Kitchen Layouts
U-shaped, L-shaped or galley? Find out which is best for you and why
Full Story
TILEHow to Choose the Right Tile Layout
Brick, stacked, mosaic and more — get to know the most popular tile layouts and see which one is best for your room
Full Story
MOST POPULAR7 Ways to Design Your Kitchen to Help You Lose Weight
In his new book, Slim by Design, eating-behavior expert Brian Wansink shows us how to get our kitchens working better
Full Story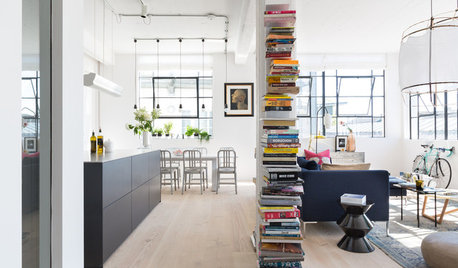
HOMES AROUND THE WORLDHouzz Tour: A Bright and Open London Loft
A converted factory space benefits from abundant windows, a modified open-plan design and eclectic art and decor
Full Story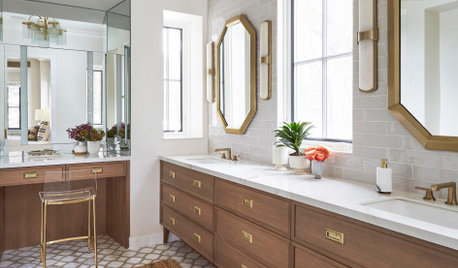
BATHROOM WORKBOOKA Step-by-Step Guide to Designing Your Bathroom Vanity
Here are six decisions to make with your pro to get the best vanity layout, look and features for your needs
Full Story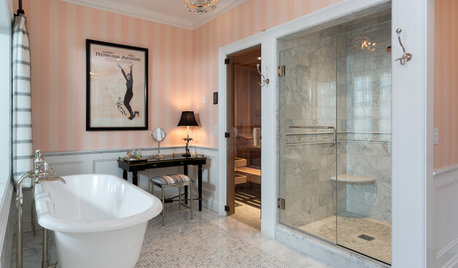
BATHROOM DESIGNRoom of the Day: Master Bath Wears Its Elegance Lightly
This dream ‘hers’ bathroom includes a soaking tub, shower, sauna and toilet room — and a fun vintage movie poster
Full Story
KITCHEN DESIGNA Single-Wall Kitchen May Be the Single Best Choice
Are your kitchen walls just getting in the way? See how these one-wall kitchens boost efficiency, share light and look amazing
Full Story
HOMES AROUND THE WORLDThe Kitchen of Tomorrow Is Already Here
A new Houzz survey reveals global kitchen trends with staying power
Full Story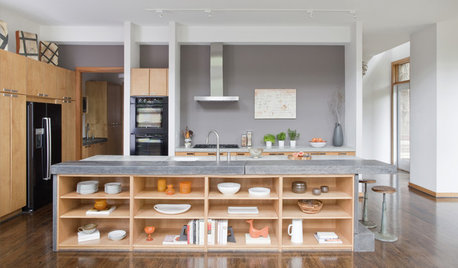
KITCHEN DESIGNHow to Design a Kitchen Island
Size, seating height, all those appliance and storage options ... here's how to clear up the kitchen island confusion
Full Story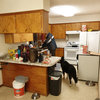

carol08
brachl
Related Professionals
Ojus Kitchen & Bathroom Designers · Oneida Kitchen & Bathroom Designers · Wesley Chapel Kitchen & Bathroom Designers · Town 'n' Country Kitchen & Bathroom Designers · 93927 Kitchen & Bathroom Remodelers · Hunters Creek Kitchen & Bathroom Remodelers · Key Biscayne Kitchen & Bathroom Remodelers · Rancho Palos Verdes Kitchen & Bathroom Remodelers · Waukegan Kitchen & Bathroom Remodelers · Wilmington Island Kitchen & Bathroom Remodelers · Langley Park Cabinets & Cabinetry · West Freehold Cabinets & Cabinetry · Wilkinsburg Cabinets & Cabinetry · Roxbury Crossing Tile and Stone Contractors · South Holland Tile and Stone ContractorsBuehlOriginal Author
BuehlOriginal Author
Cindy103d
BeverlyFLADeziner
drhomeideas
BuehlOriginal Author
angela12345
User
laughablemoments