


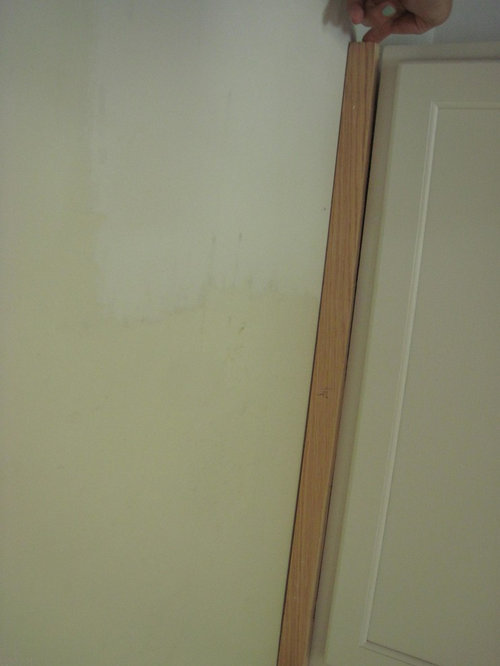
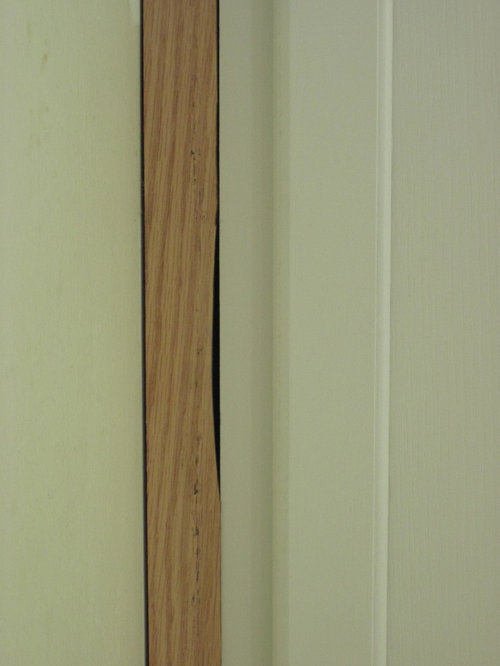
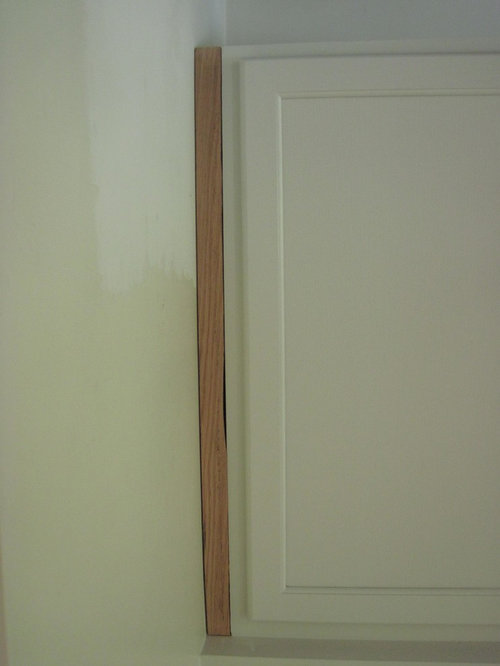
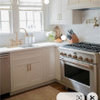
My Kitchen Facelift Journey part3
greenhaven
9 years ago


Related Stories
LANDSCAPE DESIGN24 Garden Paths to Inspire Memorable Journeys
Winding or straight, narrow or wide, densely or sparsely planted — there’s more than one way to design a walk
Full Story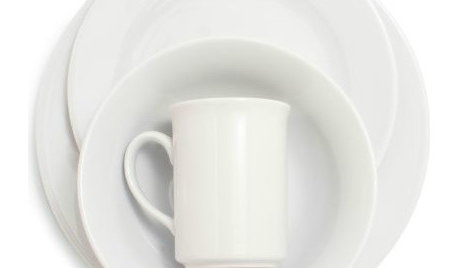
PRODUCT PICKSGuest Picks: Give Your Kitchen a Quick Facelift With White
Keep the sledgehammer in storage — update your kitchen's look with white and clear dinnerware and accessories instead
Full Story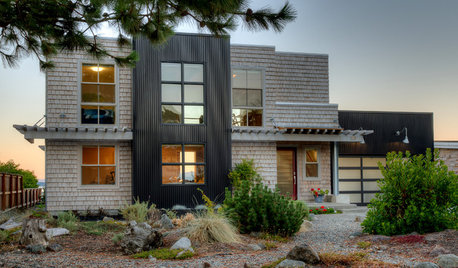
COASTAL STYLEHouzz Tour: Major Face-Lift Gives a Beach House New Life
The transformation of this Puget Sound island home is so remarkable that many residents think it was torn down and rebuilt
Full Story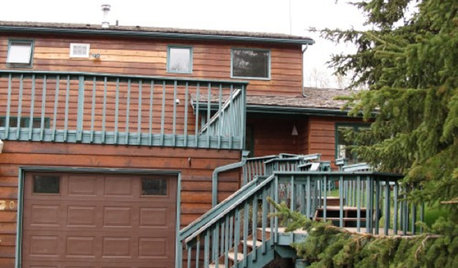
Ideabook 911: My House Needs a Facelift!
Houzz Member Gets Ideas for Sprucing Up This Deck and Garage
Full Story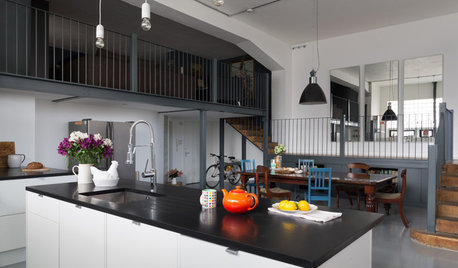
KITCHEN DESIGNKitchen Takes Off in a Former Aircraft Parts Factory
Generous storage and clever carpentry transform a cluttered kitchen into a sleek, minimalist living space with an eclectic heart
Full Story
HOUZZ TOURSMy Houzz: Traditional Texas Home Gets Modern Revamp
Gutting the kitchen and master bath, an Austin couple gives a home they built themselves a contemporary facelift
Full Story
HOME INNOVATIONSHouzz Tour: Meet a Home Made With Minivan Parts
Sawn-off car roofs for the siding, windows popped out of van doors ... this California home is as resourceful as it is beautiful
Full Story
KITCHEN OF THE WEEKKitchen of the Week: Coastal Kitchen Honors a Beloved Husband
This Southern California kitchen makeover includes a touching story of a couple who faced a much bigger challenge during their remodel
Full Story
HOUZZ TOURSMy Houzz: Parisian Flair in Chicago
A traditional Chicago high-rise unit gets a sleek facelift, with top notes of vintage French chic
Full Story
KITCHEN DESIGNKitchen Countertops 101: Choosing a Surface Material
Explore the pros and cons of 11 kitchen countertop materials. The options may surprise you
Full Story


CEFreeman
Terri_PacNW
Related Professionals
Bethpage Kitchen & Bathroom Designers · Cuyahoga Falls Kitchen & Bathroom Designers · Magna Kitchen & Bathroom Designers · Mount Prospect Kitchen & Bathroom Designers · Jefferson Hills Kitchen & Bathroom Remodelers · Kendale Lakes Kitchen & Bathroom Remodelers · Kuna Kitchen & Bathroom Remodelers · Waukegan Kitchen & Bathroom Remodelers · Fairmont Kitchen & Bathroom Remodelers · Eureka Cabinets & Cabinetry · Marco Island Cabinets & Cabinetry · North Bay Shore Cabinets & Cabinetry · Baldwin Tile and Stone Contractors · Fayetteville Tile and Stone Contractors · Yorkville Design-Build FirmsErrant_gw
gr8daygw
sjhockeyfan325
greenhavenOriginal Author
sjhockeyfan325
feisty68
greenhavenOriginal Author
feisty68
greenhavenOriginal Author
feisty68
greenhavenOriginal Author
Terri_PacNW
Evan
mgmum
greenhavenOriginal Author
greenhavenOriginal Author
bellsmom
jennifer132
Errant_gw
greenhavenOriginal Author
greenhavenOriginal Author