
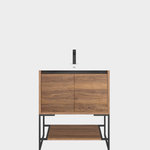


Minimum sink size for sink base?
sksgrad
10 years ago
Sort by:Oldest
Comments (13)
Related Stories
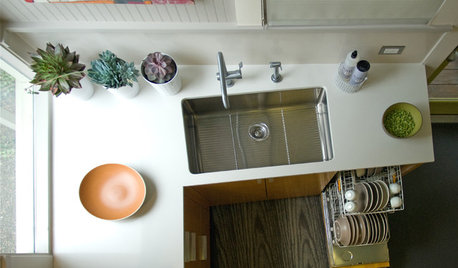
MOST POPULARHow to Choose the Right Kitchen Sink
Learn about basin configurations, sink shapes, materials and even accessories and specialty sinks
Full Story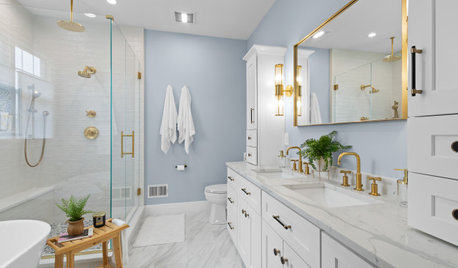
BATHROOM DESIGNHow to Choose the Right Bathroom Sink
Learn the differences among eight styles of bathroom sinks, and find the perfect one for your space
Full Story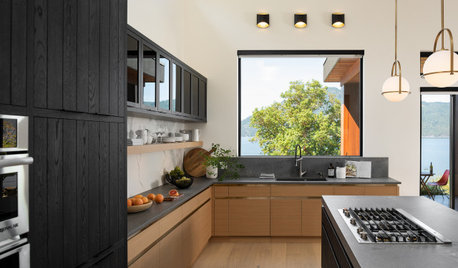
KITCHEN DESIGNWhere Should You Put the Kitchen Sink?
Facing a window or your guests? In a corner or near the dishwasher? Here’s how to find the right location for your sink
Full Story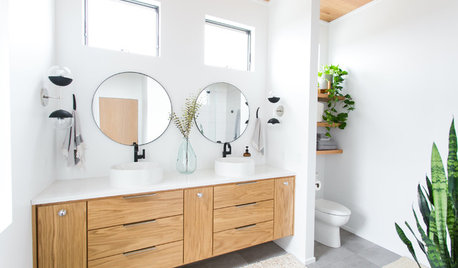
BATHROOM DESIGNThe Right Height for Your Bathroom Sinks, Mirrors and More
Upgrading your bathroom? Here’s how to place all your main features for the most comfortable, personalized fit
Full Story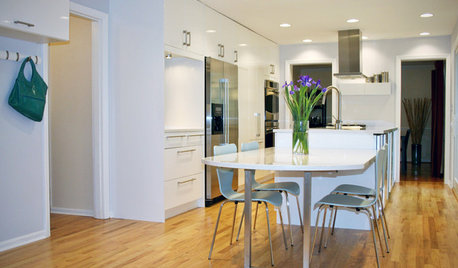
KITCHEN DESIGNGet More Island Legroom With a Smart Table Base
Avoid knees a-knockin’ by choosing a kitchen island base with plenty of space for seated diners
Full Story
DESIGN DETAILSDesign Workshop: The Modern Wall Base, 4 Ways
Do you really need baseboards? Contemporary design provides minimalist alternatives to the common intersection of floor and wall
Full Story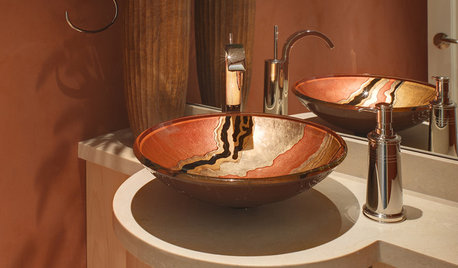
BATHROOM DESIGNVessel Sinks: Elegant Updates on a Classic Form
14 Ways Wash Basins Add Glamour to Bath and Powder Rooms
Full Story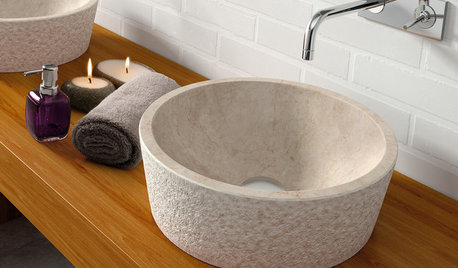
SHOP HOUZZShop Houzz: Set Off Your Vanity With a Vessel Sink
Whether sleek, sparkly, patterned or rustic, vessel sinks give your bathroom a focal point
Full Story
KITCHEN DESIGNHow to Choose a Kitchen Sink Size
Bigger isn’t necessarily better. Here’s how to pick the right size sink for your kitchen, needs and budget
Full Story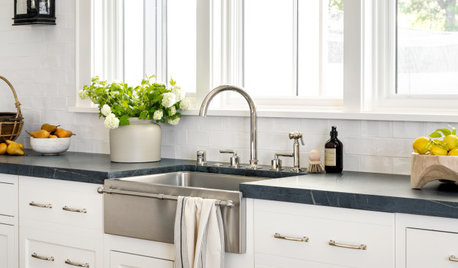
KITCHEN DESIGN8 Kitchen Sink Materials to Consider
Learn the pros and cons of these common choices for kitchen sinks
Full Story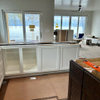
annkh_nd
sksgradOriginal Author
Related Professionals
Yorba Linda Kitchen & Bathroom Designers · Eagle Mountain Kitchen & Bathroom Remodelers · East Tulare County Kitchen & Bathroom Remodelers · Bloomingdale Kitchen & Bathroom Remodelers · Jefferson Hills Kitchen & Bathroom Remodelers · Overland Park Kitchen & Bathroom Remodelers · South Barrington Kitchen & Bathroom Remodelers · Berkeley Heights Cabinets & Cabinetry · Citrus Heights Cabinets & Cabinetry · Jefferson Valley-Yorktown Cabinets & Cabinetry · Murray Cabinets & Cabinetry · Channahon Tile and Stone Contractors · Scottdale Tile and Stone Contractors · Calumet City Design-Build Firms · Pacific Grove Design-Build Firmsannkh_nd
debrak2008
sksgradOriginal Author
debrak2008
sksgradOriginal Author
annkh_nd
debrak_2008
debrak_2008
sksgradOriginal Author
annkh_nd
sksgradOriginal Author