


DIY Kitchen Reveal
Eric Freedman
10 years ago


Featured Answer
Comments (127)

miruca
10 years agolast modified: 9 years agovsalzmann
10 years agolast modified: 9 years agoRelated Professionals
West Virginia Kitchen & Bathroom Designers · Cleveland Kitchen & Bathroom Remodelers · Idaho Falls Kitchen & Bathroom Remodelers · Ogden Kitchen & Bathroom Remodelers · Omaha Kitchen & Bathroom Remodelers · Overland Park Kitchen & Bathroom Remodelers · Westchester Kitchen & Bathroom Remodelers · Gibsonton Kitchen & Bathroom Remodelers · Citrus Heights Cabinets & Cabinetry · West Freehold Cabinets & Cabinetry · Charleston Furniture & Accessories · St. Louis Furniture & Accessories · Duluth Furniture & Accessories · Eugene Custom Artists · New Baltimore Window TreatmentsTerri
10 years agolast modified: 9 years agobaltomom_gw
10 years agolast modified: 9 years agoAmy Sumner
10 years agolast modified: 9 years agococo4444
10 years agolast modified: 9 years agoboone_2009
10 years agolast modified: 9 years agoSpottythecat
10 years agolast modified: 9 years agoMousun
10 years agolast modified: 9 years ago
Eric Freedman
10 years agolast modified: 9 years agoEric Freedman
10 years agolast modified: 9 years agoEric Freedman
10 years agolast modified: 9 years agoPattyjill
10 years agolast modified: 9 years agoEric Freedman
10 years agolast modified: 9 years agoTxMarti
10 years agolast modified: 9 years agoTxMarti
10 years agolast modified: 9 years agoEric Freedman
10 years agolast modified: 9 years agolynn_r_ct
10 years agolast modified: 9 years agoperky_2
10 years agolast modified: 9 years agoEric Freedman
10 years agolast modified: 9 years agodeedles
10 years agolast modified: 9 years agorantontoo
10 years agolast modified: 9 years agogpraceman55
10 years agolast modified: 9 years agoEric Freedman
10 years agolast modified: 9 years agoEric Freedman
10 years agolast modified: 9 years ago
Painted Peggies (zone 6a)
10 years agolast modified: 9 years agogpraceman55
10 years agolast modified: 9 years agodeedles
10 years agolast modified: 9 years agoEric Freedman
10 years agolast modified: 9 years agoEric Freedman
10 years agolast modified: 9 years agoEric Freedman
10 years agolast modified: 9 years agoEric Freedman
10 years agolast modified: 9 years agogpraceman55
10 years agolast modified: 9 years agoEric Freedman
10 years agolast modified: 9 years agoEric Freedman
10 years agolast modified: 9 years agodeedles
10 years agolast modified: 9 years ago
gr8daygw
10 years agolast modified: 9 years agoJoanLast
10 years agolast modified: 9 years agoEric Freedman
10 years agolast modified: 9 years agolam702
10 years agolast modified: 9 years agoEric Freedman
10 years agolast modified: 9 years agomudhouse_gw
10 years agolast modified: 9 years agoEric Freedman
10 years agolast modified: 9 years agomudhouse_gw
10 years agolast modified: 9 years agosherwoodva
9 years agolast modified: 9 years agoEric Freedman
9 years agolast modified: 9 years ago
littlebirdette
7 years ago
tinker1121
7 years agogr8daygw
7 years ago


Related Stories
MY HOUZZMy Houzz: Surprise Revealed in a 1900s Duplex in Columbus
First-time homeowners tackle a major DIY hands-on remodel and uncover a key feature that changes their design plan
Full Story
INSIDE HOUZZA New Houzz Survey Reveals What You Really Want in Your Kitchen
Discover what Houzzers are planning for their new kitchens and which features are falling off the design radar
Full Story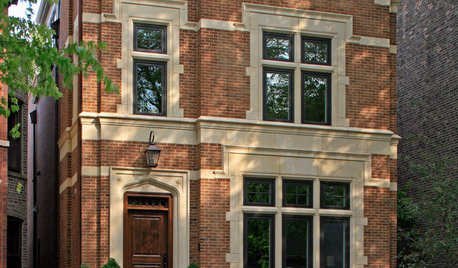
MATERIALSRaw Materials Revealed: Brick, Block and Stone Help Homes Last
Learn about durable masonry essentials for houses and landscapes, and why some weighty-looking pieces are lighter than they look
Full Story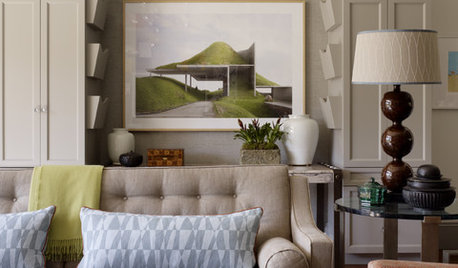
DECORATING GUIDESTop 10 Interior Stylist Secrets Revealed
Give your home's interiors magazine-ready polish with these tips to finesse the finishing design touches
Full Story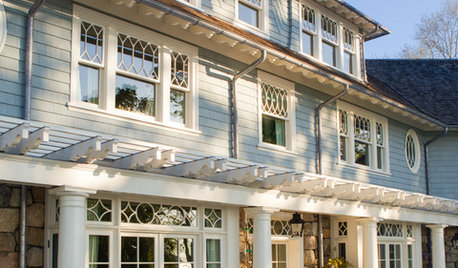
TRADITIONAL HOMESHouzz Tour: New Shingle-Style Home Doesn’t Reveal Its Age
Meticulous attention to period details makes this grand shorefront home look like it’s been perched here for a century
Full StoryREMODELING GUIDESBathroom Remodel Insight: A Houzz Survey Reveals Homeowners’ Plans
Tub or shower? What finish for your fixtures? Find out what bathroom features are popular — and the differences by age group
Full Story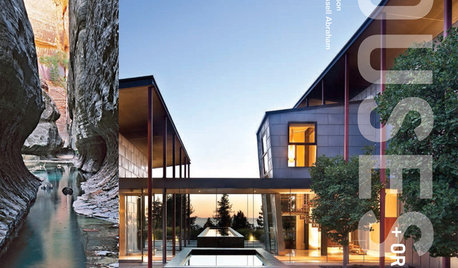
BOOKS'Houses + Origins' Reveals an Architect's Process
How are striking architectural designs born? A new book offers an insightful glimpse
Full Story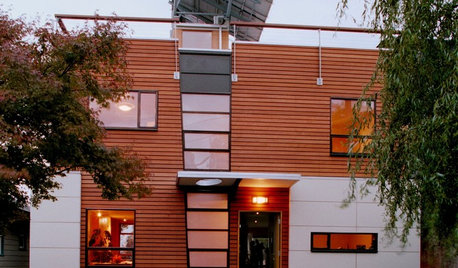
GREEN BUILDINGCity View: Seattle Design Reveals Natural Wonders
Love of the local landscape, along with a healthy respect for the environment, runs through this city's architecture and interior design
Full Story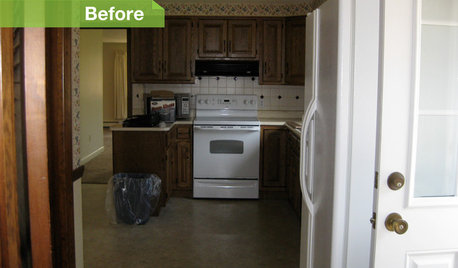
KITCHEN DESIGN6 Kitchens, 6 DIY Updates
Get inspired to give your own kitchen a fresh look with ideas from these affordable, do-it-yourself fixes
Full Story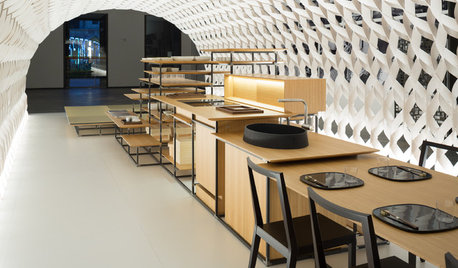
HOMES AROUND THE WORLDThe Kitchen of Tomorrow Is Already Here
A new Houzz survey reveals global kitchen trends with staying power
Full StoryMore Discussions


Eric FreedmanOriginal Author