

Most complicated under counter plugmold in the world? (pics!)
charliehorse99
11 years ago


Featured Answer
Sort by:Oldest
Comments (21)

carolml
11 years agolast modified: 9 years ago
a2gemini
11 years agolast modified: 9 years agoRelated Professionals
Schaumburg Kitchen & Bathroom Designers · Fort Pierce Kitchen & Bathroom Remodelers · Garden Grove Kitchen & Bathroom Remodelers · Gardner Kitchen & Bathroom Remodelers · Idaho Falls Kitchen & Bathroom Remodelers · Jefferson Hills Kitchen & Bathroom Remodelers · New Port Richey East Kitchen & Bathroom Remodelers · Santa Fe Kitchen & Bathroom Remodelers · Vashon Kitchen & Bathroom Remodelers · Gibsonton Kitchen & Bathroom Remodelers · Jefferson Valley-Yorktown Cabinets & Cabinetry · Richardson Cabinets & Cabinetry · Hermosa Beach Tile and Stone Contractors · Niceville Tile and Stone Contractors · Boise Design-Build Firmsangie_diy
11 years agolast modified: 9 years agocharliehorse99
11 years agolast modified: 9 years agomaggieq
11 years agolast modified: 9 years agocharliehorse99
11 years agolast modified: 9 years agocharliehorse99
11 years agolast modified: 9 years ago
oldbat2be
11 years agolast modified: 9 years agocharliehorse99
11 years agolast modified: 9 years agoandreak100
11 years agolast modified: 9 years agooldbat2be
11 years agolast modified: 9 years agoiroll_gw
11 years agolast modified: 9 years agofriedajune
11 years agolast modified: 9 years agoandreak100
11 years agolast modified: 9 years agocharliehorse99
11 years agolast modified: 9 years agocharliehorse99
11 years agolast modified: 9 years agoa2gemini
11 years agolast modified: 9 years agoa2gemini
11 years agolast modified: 9 years agocharliehorse99
9 years agolast modified: 9 years agoa2gemini
9 years agolast modified: 9 years ago


Related Stories
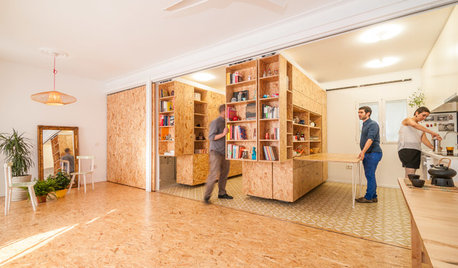
STORAGEWorld of Design: 11 of the Globe's Most Creative Storage Solutions
See the ingenious side of storage in France, Sweden, Russia and beyond
Full Story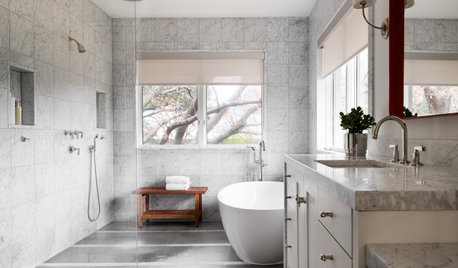
BATHROOM DESIGNDoorless Showers Open a World of Possibilities
Universal design and an open bathroom feel are just two benefits. Here’s how to make the most of these design darlings
Full Story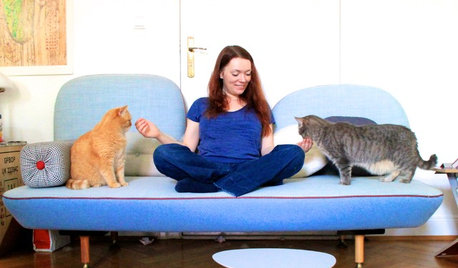
PETSWorld of Design: Pampered Pets and Their 10 One-of-a-Kind Homes
Fall in love with these critters and their clever living spaces, from a cat playground in France to a chicken house in the U.S.
Full Story
MOST POPULARRethinking Beige in a World Gone Gray
Gray, the ‘it’ neutral of recent years, has left beige in the shade. But is it time to revisit this easy-on-the-eyes wall color?
Full Story
MOST POPULARKitchens Down Under: 20 Design Ideas to Inspire You
These popular Australian kitchens have exciting ideas to borrow no matter where you live
Full Story
KITCHEN DESIGNThe Most Popular Kitchen Storage Ideas of 2015
Maximizing every inch, keeping necessities close at hand and finding room for technology top Houzzer favorites
Full Story
MOST POPULARThe 15 Most Popular Kitchen Storage Ideas on Houzz
Solve common kitchen dilemmas in style with custom and ready-made organizers, drawers, shelves and more
Full Story
HOME OFFICESThe 20 Most Popular Home Office Photos of 2015
Technology paves the way for space-saving work areas, while designers make up for small sizes with style
Full Story
THE HARDWORKING HOMESmart Ways to Make the Most of a Compact Kitchen
Minimal square footage is no barrier to fulfilling your culinary dreams. These tips will help you squeeze the most out of your space
Full Story
MOST POPULARThe Most Popular Kitchen Storage Ideas of 2014
Of all the kitchen storage photos uploaded to Houzz this year, these 14 were tops. Which will you save to your kitchen ideabook?
Full StorySponsored
More Discussions

chicagoans