


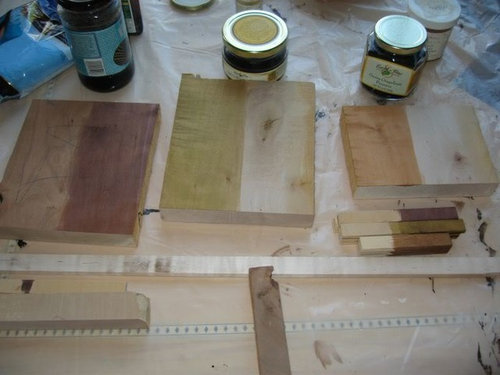
My TP cabinet project w/photos
chiefneil
12 years ago


Sort by:Oldest
Comments (13)
Related Stories
BEFORE AND AFTERSReader Project: California Kitchen Joins the Dark Side
Dark cabinets and countertops replace peeling and cracking all-white versions in this sleek update
Full Story
KITCHEN STORAGECabinets 101: How to Get the Storage You Want
Combine beauty and function in all of your cabinetry by keeping these basics in mind
Full Story
KITCHEN CABINETSKeeping Cabinet Color on the Down Low
Give just base cabinets a colorful coat for a kitchen sporting character and a spacious look
Full Story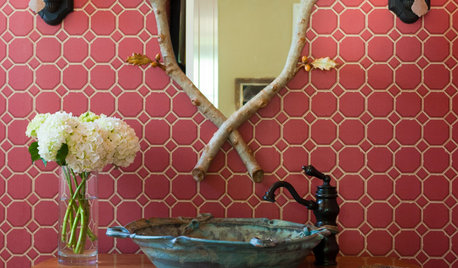
BATHROOM DESIGN10 Jewel-Box Powder Rooms
Throw out the design rule book when planning your own small W.C. and get the half bath you'll really love
Full Story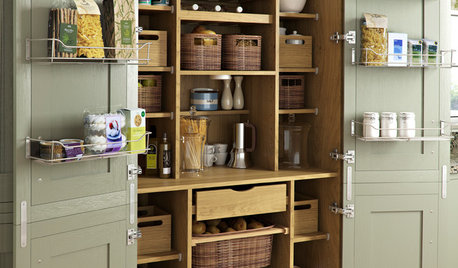
KITCHEN PANTRIES80 Pretty and Practical Kitchen Pantries
This collection of kitchen pantries covers a wide range of sizes, styles and budgets
Full Story
INSIDE HOUZZPro Corner: Add Keywords to Your Photos
Make your photos searchable by Houzz users by adding keywords for style, product descriptions and more
Full Story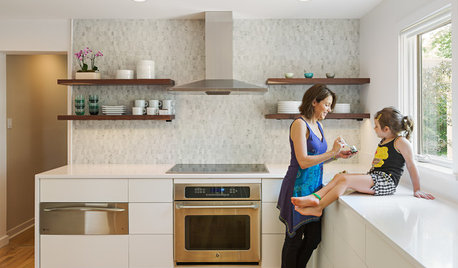
INSIDE HOUZZTell Us Your Houzz Success Story
Have you used the site to connect with professionals, browse photos and more to make your project run smoother? We want to hear your story
Full Story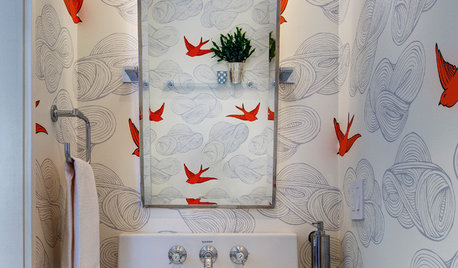
MOST POPULAR102 Eye-Popping Powder Rooms
Flip through our collection of beautiful powder rooms on Houzz and fill your eyes with color and style
Full Story
MOST POPULARThe 25 Most Popular Photos Added to Houzz in 2013
See the newly uploaded images of kitchens, bathrooms, bedrooms and more that Houzz users really fell for this year
Full Story
More Discussions


plllog
wwwonderwhiskers
Related Professionals
Four Corners Kitchen & Bathroom Designers · Grafton Kitchen & Bathroom Designers · United States Kitchen & Bathroom Designers · Williamstown Kitchen & Bathroom Designers · Luling Kitchen & Bathroom Remodelers · Portage Kitchen & Bathroom Remodelers · Saint Augustine Kitchen & Bathroom Remodelers · Sun Valley Kitchen & Bathroom Remodelers · Upper Saint Clair Kitchen & Bathroom Remodelers · Homer Glen Cabinets & Cabinetry · Sunset Cabinets & Cabinetry · Tacoma Cabinets & Cabinetry · Vermillion Cabinets & Cabinetry · Central Cabinets & Cabinetry · Wyomissing Tile and Stone Contractorsflwrs_n_co
chiefneilOriginal Author
chicagoans
chiefneilOriginal Author
dianalo
Adrienne2011
chiefneilOriginal Author
plllog
johnorange
chiefneilOriginal Author
chiefneilOriginal Author