


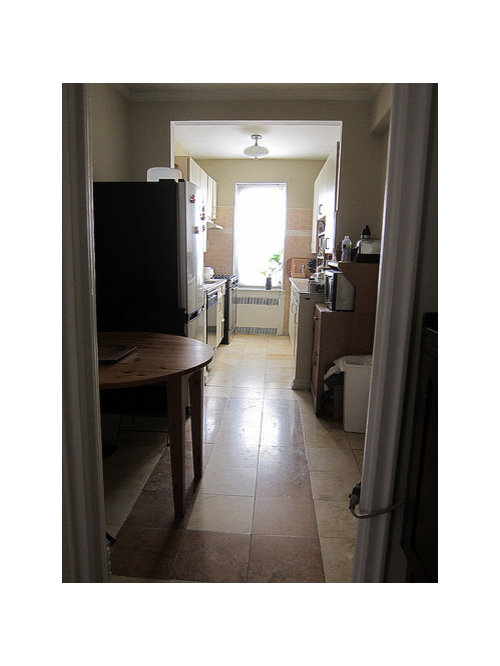
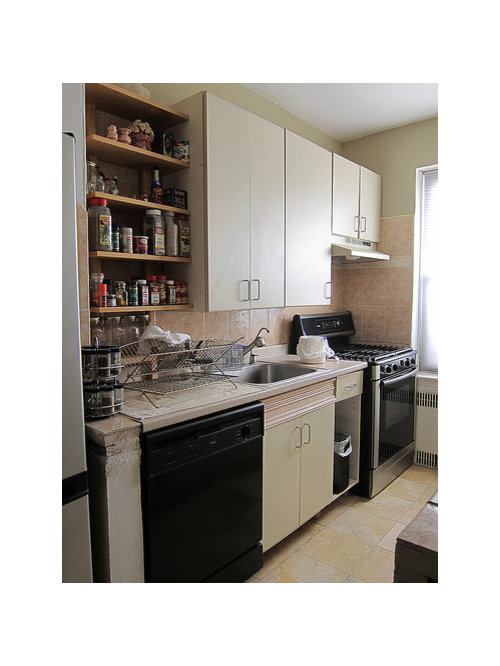
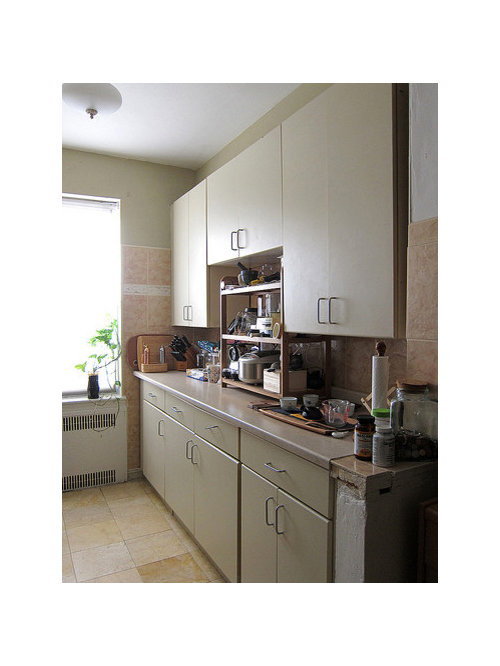
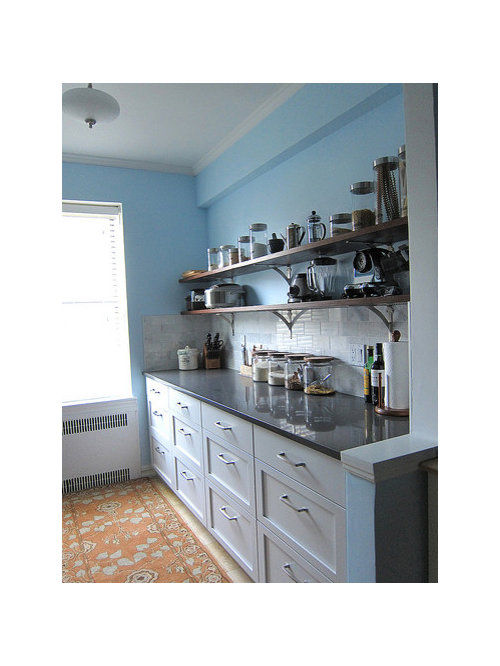
Finished NYC galley kitchen on a budget!
judibean
10 years ago


Featured Answer
Comments (30)

Holly- Kay
10 years agolast modified: 9 years ago
rkb21
10 years agolast modified: 9 years agoRelated Professionals
Highland Park Kitchen & Bathroom Designers · Waianae Kitchen & Bathroom Designers · Chicago Ridge Kitchen & Bathroom Remodelers · Crestline Kitchen & Bathroom Remodelers · Fairland Kitchen & Bathroom Remodelers · Port Charlotte Kitchen & Bathroom Remodelers · Sun Valley Kitchen & Bathroom Remodelers · Vienna Kitchen & Bathroom Remodelers · Joppatowne Kitchen & Bathroom Remodelers · Palestine Kitchen & Bathroom Remodelers · Mount Prospect Cabinets & Cabinetry · Bellwood Cabinets & Cabinetry · Lake Nona Tile and Stone Contractors · Pendleton Tile and Stone Contractors · Bloomingdale Design-Build Firmsnycbluedevil
10 years agolast modified: 9 years ago
williamsem
10 years agolast modified: 9 years agoSparklingWater
10 years agolast modified: 9 years ago
trailrunner
10 years agolast modified: 9 years agoLoPay
10 years agolast modified: 9 years agogothaml
10 years agolast modified: 9 years agoandreak100
10 years agolast modified: 9 years agokksmama
10 years agolast modified: 9 years agogwlolo
10 years agolast modified: 9 years ago- PRO
modern life interiors
10 years agolast modified: 9 years ago ginny20
10 years agolast modified: 9 years agorosie
10 years agolast modified: 9 years agokam76
10 years agolast modified: 9 years agojudibean
10 years agolast modified: 9 years agoalvmusick
10 years agolast modified: 9 years agoblfenton
10 years agolast modified: 9 years agojudibean
10 years agolast modified: 9 years ago
Gooster
10 years agolast modified: 9 years agoscrappy25
10 years agolast modified: 9 years agojudibean
10 years agolast modified: 9 years agoscrappy25
10 years agolast modified: 9 years agojudibean
10 years agolast modified: 9 years ago
a2gemini
10 years agolast modified: 9 years agojudibean
10 years agolast modified: 9 years agoscrappy25
10 years agolast modified: 9 years agodeedles
10 years agolast modified: 9 years agogmoet
6 years ago
Related Stories
KITCHEN DESIGNKitchen Remodel Costs: 3 Budgets, 3 Kitchens
What you can expect from a kitchen remodel with a budget from $20,000 to $100,000
Full Story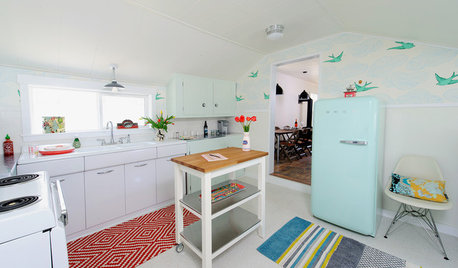
KITCHEN DESIGNKitchen of the Week: A Cottage-Chic Kitchen on a Budget
See how a designer transformed her vacation cottage kitchen with salvage materials, vintage accents, paint and a couple of splurges
Full Story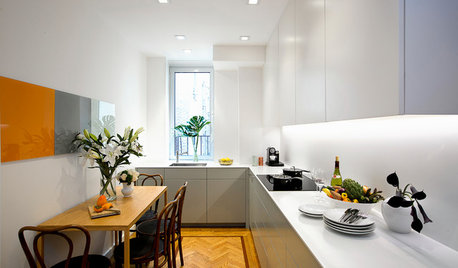
SMALL KITCHENSKitchen of the Week: Space-Saving Tricks Open Up a New York Galley
A raised ceiling, smaller appliances and white paint help bring airiness to a once-cramped Manhattan space
Full Story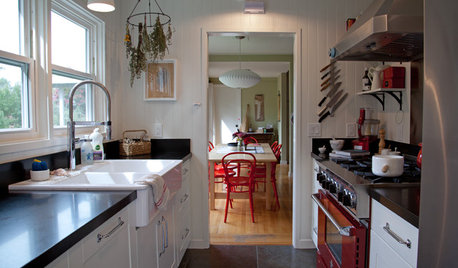
KITCHEN DESIGNKitchen of the Week: A Galley Kitchen in Wine Country
Smart reorganizing, budget-friendly materials and one splurge give a food-loving California family more space, storage and efficiency
Full Story
KITCHEN DESIGNTry a Shorter Kitchen Backsplash for Budget-Friendly Style
Shave costs on a kitchen remodel with a pared-down backsplash in one of these great materials
Full Story
REMODELING GUIDESFrom the Pros: 8 Reasons Kitchen Renovations Go Over Budget
We asked kitchen designers to tell us the most common budget-busters they see
Full Story
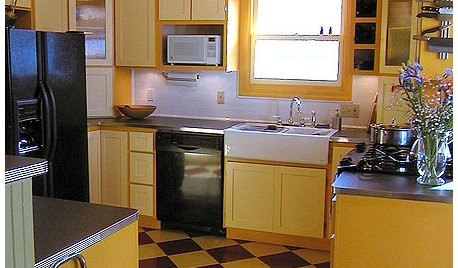
KITCHEN DESIGNKitchen of the Week: A Budget Makeover in Massachusetts
For less than $3,000 (not including appliances), a designing couple gets a new kitchen that honors the past
Full Story
KITCHEN DESIGNSingle-Wall Galley Kitchens Catch the 'I'
I-shape kitchen layouts take a streamlined, flexible approach and can be easy on the wallet too
Full Story
KITCHEN DESIGN10 Tips for Planning a Galley Kitchen
Follow these guidelines to make your galley kitchen layout work better for you
Full Story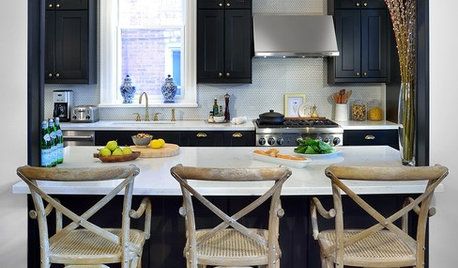
KITCHEN DESIGNKitchen of the Week: Galley Kitchen Is Long on Style
Victorian-era details and French-bistro inspiration create an elegant custom look in this narrow space
Full Story


scrappy25