


How about poured concrete counters?
blakey
15 years ago
Related Stories
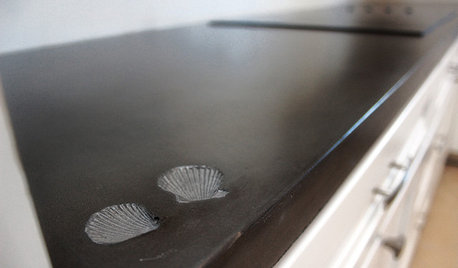
KITCHEN COUNTERTOPSElephants of the Kitchen? What to Know About Concrete Counters
Concrete countertops are beautiful, heavy and cool — and have their own peculiarities. And a lot in common with certain gray pachyderms
Full Story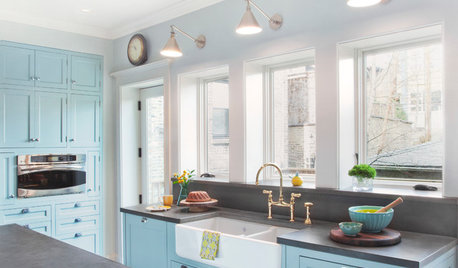
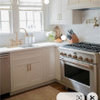
KITCHEN BACKSPLASHES10 Top Backsplashes to Pair With Concrete Counters
Simplify your decision making with these ideas for materials that work well with concrete
Full Story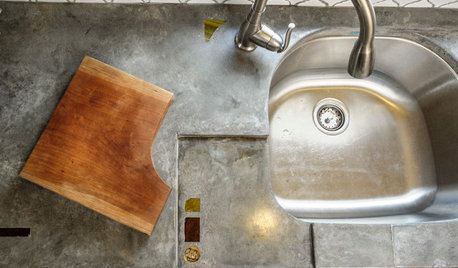
KITCHEN COUNTERTOPSCast Concrete Countertops With a Personal Twist
From frame making to pouring to inlays, learn how concrete counters are cast — and how an artisan embellishes them
Full Story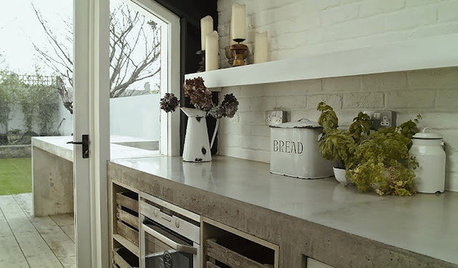
KITCHEN COUNTERTOPSKitchen Counters: Concrete, the Nearly Indestructible Option
Infinitely customizable and with an amazingly long life span, concrete countertops are an excellent option for any kitchen
Full Story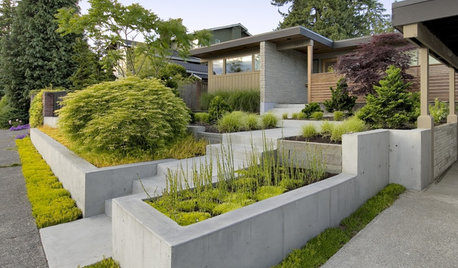
LANDSCAPE DESIGNGarden Walls: Pour On the Style With Concrete
There's no end to what you — make that your contractor — can create using this strong and low-maintenance material
Full Story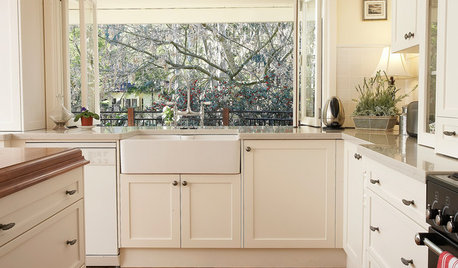
KITCHEN SINKSEverything You Need to Know About Farmhouse Sinks
They’re charming, homey, durable, elegant, functional and nostalgic. Those are just a few of the reasons they’re so popular
Full Story
REMODELING GUIDESWhat to Know About Budgeting for Your Home Remodel
Plan early and be realistic to pull off a home construction project smoothly
Full Story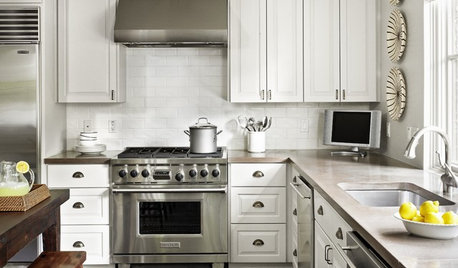
KITCHEN DESIGNAmazing Ways with Concrete Countertops
See What Designers Are Doing With This Versatile, Weatherproof Counter Alternative
Full Story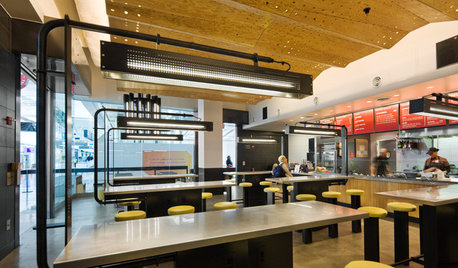
HOME TECHWhat Chipotle and Radiohead Can Teach Us About Sound Quality at Home
Contemporary designs filled with glass and concrete can be hostile environments for great sound quality. Here's how to fix that
Full Story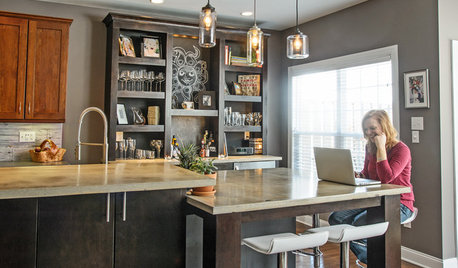
INSIDE HOUZZInside Houzz: The Right Kitchen Counters in Just a Few Clicks
Concrete kitchen countertops eluded this Pennsylvania homeowner until she turned to Houzz
Full Story

biner
malhgold
Related Professionals
Kalamazoo Kitchen & Bathroom Designers · Montrose Kitchen & Bathroom Designers · Clovis Kitchen & Bathroom Remodelers · Deerfield Beach Kitchen & Bathroom Remodelers · Luling Kitchen & Bathroom Remodelers · Omaha Kitchen & Bathroom Remodelers · Overland Park Kitchen & Bathroom Remodelers · Panama City Kitchen & Bathroom Remodelers · Richland Kitchen & Bathroom Remodelers · San Juan Capistrano Kitchen & Bathroom Remodelers · Schiller Park Kitchen & Bathroom Remodelers · Gibsonton Kitchen & Bathroom Remodelers · Bullhead City Cabinets & Cabinetry · Citrus Heights Cabinets & Cabinetry · Prior Lake Cabinets & Cabinetryoverlyoptimistic
blakeyOriginal Author
biner
biner
overlyoptimistic
biner
bluekitobsessed
raenjapan
biner
teddas
overlyoptimistic
biner
overlyoptimistic
biner
biner
raenjapan
biner
biner
biner
overlyoptimistic
biner
overlyoptimistic
biner
coleen3201118
overlyoptimistic
biner
Circus Peanut
Yvonne B
biner
overlyoptimistic
Yvonne B
blakeyOriginal Author
sbcichocki