


Transforming used cabinets
tomatofreak
9 years ago
Sort by:Oldest
Comments (25)
Related Stories
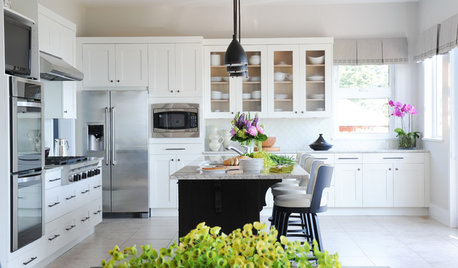
INSIDE HOUZZInside Houzz: Refaced Cabinets Transform a Kitchen
No walls came down. No windows were added. But this once-dark kitchen looks completely different, thanks to bright new surfaces
Full Story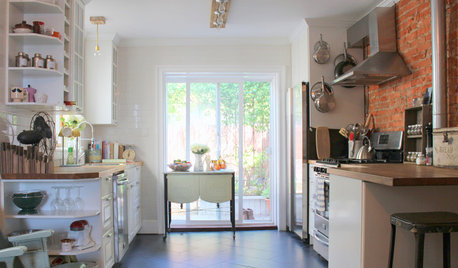
HOUZZ TOURSMy Houzz: DIY Efforts Transform a South Philly Row House
Elbow grease and creative thinking take an early-1900s home in Pennsylvania into the realm of knockout style
Full Story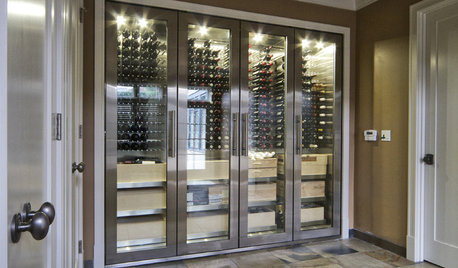
WINE CELLARS8 Tips to Transform Your Basement Into a Wine Cellar
Enjoy a "very good year" as often as you like when you curate favorite vintages in your own basement wine cellar
Full Story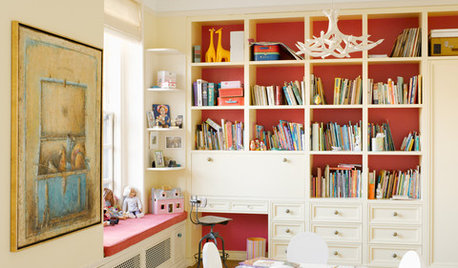
COLORPaint Your Bookcases to Transform Your Room
Give your shelves some color for a whole new look. Here are 10 examples, from subtle to bold, and some styling tips to try
Full Story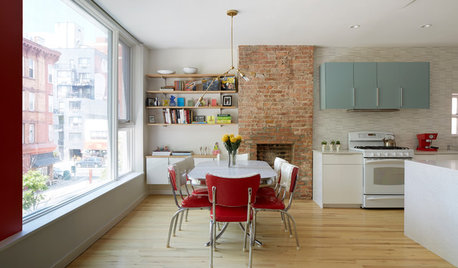
TOWNHOUSESHouzz Tour: Color and Light Transform a Brooklyn Townhouse
Bright red and robin’s egg blue accents set off white walls and wood floors in this bright New York family home
Full Story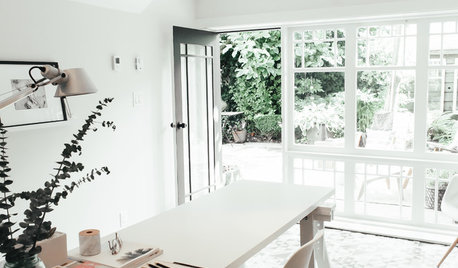
STUDIOS AND WORKSHOPSRoom of the Day: Garage Is Transformed Into a Dreamy Studio
An eclectic mix of old and new creates an inspiring, distraction-free space for writing
Full Story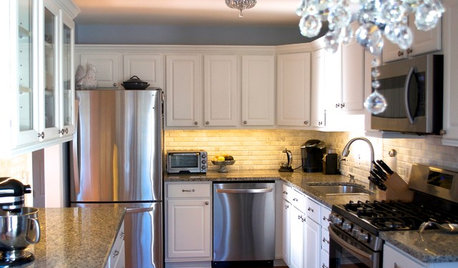
KITCHEN DESIGNDIY Spirit and $8,700 Transform a Townhouse Kitchen
The Spanos taught themselves some remodeling tricks, created a Houzz ideabook and then got to work on their kitchen makeover
Full Story
INSIDE HOUZZInside Houzz: Rich Wood Transforms a Dallas Bathroom
All white was all wrong for this Texas couple. See how they remodeled their bath with high-end materials in warm tones
Full Story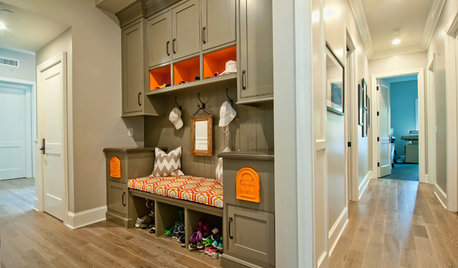
ENTRYWAYSSingle Design Moves That Can Transform an Entry
Take your foyer from merely fine to fabulous with one brilliant touch
Full StoryHOUZZ TOURSMy Houzz: Midcentury Modern Style Transforms a Vineyard Bungalow
Spectacular surroundings and iconic design inspiration meet in a major overhaul of a 1960s Ontario home
Full Story

CEFreeman
tomatofreakOriginal Author
Related Professionals
East Peoria Kitchen & Bathroom Designers · Magna Kitchen & Bathroom Designers · Saint Peters Kitchen & Bathroom Designers · Salmon Creek Kitchen & Bathroom Designers · Channahon Kitchen & Bathroom Remodelers · Dearborn Kitchen & Bathroom Remodelers · Linton Hall Kitchen & Bathroom Remodelers · South Park Township Kitchen & Bathroom Remodelers · Toms River Kitchen & Bathroom Remodelers · Wilson Kitchen & Bathroom Remodelers · Harrison Cabinets & Cabinetry · Oakland Park Cabinets & Cabinetry · Prospect Heights Cabinets & Cabinetry · Wyckoff Cabinets & Cabinetry · Bell Design-Build Firmsweedyacres
tomatofreakOriginal Author
CEFreeman
greenhaven
tomatofreakOriginal Author
CEFreeman
ardcp
greenhaven
tomatofreakOriginal Author
ghostlyvision
tomatofreakOriginal Author
ghostlyvision
Gracie
rbli
tomatofreakOriginal Author
nosoccermom
CEFreeman
tomatofreakOriginal Author
CEFreeman
olympia776
CEFreeman
tomatofreakOriginal Author
olympia776