


Oak cabinet restain-before and after pics!
bahacca
11 years ago
Related Stories
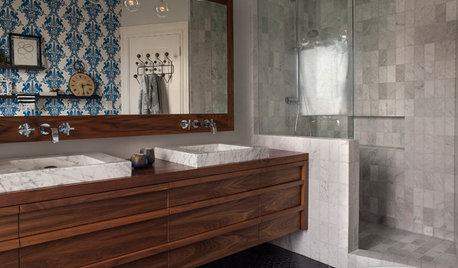
BEFORE AND AFTERSBefore and After: 19 Dramatic Bathroom Makeovers
See what's possible with these examples of bathroom remodels that wow
Full Story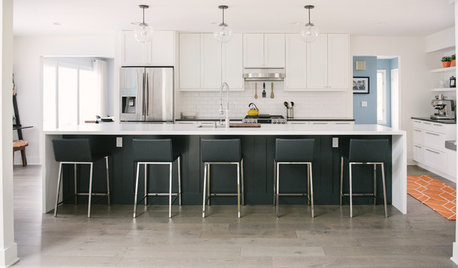
WHITE KITCHENSBefore and After: Modern Update Blasts a '70s Kitchen Out of the Past
A massive island and a neutral color palette turn a retro kitchen into a modern space full of function and storage
Full Story
DESIGNER SHOWCASESBefore and After: See How Rooms Came to Life at the Pasadena Show House
Read the design details behind transformations at the 2016 Southern California showcase house
Full Story
KITCHEN CABINETSChoosing New Cabinets? Here’s What to Know Before You Shop
Get the scoop on kitchen and bathroom cabinet materials and construction methods to understand your options
Full Story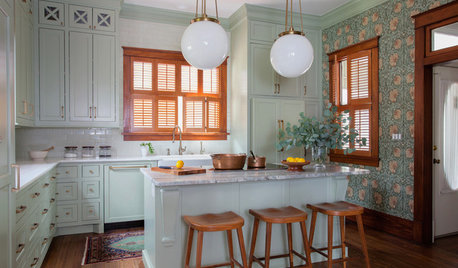
KITCHEN OF THE WEEKKitchen of the Week: Goodbye, Honey Oak — Hello, Minty Green
After more than 30 years, the Kloesels revamped their space to reflect their rural country town and Victorian-style home
Full Story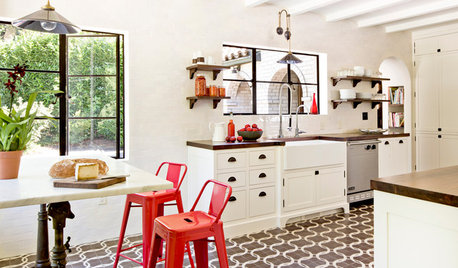
REMODELING GUIDESWhat to Know Before You Tear Down That Wall
Great Home Projects: Opening up a room? Learn who to hire, what it’ll cost and how long it will take
Full Story
KITCHEN DESIGNModern Storage and Sunshine Scare Away the Monster in a Kansas Kitchen
New windows and all-white cabinetry lighten a kitchen that was once dominated by an oversize range hood and inefficient cabinets
Full Story
KITCHEN OF THE WEEKKitchen of the Week: Refacing Refreshes a Family Kitchen on a Budget
Two-tone cabinets, vibrant fabric and a frosty backsplash brighten this eat-in kitchen
Full StoryBEFORE AND AFTERSGray Cabinets Update a Texas Kitchen
Julie Shannon spent 3 years planning her kitchen update, choosing a gray palette and finding the materials for a transitional style
Full Story
MY HOUZZMy Houzz: After Renovating, a Family Flips Over Its House
What started as a 'buy, renovate and flip' project turns into so much more for a creative family in Australia
Full Story

remodelfla
eriepatch
Related Professionals
Magna Kitchen & Bathroom Designers · San Jose Kitchen & Bathroom Designers · Woodlawn Kitchen & Bathroom Designers · Bellevue Kitchen & Bathroom Remodelers · Buffalo Grove Kitchen & Bathroom Remodelers · Ewa Beach Kitchen & Bathroom Remodelers · Honolulu Kitchen & Bathroom Remodelers · Lincoln Kitchen & Bathroom Remodelers · Sioux Falls Kitchen & Bathroom Remodelers · Westchester Kitchen & Bathroom Remodelers · Hanover Park Cabinets & Cabinetry · Marco Island Cabinets & Cabinetry · Short Hills Cabinets & Cabinetry · University Park Cabinets & Cabinetry · Rancho Mirage Tile and Stone ContractorsEngineerChic
debrak_2008
taggie
kaijutokusatsu
bahaccaOriginal Author
bahaccaOriginal Author
clarygrace
1929Spanish
EngineerChic
bahaccaOriginal Author
CEFreeman
TxMarti
NewSouthernBelle
springroz
finestra
EATREALFOOD
Annie Deighnaugh
mjsee
Bunny
sanjuangirl
kcargin
bahaccaOriginal Author
bahaccaOriginal Author
bahaccaOriginal Author