


How difficult is it to finish a wood counter top?
jillandmatt
12 years ago
Sort by:Oldest
Comments (21)
Related Stories
DECORATING GUIDESThe Art of the Window: Drapery Solutions for Difficult Types and Shapes
Stymied by how to hang draperies on a nonstandard window? Check out these tips for dressing 10 tricky window styles
Full Story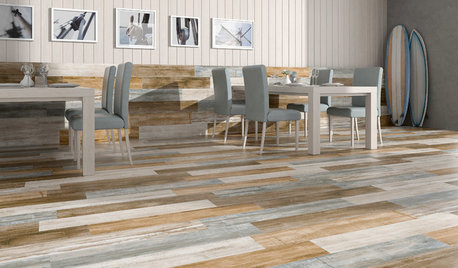
TILETop Tile Trends From the Coverings 2013 Show — the Wood Look
Get the beauty of wood while waving off potential splinters, rotting and long searches, thanks to eye-fooling ceramic and porcelain tiles
Full Story
KITCHEN DESIGNThe Best Backsplashes to Pair With Wood Counters
Simplify your decision-making with these ideas for materials that work well with wood counters
Full Story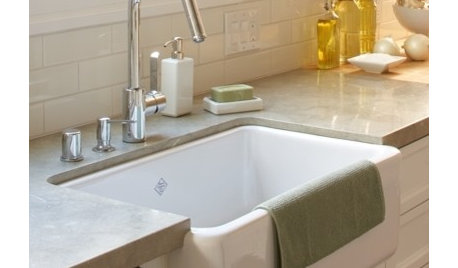
CONTRACTOR TIPSContractor Tips: Countertop Installation from Start to Finish
From counter templates to ongoing care, a professional contractor shares what you need to know
Full Story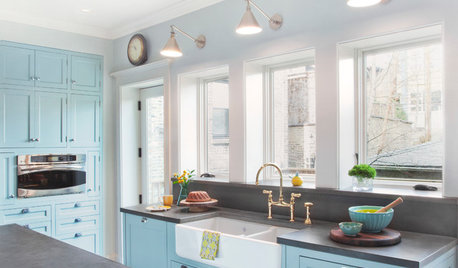
KITCHEN BACKSPLASHES10 Top Backsplashes to Pair With Concrete Counters
Simplify your decision making with these ideas for materials that work well with concrete
Full Story
REMODELING GUIDESPro Finishing Secret: Aniline Dye for Wood
Deeper and richer than any stain, aniline dye gives wood stunningly deep color and a long-lasting finish
Full Story
KITCHEN DESIGNYour Kitchen: Mix Wood and Painted Finishes
Create a Grounded, Authentic Design With Layers of Natural and Painted Wood
Full Story
KITCHEN DESIGNWhat Goes With Granite Counters?
Coordinate your kitchen finishes beautifully by choosing colors that complement granite’s natural tones
Full Story
KITCHEN DESIGN3 Steps to Choosing Kitchen Finishes Wisely
Lost your way in the field of options for countertop and cabinet finishes? This advice will put your kitchen renovation back on track
Full Story
KITCHEN COUNTERTOPSWalk Through a Granite Countertop Installation — Showroom to Finish
Learn exactly what to expect during a granite installation and how to maximize your investment
Full Story

MCMesprit
geargirly
Related Professionals
El Sobrante Kitchen & Bathroom Designers · Lafayette Kitchen & Bathroom Designers · Vineyard Kitchen & Bathroom Designers · Woodlawn Kitchen & Bathroom Designers · South Barrington Kitchen & Bathroom Designers · Boca Raton Kitchen & Bathroom Remodelers · Bremerton Kitchen & Bathroom Remodelers · Portage Kitchen & Bathroom Remodelers · Tulsa Kitchen & Bathroom Remodelers · Buena Park Cabinets & Cabinetry · Reading Cabinets & Cabinetry · White Center Cabinets & Cabinetry · Tabernacle Cabinets & Cabinetry · Bell Design-Build Firms · Suamico Design-Build Firmssombreuil_mongrel
honorbiltkit
jillandmattOriginal Author
sombreuil_mongrel
geargirly
breezygirl
sarahhomeremodel
sarahhomeremodel
writersblock (9b/10a)
sarahhomeremodel
writersblock (9b/10a)
breezygirl
sarahhomeremodel
writersblock (9b/10a)
writersblock (9b/10a)
jillandmattOriginal Author
tamihs13
melsey
domesticah