


Way cool Lee Valley organizers: way too much?
aliris19
12 years ago
Sort by:Oldest
Comments (29)
Related Stories
DECORATING GUIDESFresh Start: 39 Ways to Organize Your Stuff
Jumpstart your year with great storage ideas from the Houzz community
Full Story
LIFE10 Smart Ways to Deal With Summer Gear
Start fall with a clean slate by organizing, repairing and storing summertime essentials the right way
Full Story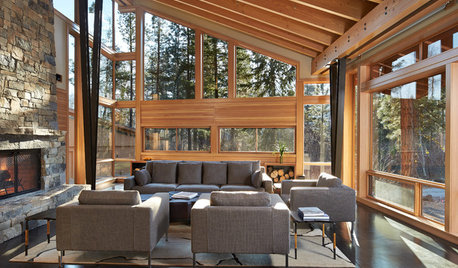
MODERN HOMESHouzz Tour: Organic Beauty in a Remote Washington Valley
An architect designs almost everything — rugs, light fixtures, counter stools and more — in this modern handcrafted home
Full Story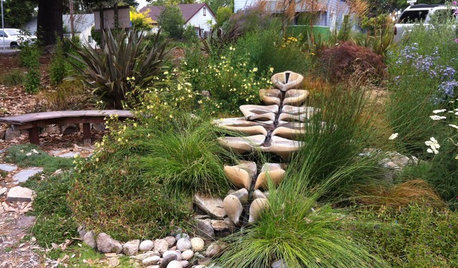
LANDSCAPE DESIGNNew Ways to Design With Water
Go beyond 3-tiered fountains and faux waterfalls to discover water's architectural possibilities
Full Story
SELLING YOUR HOUSEKitchen Ideas: 8 Ways to Prep for Resale
Some key updates to your kitchen will help you sell your house. Here’s what you need to know
Full Story
OUTBUILDINGS10 Ways to Revamp Your Garden Shed
Give your backyard structure a little TLC and reap the rewards
Full Story
COMMUNITY15 Ways to Make Your Neighborhood Better
Does your community lack ... well, a sense of community? Here's how to strengthen that neighborly spirit
Full Story
LIFEThe Top 5 Ways to Save Water at Home
Get on the fast track to preserving a valuable resource and saving money too with these smart, effective strategies
Full Story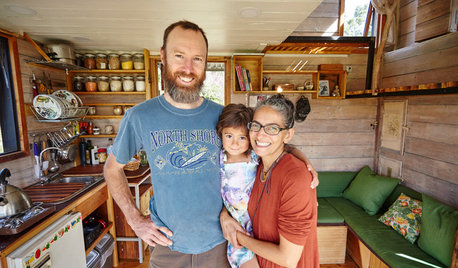
SMALL HOMESTiny Houzz Tour: Living the Good Life Their Way
This owner-built home in Australia may be on the small side, but it provides the perfect space for the family’s big dreams to come true
Full Story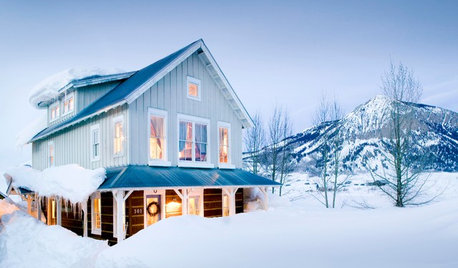
LIFEHard Winter? 9 Ways to Battle Cabin Fever
We know a lot of you are trapped where it just won’t stop snowing. Here are some ways to survive
Full StoryMore Discussions
daisychain01
Adrienne2011
Related Professionals
El Sobrante Kitchen & Bathroom Designers · St. Louis Kitchen & Bathroom Designers · Beach Park Kitchen & Bathroom Remodelers · Chandler Kitchen & Bathroom Remodelers · Ewa Beach Kitchen & Bathroom Remodelers · Green Bay Kitchen & Bathroom Remodelers · Hickory Kitchen & Bathroom Remodelers · Las Vegas Kitchen & Bathroom Remodelers · Pico Rivera Kitchen & Bathroom Remodelers · Rochester Kitchen & Bathroom Remodelers · Tempe Kitchen & Bathroom Remodelers · Tinton Falls Cabinets & Cabinetry · Whitney Cabinets & Cabinetry · Englewood Tile and Stone Contractors · Lake Butler Design-Build Firmsbethcw
hortonbrass
desertsteph
macybaby
lazy_gardens
cat_mom
lowspark
Adrienne2011
Adrienne2011
Cloud Swift
momtofour
pudgybaby
bob_cville
aliris19Original Author
lowspark
doggonegardener
aliris19Original Author
reston1
mabeldingeldine_gw
aliris19Original Author
lalithar
ladoladi
marcydc
houseful
lowspark
aliris19Original Author
lowspark