


mini update on my kitchen remodel progress.
old_skool
15 years ago
Sort by:Oldest
Comments (24)
Related Stories
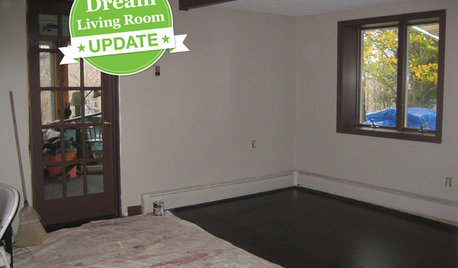
DECORATING GUIDESDream Living Room Makeover Progress Report
See how our sweepstakes winner is handling life in a construction zone — and get a peek at the remodel's progress
Full Story
BEFORE AND AFTERSModern Function and Simplicity in an Updated 1970s Kitchen
Goodbye to retro appliances and wasted space. Hello to better traffic flow and fresh new everything
Full Story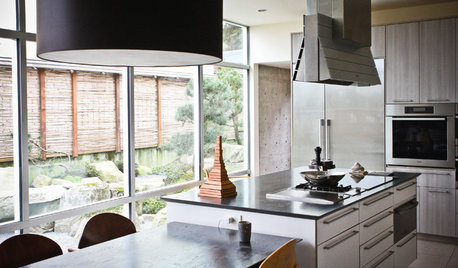
HOUZZ TOURSMy Houzz: A Kitchen Update With Indoor-Outdoor Beauty
A Japanese-inspired kitchen and garden remodel gives a Seattle couple their own little piece of Kyoto
Full Story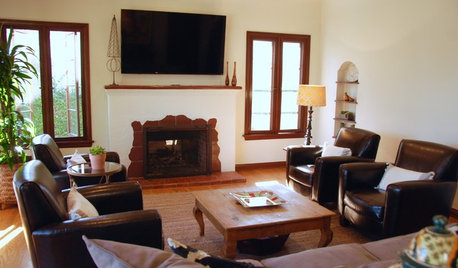
HOUZZ TOURSMy Houzz: Clean, Family-Friendly Update for a 1935 Home
The warm and classic style of this remodeled Spanish-style home is just right for a family of 5 in Southern California
Full Story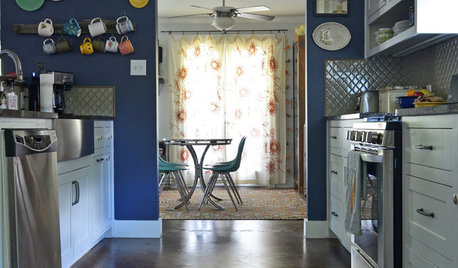
MY HOUZZMy Houzz: A Pay-It-Forward Kitchen Remodel in Dallas
Vintage finds, color and a kitchen update add new universal flow to a family’s 1960s home
Full Story
BATHROOM DESIGNUpload of the Day: A Mini Fridge in the Master Bathroom? Yes, Please!
Talk about convenience. Better yet, get it yourself after being inspired by this Texas bath
Full Story
REMODELING GUIDESHouzz Tour: Updating a Midcentury Aerie in the Berkeley Hills
The setting was splendid; the house, not so much. Now the two are right in line, with high quality to spare
Full Story
REMODELING GUIDESMy Houzz: Earthy Update of a Midcentury Family Home
An award-winning renovation of a 1950s abode creates the perfect sanctuary for a family of 4
Full Story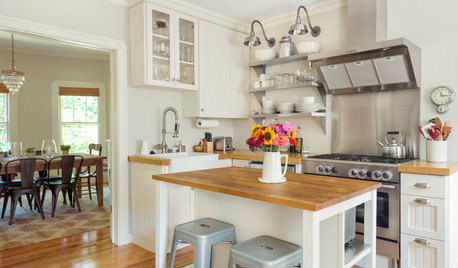
HOUZZ TOURSMy Houzz: Bright and Cheerful Updates to an 1890s Colonial Revival
Modern tweaks, including a kitchen overhaul, brighten a family’s home
Full Story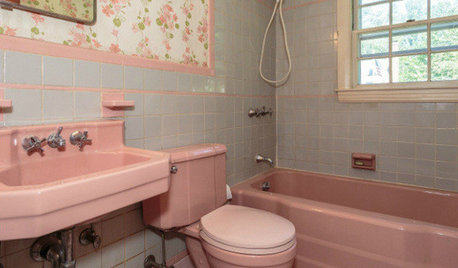
BATHROOM COLOR8 Ways to Spruce Up an Older Bathroom (Without Remodeling)
Mint tiles got you feeling blue? Don’t demolish — distract the eye by updating small details
Full Story

periwinkle18
ci_lantro
Related Professionals
Glens Falls Kitchen & Bathroom Designers · Hammond Kitchen & Bathroom Designers · Ramsey Kitchen & Bathroom Designers · Springfield Kitchen & Bathroom Designers · Terryville Kitchen & Bathroom Designers · Eagle Mountain Kitchen & Bathroom Remodelers · 20781 Kitchen & Bathroom Remodelers · Glendale Kitchen & Bathroom Remodelers · Honolulu Kitchen & Bathroom Remodelers · Mooresville Kitchen & Bathroom Remodelers · Omaha Kitchen & Bathroom Remodelers · North Chicago Kitchen & Bathroom Remodelers · Salisbury Cabinets & Cabinetry · Oak Hills Design-Build Firms · Suamico Design-Build Firmsmustbnuts zone 9 sunset 9
jen4268
neesie
mary1805
old_skoolOriginal Author
old_skoolOriginal Author
vicnsb
old_skoolOriginal Author
laxsupermom
msrose
old_skoolOriginal Author
charlikin
iris16
old_skoolOriginal Author
iris16
old_skoolOriginal Author
old_skoolOriginal Author
elvisandcallie
iris16
Yvonne B
old_skoolOriginal Author
iris16