


Stopping the Dust Mechanism
akarinz
15 years ago


Related Stories
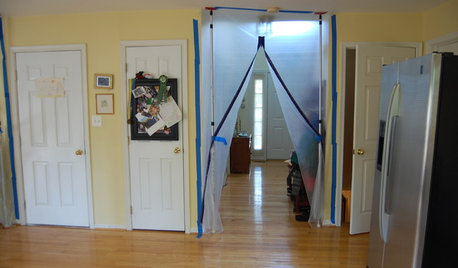
HEALTHY HOMEWhat to Know About Controlling Dust During Remodeling
You can't eliminate dust during construction, but there are ways to contain and remove as much of it as possible
Full Story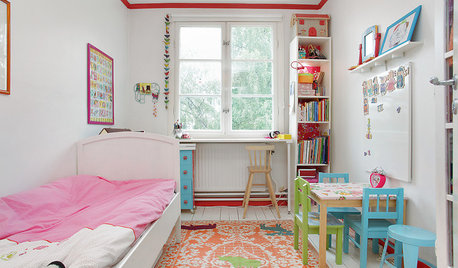
LIFEStop the Toy Takeover by Changing the Way You Think
Make over your approach and get gift givers onboard with your decluttering efforts by providing meaningful toy alternatives
Full Story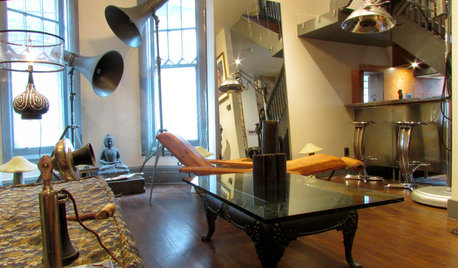
HOUZZ TOURSMy Houzz: Amazing 'Steampunk-Rustic-Mechanical Sorta' Style in Toronto
Suspended furniture, reinvented salvage and imagination star in this Canadian designer's DIY labor of love
Full Story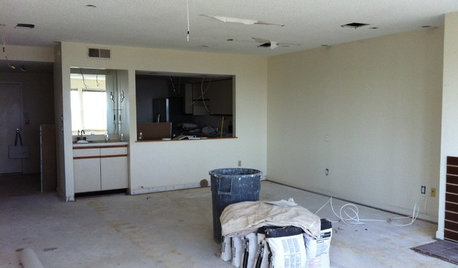
DISASTER PREP & RECOVERYRemodeling After Water Damage: Tips From a Homeowner Who Did It
Learn the crucial steps and coping mechanisms that can help when flooding strikes your home
Full Story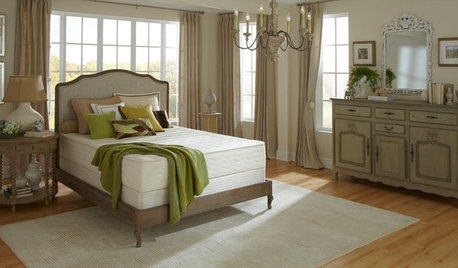
HOUSEKEEPINGHow to Clean and Care for Your Mattress
See what the experts recommend to protect your mattress from dust, moisture and stains
Full Story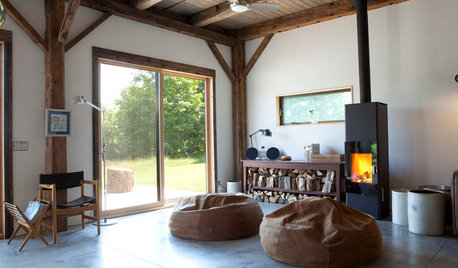
GREEN BUILDINGInsulation Basics: Heat, R-Value and the Building Envelope
Learn how heat moves through a home and the materials that can stop it, to make sure your insulation is as effective as you think
Full Story
HEALTHY HOMEGet Cleaner Indoor Air Without Opening a Window
Mechanical ventilation can actually be better for your home than the natural kind. Find out the whys and hows here
Full Story
GARAGESKey Measurements for the Perfect Garage
Get the dimensions that will let you fit one or more cars in your garage, plus storage and other needs
Full Story
ARCHITECTUREDesign Workshop: Kinetic Architecture
Industrial techniques achieve the sublime in these 5 examples of mechanical walls that move
Full Story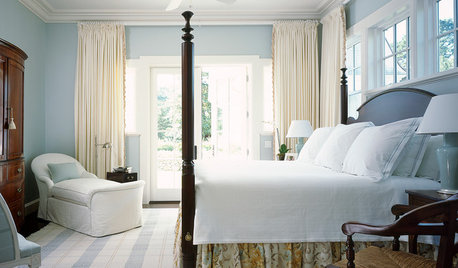
BEDROOMSThe Lowdown on Bed Skirts
Sure, they hide the dust bunnies. But when you know all the options, bed skirts can rack up major style points too
Full Story
louisianapurchase
solarpowered
Related Professionals
Amherst Kitchen & Bathroom Designers · Commerce City Kitchen & Bathroom Designers · Roselle Kitchen & Bathroom Designers · Schenectady Kitchen & Bathroom Designers · Olympia Heights Kitchen & Bathroom Designers · Chicago Ridge Kitchen & Bathroom Remodelers · Gilbert Kitchen & Bathroom Remodelers · Glen Carbon Kitchen & Bathroom Remodelers · Honolulu Kitchen & Bathroom Remodelers · Vista Kitchen & Bathroom Remodelers · Radnor Cabinets & Cabinetry · South Riding Cabinets & Cabinetry · Sunrise Manor Cabinets & Cabinetry · Tenafly Cabinets & Cabinetry · Central Cabinets & Cabinetrymcmann
mcmann
akarinzOriginal Author
lily1342
mustbnuts zone 9 sunset 9
tsmith7