


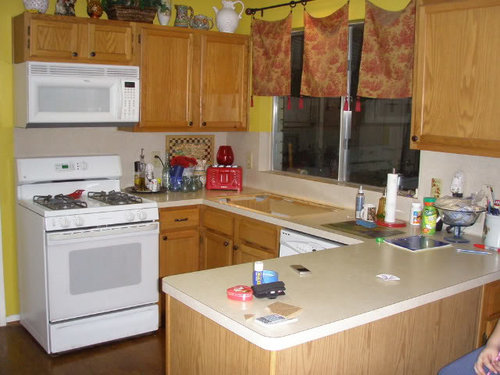
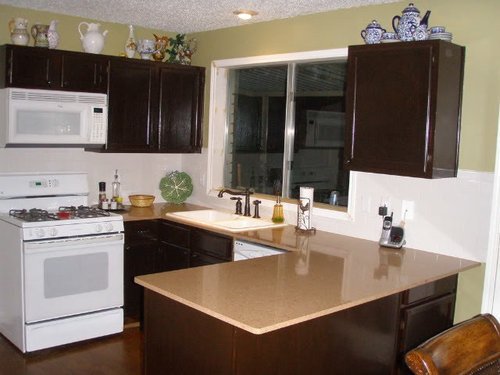
FINISHED small budget remodel - pics!
mlraff53
16 years ago

Sort by:Oldest
Comments (34)
Related Stories
KITCHEN DESIGNStylish New Kitchen, Shoestring Budget: See the Process Start to Finish
For less than $13,000 total — and in 34 days — a hardworking family builds a kitchen to be proud of
Full Story
KITCHEN DESIGNKitchen Remodel Costs: 3 Budgets, 3 Kitchens
What you can expect from a kitchen remodel with a budget from $20,000 to $100,000
Full Story
REMODELING GUIDES8 Ways to Stick to Your Budget When Remodeling or Adding On
Know thyself, plan well and beware of ‘scope creep’
Full Story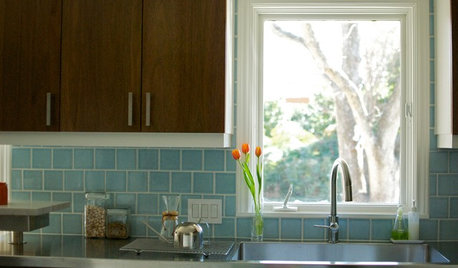
KITCHEN DESIGNKitchen of the Week: Practical, Budget-Friendly Beauty in Dallas
One month and a $25,000 budget — see how a Texas homeowner modernized her kitchen beautifully working with those remodeling constraints
Full Story
MOST POPULARHow to Refine Your Renovation Vision to Fit Your Budget
From dream to done: When planning a remodel that you can afford, expect to review, revise and repeat
Full Story
KITCHEN DESIGNTry a Shorter Kitchen Backsplash for Budget-Friendly Style
Shave costs on a kitchen remodel with a pared-down backsplash in one of these great materials
Full Story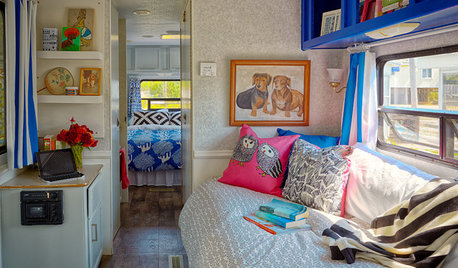
MOST POPULARBudget Beach House: A Trailer Gets Ready for Summer Fun
Punchy prints and colors star in a creative approach to Jersey Shore living
Full Story
RANCH HOMESHouzz Tour: Budget Remodel for a Midcentury Oregon Rancho
With help from friends, an interior designer and her husband refresh an efficient, timeless home in Portland for $15,000
Full Story
REMODELING GUIDESWhat to Know About Budgeting for Your Home Remodel
Plan early and be realistic to pull off a home construction project smoothly
Full Story
REMODELING GUIDESBreakthrough Budgeting Info: The Houzz Real Cost Finder Is Here
Get remodeling and product prices by project and U.S. city, with our easy-to-use interactive tool
Full Story

jayav
joann23456
Related Professionals
Saint Peters Kitchen & Bathroom Designers · Sunrise Manor Kitchen & Bathroom Remodelers · Bethel Park Kitchen & Bathroom Remodelers · Beverly Hills Kitchen & Bathroom Remodelers · Fremont Kitchen & Bathroom Remodelers · Jefferson Hills Kitchen & Bathroom Remodelers · Lakeside Kitchen & Bathroom Remodelers · Oklahoma City Kitchen & Bathroom Remodelers · Superior Kitchen & Bathroom Remodelers · Toms River Kitchen & Bathroom Remodelers · Ham Lake Cabinets & Cabinetry · Albertville Tile and Stone Contractors · Baldwin Tile and Stone Contractors · Brentwood Tile and Stone Contractors · Woodland Design-Build Firmstartanhabit
raenjapan
vwhippiechick
rmlanza
cpang74
many_hats
cheri127
kren_pa
scotlandyard
User
rachelle_g
mlraff53Original Author
westsider40
boxiebabe
fran1523
louisianapurchase
rmlanza
mlraff53Original Author
many_hats
mlraff53Original Author
raehelen
amsunshine
Jean Popowitz
amcofar
cooperbailey
igloochic
kitchenkelly
momto4boys
mlraff53Original Author
momto4boys
paddytc
lynninnewmexico