


Newbie here - thought I'd post pictures of reno in progress
ucgal
12 years ago


Sort by:Oldest
Comments (15)
Related Stories
MOVINGRelocating? Here’s How to Make the Big Move Better
Moving guide, Part 1: How to organize your stuff and your life for an easier household move
Full Story
KITCHEN CABINETSChoosing New Cabinets? Here’s What to Know Before You Shop
Get the scoop on kitchen and bathroom cabinet materials and construction methods to understand your options
Full Story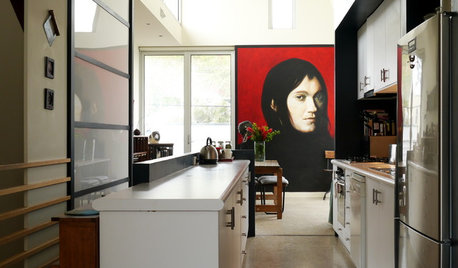
ARTHere’s Looking at You: Supersize Portraiture at Home
Go big. Go bold. Hang huge portraits on blank walls for maximum impact
Full Story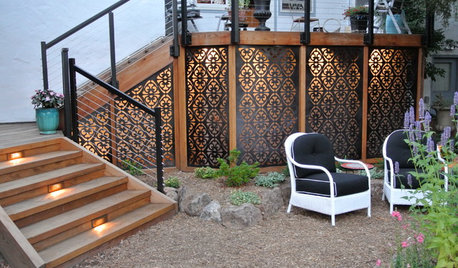
THE ART OF ARCHITECTURELaser-Cut Focus: The Future of Design Is Here
Discover how this laser technology can make almost any pattern a reality
Full Story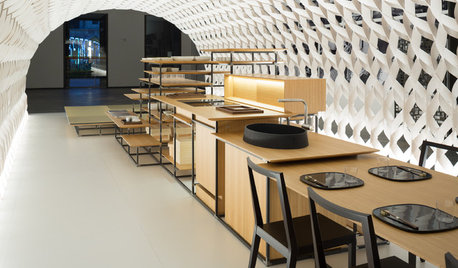
HOMES AROUND THE WORLDThe Kitchen of Tomorrow Is Already Here
A new Houzz survey reveals global kitchen trends with staying power
Full StoryRANCH HOMESHouzz Tour: An Eclectic Ranch Revival in Washington, D.C.
Well-considered renovations, clever art and treasures from family make their mark on an architect’s never-ending work in progress
Full Story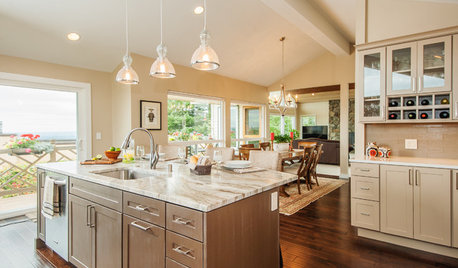
WORKING WITH PROSInside Houzz: An Interior Design Match Made Right Here
See a redesign that started on Houzz — and learn how to find your own designer, architect or other home pro on the site
Full Story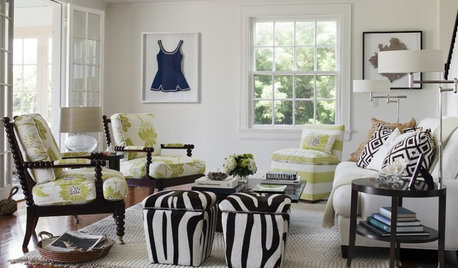
DECORATING GUIDESHere's How to Steer Clear of 10 Top Design Don'ts
Get interiors that look professionally styled even if you're taking the DIY route, by avoiding these common mistakes
Full Story
DECORATING GUIDESHere's How to Master the Throw-Pillow Mix
9 design formulas for piling on the pillows with panache
Full Story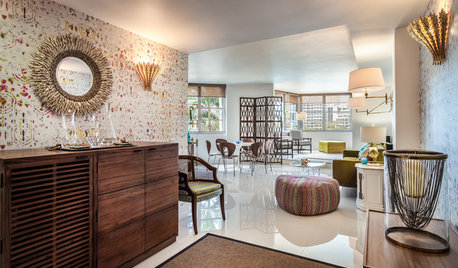
DECORATING GUIDESHouzz Tour: Happy Days Are Here Again in a Miami Apartment
The colors of Biscayne Bay, an owner’s fond memories and the groovy spirit of the 1970s inspire a bright redesign
Full Story
catlover5
2LittleFishies
Related Professionals
South Farmingdale Kitchen & Bathroom Designers · Sunrise Manor Kitchen & Bathroom Remodelers · Minnetonka Mills Kitchen & Bathroom Remodelers · Glade Hill Kitchen & Bathroom Remodelers · Andover Kitchen & Bathroom Remodelers · Chicago Ridge Kitchen & Bathroom Remodelers · Fort Washington Kitchen & Bathroom Remodelers · Ogden Kitchen & Bathroom Remodelers · Panama City Kitchen & Bathroom Remodelers · Rolling Hills Estates Kitchen & Bathroom Remodelers · Wilmington Kitchen & Bathroom Remodelers · Short Hills Cabinets & Cabinetry · Dana Point Tile and Stone Contractors · Foster City Tile and Stone Contractors · Bell Design-Build Firmshlove
desertsteph
a2gemini
fouramblues
ucgalOriginal Author
User
Mizinformation
ucgalOriginal Author
AnnaA
michelle16
ucgalOriginal Author
Dando
Lake_Girl