


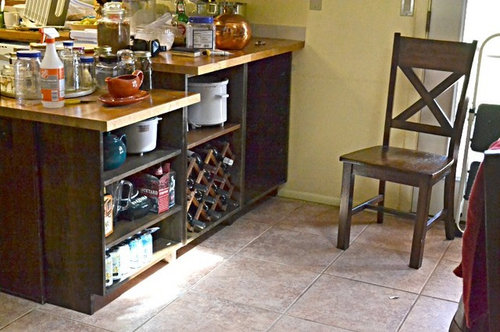
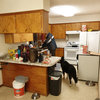
Finally ... DEMOLITION!!!! and Countertops coming.
lazy_gardens
11 years ago
Sort by:Oldest
Comments (17)
Related Stories
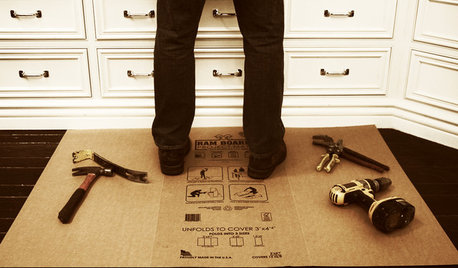
BATHROOM DESIGNOut With the Old Tile: 8 Steps to Prep for Demolition
This isn't a light DIY project: You'll need heavy-duty tools and plenty of protection for your home and yourself
Full Story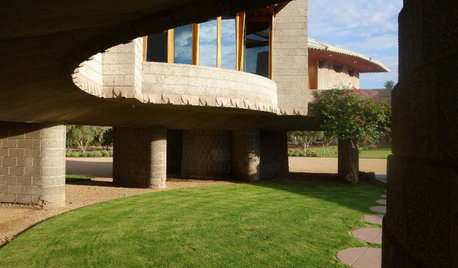
FRANK LLOYD WRIGHTStep Inside a Frank Lloyd Wright House Saved From Demolition
The historic Phoenix property is now part of the architect’s school at Taliesin, where it will be used as a design lab
Full Story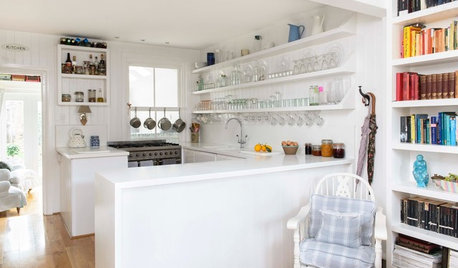
REMODELING GUIDESHouzz Tour: Seaside Home's Charms Come to Light
A dark 1902 house brightens up with a new layout, a white interior and furnishings with plenty of character
Full Story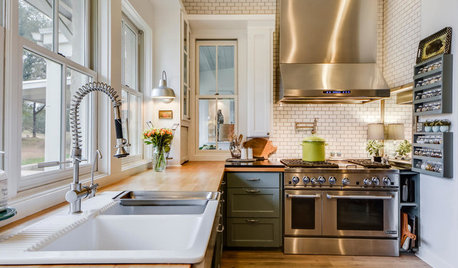
DECORATING GUIDES25 Design Trends Coming to Homes Near You in 2016
From black stainless steel appliances to outdoor fabrics used indoors, these design ideas will be gaining steam in the new year
Full Story
KITCHEN DESIGNKitchen of the Week: Function and Flow Come First
A designer helps a passionate cook and her family plan out every detail for cooking, storage and gathering
Full Story
MIDCENTURY HOMESKitchen of the Week: Walls Come Down in a Colorful Midcentury Space
In this modern home, a galley kitchen opens up and connects to dining and family areas with a roomy bamboo island
Full Story
DECORATING GUIDESHouzz Tour: A Family Home Comes Together, One Piece at a Time
A decorator uses her expert eye to outfit her family’s home with finds from thrift stores, online resale sites and yard sales
Full Story
KITCHEN COUNTERTOPS7 Low-Maintenance Countertops for Your Dream Kitchen
Fingerprints, stains, resealing requirements ... who needs ’em? These countertop materials look great with little effort
Full Story
BATHROOM DESIGNYour Bath: Faucet Finale
Complement your Sink with Functional and Chic Hardware
Full Story
CONTRACTOR TIPSBuilding Permits: The Final Inspection
In the last of our 6-part series on the building permit process, we review the final inspection and typical requirements for approval
Full StorySponsored
Columbus Design-Build, Kitchen & Bath Remodeling, Historic Renovations
More Discussions


ruthie51
stacieann63
Related Professionals
Amherst Kitchen & Bathroom Designers · El Dorado Hills Kitchen & Bathroom Designers · Vineyard Kitchen & Bathroom Designers · North Druid Hills Kitchen & Bathroom Remodelers · Hickory Kitchen & Bathroom Remodelers · Jefferson Hills Kitchen & Bathroom Remodelers · Key Biscayne Kitchen & Bathroom Remodelers · Lomita Kitchen & Bathroom Remodelers · Omaha Kitchen & Bathroom Remodelers · Alafaya Cabinets & Cabinetry · Murray Cabinets & Cabinetry · Radnor Cabinets & Cabinetry · Tabernacle Cabinets & Cabinetry · La Canada Flintridge Tile and Stone Contractors · Aspen Hill Design-Build Firmsbadgergal
a2gemini
lazy_gardensOriginal Author
juliekcmo
lazy_gardensOriginal Author
stacieann63
lazy_gardensOriginal Author
stacieann63
SaraKat
lazy_gardensOriginal Author
lazy_gardensOriginal Author
lazy_gardensOriginal Author
lavender_lass
romy718
lazy_gardensOriginal Author