


concrete countertop
brankulo
15 years ago
Related Stories
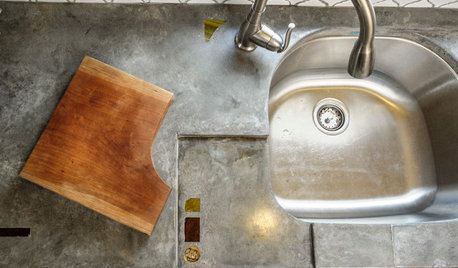
KITCHEN COUNTERTOPSCast Concrete Countertops With a Personal Twist
From frame making to pouring to inlays, learn how concrete counters are cast — and how an artisan embellishes them
Full Story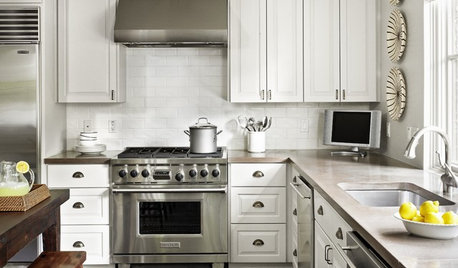
KITCHEN DESIGNAmazing Ways with Concrete Countertops
See What Designers Are Doing With This Versatile, Weatherproof Counter Alternative
Full Story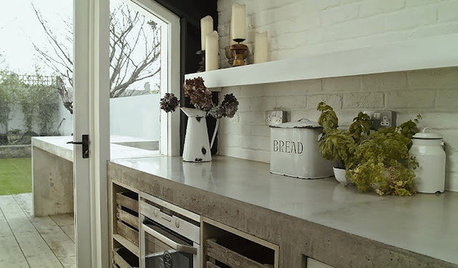
KITCHEN COUNTERTOPSKitchen Counters: Concrete, the Nearly Indestructible Option
Infinitely customizable and with an amazingly long life span, concrete countertops are an excellent option for any kitchen
Full Story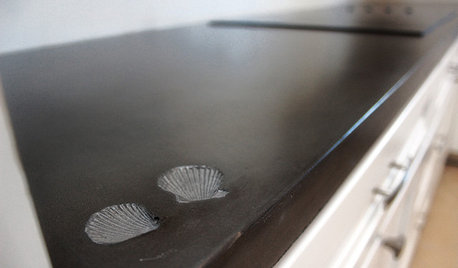
KITCHEN COUNTERTOPSElephants of the Kitchen? What to Know About Concrete Counters
Concrete countertops are beautiful, heavy and cool — and have their own peculiarities. And a lot in common with certain gray pachyderms
Full Story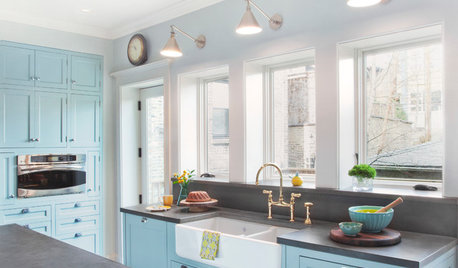
KITCHEN BACKSPLASHES10 Top Backsplashes to Pair With Concrete Counters
Simplify your decision making with these ideas for materials that work well with concrete
Full Story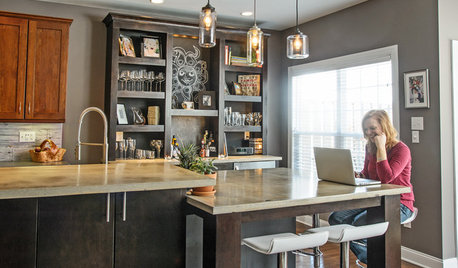
INSIDE HOUZZInside Houzz: The Right Kitchen Counters in Just a Few Clicks
Concrete kitchen countertops eluded this Pennsylvania homeowner until she turned to Houzz
Full Story
KITCHEN COUNTERTOPS7 Low-Maintenance Countertops for Your Dream Kitchen
Fingerprints, stains, resealing requirements ... who needs ’em? These countertop materials look great with little effort
Full Story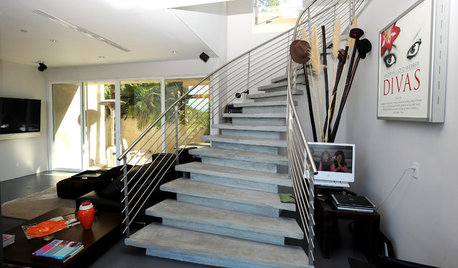
REMODELING GUIDESToday's Concrete: Warm and Wonderful
7 Things to Like About Using Concrete in Your Home's Interior
Full Story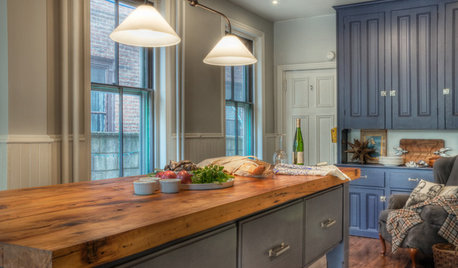
KITCHEN DESIGNEco-Friendly Materials: Kitchen Countertops
Going green in the kitchen opens the door to unusual countertop materials that are beautiful, durable and kind to the planet
Full Story
KITCHEN DESIGNKitchen Countertops 101: Choosing a Surface Material
Explore the pros and cons of 11 kitchen countertop materials. The options may surprise you
Full Story


overlyoptimistic
overlyoptimistic
Related Professionals
Martinsburg Kitchen & Bathroom Designers · Moraga Kitchen & Bathroom Designers · Springfield Kitchen & Bathroom Designers · Bensenville Kitchen & Bathroom Designers · Waianae Kitchen & Bathroom Designers · Sunrise Manor Kitchen & Bathroom Remodelers · Citrus Park Kitchen & Bathroom Remodelers · North Arlington Kitchen & Bathroom Remodelers · Olney Kitchen & Bathroom Remodelers · Port Angeles Kitchen & Bathroom Remodelers · Westchester Kitchen & Bathroom Remodelers · Lawndale Kitchen & Bathroom Remodelers · Little Chute Cabinets & Cabinetry · Warr Acres Cabinets & Cabinetry · Bloomingdale Design-Build Firmssbcichocki
overlyoptimistic
michaelj7
sbcichocki
sbcichocki
sbcichocki
michaelj7
want2bsure
repaintingagain
sbcichocki
overlyoptimistic
michaelj7
sbcichocki
michaelj7
sbcichocki
overlyoptimistic
michaelj7
overlyoptimistic
laura_j
laura_j
michaelj7
sbcichocki
michaelj7
overlyoptimistic
jdesign_gw
michaelj7
sbcichocki
jdesign_gw
michaelj7
jdesign_gw
sbcichocki
michaelj7
raenjapan
sbcichocki
sbcichocki
michaelj7
sbcichocki
want2bsure
michaelj7
overlyoptimistic
sbcichocki
overlyoptimistic
sbcichocki
overlyoptimistic
sbcichocki
g4x4xgeoff
indiana_house_doctor
indiana_house_doctor