


Island, here is some info on my herringbone installation in 2011.
enduring
11 years ago


Sort by:Oldest
Comments (9)
Related Stories
LIGHTINGReady to Install a Chandelier? Here's How to Get It Done
Go for a dramatic look or define a space in an open plan with a light fixture that’s a star
Full Story
KITCHEN CABINETSChoosing New Cabinets? Here’s What to Know Before You Shop
Get the scoop on kitchen and bathroom cabinet materials and construction methods to understand your options
Full Story
HOMES AROUND THE WORLDThe Kitchen of Tomorrow Is Already Here
A new Houzz survey reveals global kitchen trends with staying power
Full Story
FLOORSWhat's the Right Wood Floor Installation for You?
Straight, diagonal, chevron, parquet and more. See which floor design is best for your space
Full Story
DESIGNER SHOWCASESSan Francisco Decorator Showcase: Happy Days Are Here Again
Creative ideas, bold colors and inventive materials abound under one (very large) roof
Full Story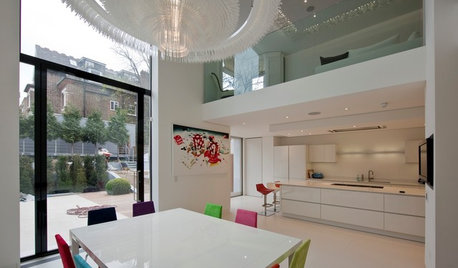
REMODELING GUIDESThe 2013 Best of Houzz Badges Are Here!
Watch for profiles sporting this honor, which goes to professionals with the most popular design work and top ratings
Full Story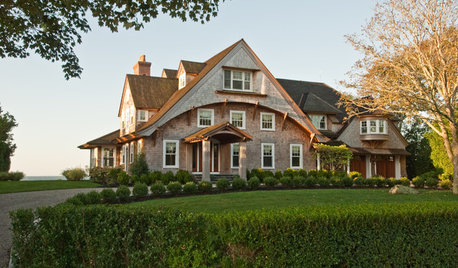
ARCHITECTURERoots of Style: Shingle Style Is Back — Here's How to Spot It
Intimate or rambling, in the coast or by the sea, Shingle homes are seeing a revival. Has your home joined in?
Full Story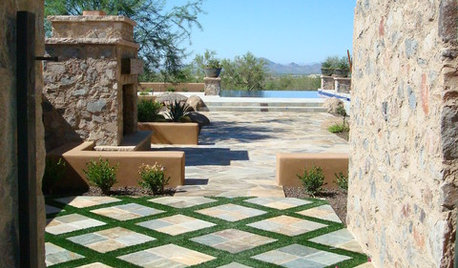
LANDSCAPE DESIGNSee a Pattern Here? It's Conceptual Gardens, for Art's Sake
Make a brilliant impression with artful landscape designs that celebrate the avant-garde
Full Story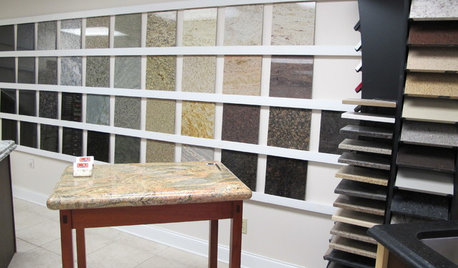
KITCHEN COUNTERTOPSWalk Through a Granite Countertop Installation — Showroom to Finish
Learn exactly what to expect during a granite installation and how to maximize your investment
Full Story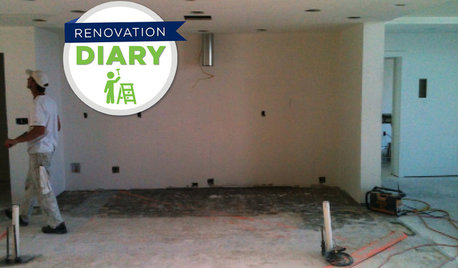
REMODELING GUIDESRanch House Remodel: Installing the Interior Finishes
Renovation Diary, Part 5: Check in on a Florida remodel as the bamboo flooring is laid, the bathroom tiles are set and more
Full Story

motherof3sons
threeapples
Related Professionals
Haslett Kitchen & Bathroom Designers · Bensenville Kitchen & Bathroom Designers · Folsom Kitchen & Bathroom Remodelers · Honolulu Kitchen & Bathroom Remodelers · Tulsa Kitchen & Bathroom Remodelers · Winchester Kitchen & Bathroom Remodelers · Eufaula Kitchen & Bathroom Remodelers · Billings Cabinets & Cabinetry · Hanover Park Cabinets & Cabinetry · Jeffersontown Cabinets & Cabinetry · Los Altos Cabinets & Cabinetry · Tinton Falls Cabinets & Cabinetry · Wells Branch Cabinets & Cabinetry · Gladstone Tile and Stone Contractors · Hermosa Beach Tile and Stone Contractorsislanddevil
enduringOriginal Author
islanddevil
enduringOriginal Author
islanddevil
enduringOriginal Author
Holly- Kay