


Update on Barker Cabs
lucas_tx_gw
11 years ago


Sort by:Oldest
Comments (4)
Related Stories
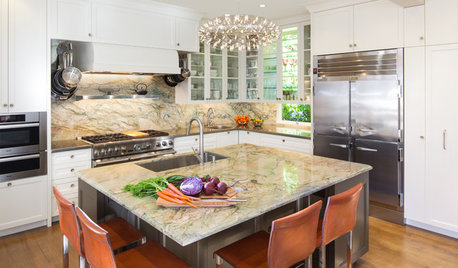
KITCHEN DESIGNKitchen of the Week: Elegant Updates for a Serious Cook
High-end appliances and finishes, and a more open layout, give a home chef in California everything she needs
Full StoryBEFORE AND AFTERSGray Cabinets Update a Texas Kitchen
Julie Shannon spent 3 years planning her kitchen update, choosing a gray palette and finding the materials for a transitional style
Full Story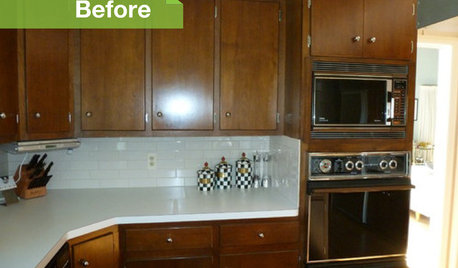
KITCHEN DESIGN3 Dark Kitchens, 6 Affordable Updates
Color advice: Three Houzzers get budget-friendly ideas to spruce up their kitchens with new paint, backsplashes and countertops
Full Story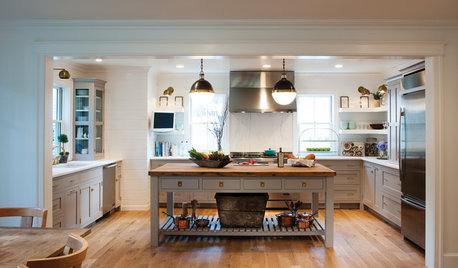
FARMHOUSESKitchen of the Week: Modern Update for a Historic Farmhouse Kitchen
A renovation honors a 19th-century home’s history while giving farmhouse style a fresh twist
Full Story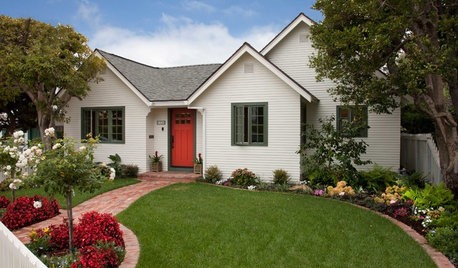
HOUZZ TOURSHouzz Tour: Updates Honor a 1930s Cottage's History
The facade stays true to the original, but inside lie a newly opened layout, higher ceilings and 600 more square feet of space
Full Story
INDUSTRIAL STYLEMy Houzz: Modern Industrial Style for a DIY Update in Austin
A Texas couple banishes purple, then gets to work on handmade art and shelving, and a backyard fit for entertaining
Full Story
KITCHEN DESIGNAre You Ready for a Dark and Sophisticated Kitchen?
Black kitchen cabinets have a rich, timeless look. Get ideas for your next cabs — and how to paint the ones you have
Full Story
BEFORE AND AFTERSReader Project: California Kitchen Joins the Dark Side
Dark cabinets and countertops replace peeling and cracking all-white versions in this sleek update
Full Story
MOST POPULARHow to Reface Your Old Kitchen Cabinets
Find out what’s involved in updating your cabinets by refinishing or replacing doors and drawers
Full Story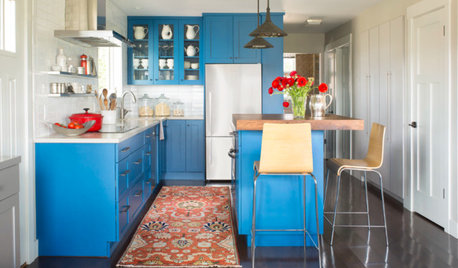
COLORFUL KITCHENSKitchen of the Week: High-Altitude Kitchen Bursting With Blue
A modest-size space gets a cheerful and smart update that improves flow and adds storage space
Full StoryMore Discussions

lucas_tx_gwOriginal Author
KBSpider
Related Professionals
Amherst Kitchen & Bathroom Designers · Bethpage Kitchen & Bathroom Designers · Glens Falls Kitchen & Bathroom Designers · Sun City Kitchen & Bathroom Designers · West Virginia Kitchen & Bathroom Designers · Allouez Kitchen & Bathroom Remodelers · Hunters Creek Kitchen & Bathroom Remodelers · Lisle Kitchen & Bathroom Remodelers · Phoenix Kitchen & Bathroom Remodelers · Burr Ridge Cabinets & Cabinetry · Crestline Cabinets & Cabinetry · Gaffney Cabinets & Cabinetry · Manville Cabinets & Cabinetry · Niceville Tile and Stone Contractors · Boise Design-Build Firmseam44
lucas_tx_gwOriginal Author