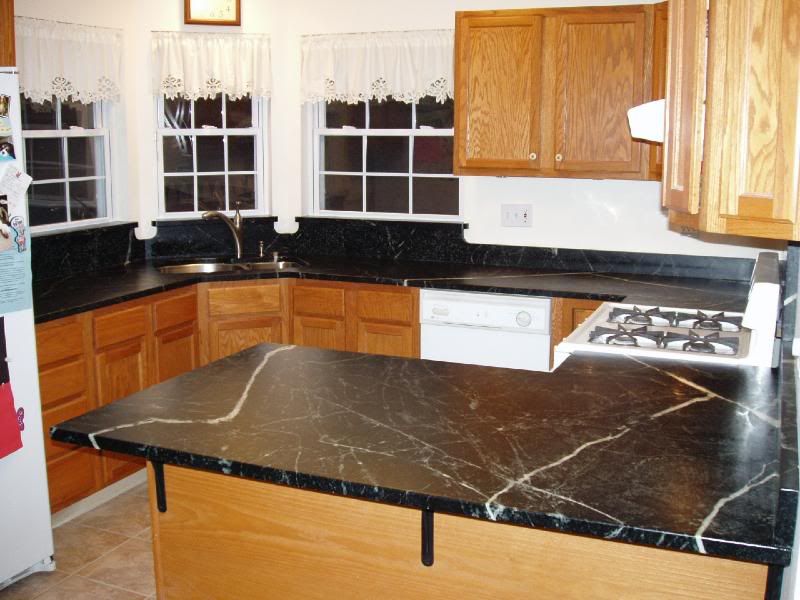
Friday night I was amazed to find myself putting the final piece of backsplash on. Saturday was spent mostly cleaning up and putting things away.
Thanks to everyone who has posted info that I read or answered direct questions, this forum has been invaluable. Now it's my turn to reciprocate. I don't pretend to be a pro or any kind of expert, but I hope this helps from a DIY standpoint.
I'll link a few pictures in this posting, but you can see the whole gallery on Photobucket, each picture has comments and between them they pretty much tell the story. Album is here:
http://s58.photobucket.com/albums/g267/d_roady/DIY%20Soapstone/
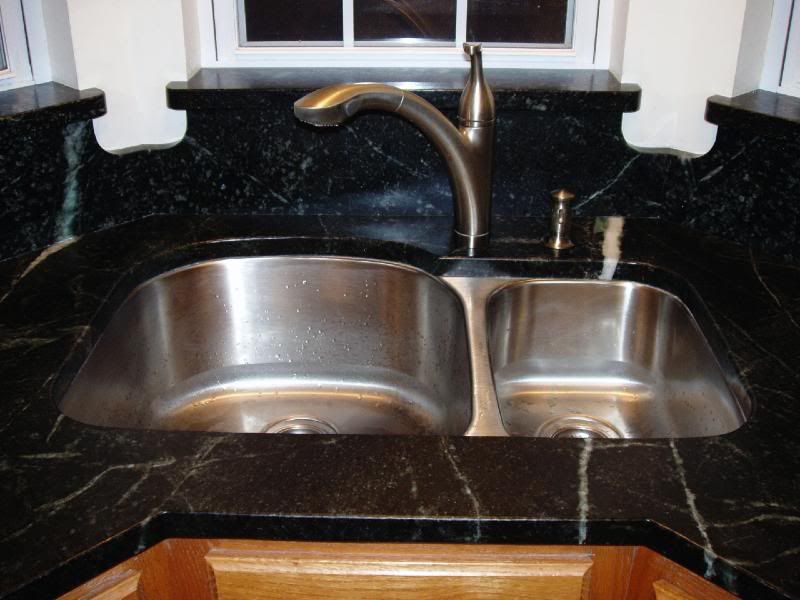
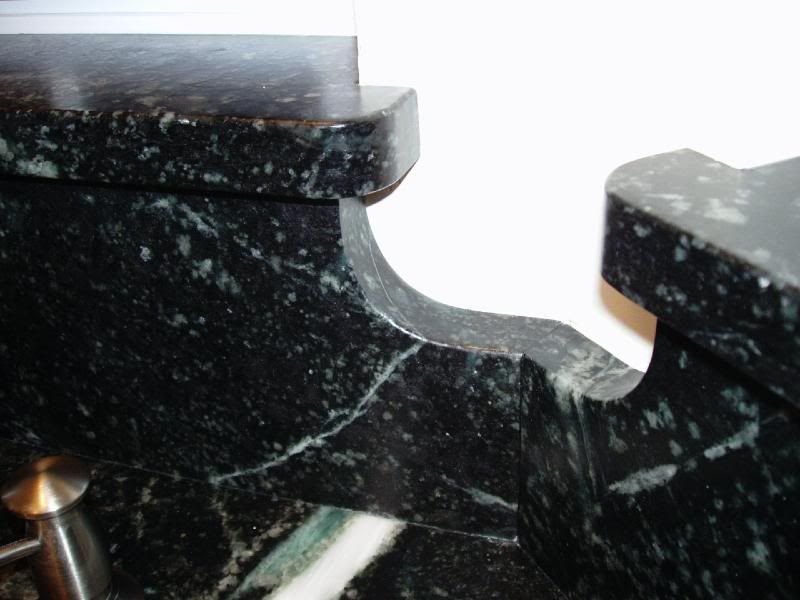
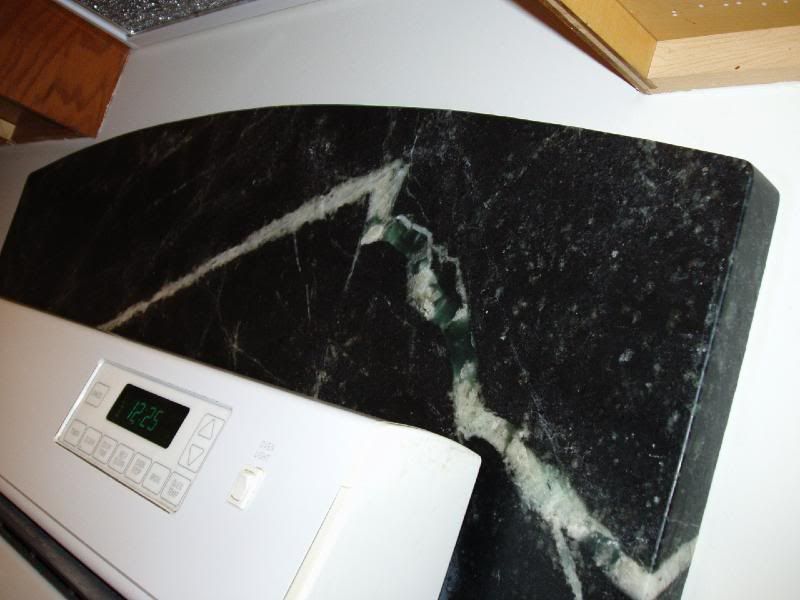
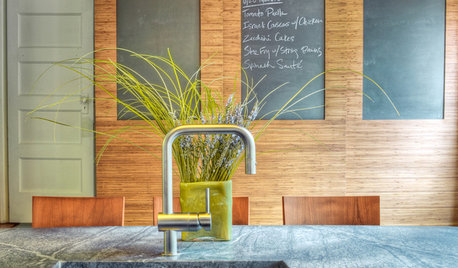
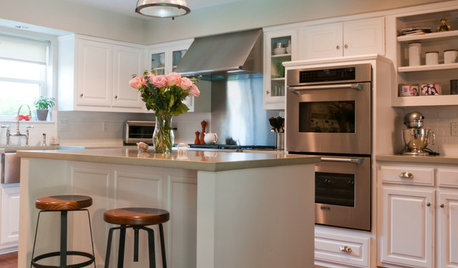
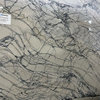
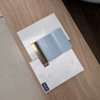
Some teaser images:
Various parts of my story in progress have been posted in other threads, but I'll try to mention some key points here.
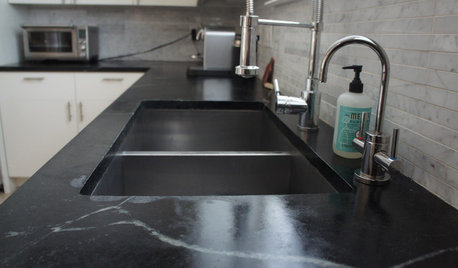
We were very interested in keeping cost down, so the DIY option with soapstone was wonderful to discover. A quality granite or Silestone install would have been triple the cost.
We went to M. Teixeira in N.J. and picked our slabs. If I had it to do over I would NOT have chosen two side by side slabs. The vein patterns are too similar and end up repeating each other in our kitchen. Out of 4-5 side by side slabs I'd take the 1st and last, for example.
When planning how the slabs will be cut, I'd suggest the backsplash pieces be taken from exactly the same spot as the counter they will sit on later, so that the veins and everything match.
Black epoxy was best for 99% of the seams in our install, but where it crossed a white vein I had to make some corrections - digging the black out with a Dremel and replacing with "Instant Install 29" epoxy, which cures to a translucent white. The Instant Install 29 is great to work with, 14 minute working time and then it suddenly hardens up, locking things into place. You can sand it 15 minutes later (thus the name, 14+15=29). It can be tinted to match the stone too. 5 minute epoxies are too fast for big seams I think.
Make sure your cabinet tops are a perfectly even plain, 6' long levels help. Shim any and all gaps - none of mine were more than 1/16". Then get a bead of caulk on the cabinet tops before resting the stone on them. This just makes for perfectly even support all around. We used bottle jacks to lift the stone up a few inches, caulk under it, then set it back down gently.
Doing the caulk and a seam at the same time is daunting, but the caulk has a long setup time, so it works out OK. You can slide the stone over an inch to close the seam after buttering on the epoxy. Jam it as tight as possible to make a thin seam. Most important for a good looking seam is to have the two stones perfectly aligned - any height difference will have to be fixed by sanding one down to match the other.
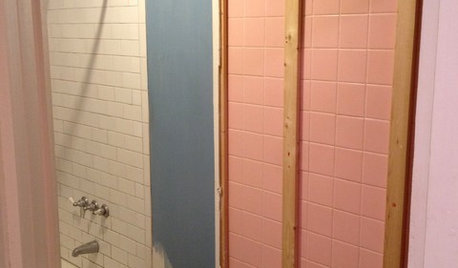
Diamond cutting and shaping tools are great. They cut the harder parts of the stone just as well as the soft parts, which makes for nice straight lines and even surfaces. A diamond grit drum on an angle grinder is great for shaping the edge of a sink cutout, for example. Regular sandpaper drums don't do as well.
The dust from cutting and shaping is amazing, wait till it's warm and do as much outside as possible. If you can't, like me, then get a good fine particle dust filter for your shop-vac and always attach a collection hose to the tool, or have someone hold the hose right at your cut. It makes a huge difference.
When cutting you need to support the stone underneath, so it won't fall away and break off before the cut is done. I had 1/2" thick styrofoam sheets available, but thick rubber mats from Costco would work too. The photo album shows a good example of this in practice.
For final sanding I tried a million things. What worked best on the flat areas (to clean up seams) was a 5" wet sanding pad on a dual action polisher at its lowest speed. I used a Porter-Cable 7336. Sanding pads were 240 and 400 grit. For a backer pad I used a flexible one made for car buffing, rigid pads were too hard to handle. For product specifics, see my other post on this topic. Edges can be sanded with a good hand block and wet sandpaper. The highest grit with any benefit I found to be 400. Others may stop at 220 or 340 - just a matter of preference.
I feel like there's a million things to say but this has rambled on enough. Happy to answer questions and add details in follow up posts. But if you're looking for tips, please do check out the full Photo bucket album. There's 80 images covering every step of the way.
Thanks again everyone and happy Easter!
Don


ckag
raehelen
Related Professionals
St. Louis Kitchen & Bathroom Designers · Adelphi Kitchen & Bathroom Remodelers · Allouez Kitchen & Bathroom Remodelers · Calverton Kitchen & Bathroom Remodelers · Camarillo Kitchen & Bathroom Remodelers · Fairland Kitchen & Bathroom Remodelers · Jacksonville Kitchen & Bathroom Remodelers · Southampton Kitchen & Bathroom Remodelers · Tuckahoe Kitchen & Bathroom Remodelers · Harrison Cabinets & Cabinetry · Mount Holly Cabinets & Cabinetry · Wadsworth Cabinets & Cabinetry · Brentwood Tile and Stone Contractors · Santa Monica Tile and Stone Contractors · South Holland Tile and Stone Contractorsvjrnts
don_chuwishOriginal Author
polie
neeter3148
don_chuwishOriginal Author
cat_mom
mommycooks
emmie9999
ckag
bob_cville
bellsrus
amck2
jill_h
bayareafrancy
jscout
don_chuwishOriginal Author
luckyj
don_chuwishOriginal Author
gam51
bethv
hmsweethm
ricklish
don_chuwishOriginal Author
bayareafrancy
don_chuwishOriginal Author
luckyj
vwhippiechick
don_chuwishOriginal Author
abejadulce_z9b
don_chuwishOriginal Author
kevinb_flyguy
don_chuwishOriginal Author
ricklish
don_chuwishOriginal Author
rogerteixeira
don_chuwishOriginal Author
lazy_gardens