


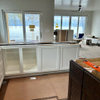
Kitchen layout - please take a look :)
cobragirl96
13 years ago
Sort by:Oldest
Comments (6)
Related Stories
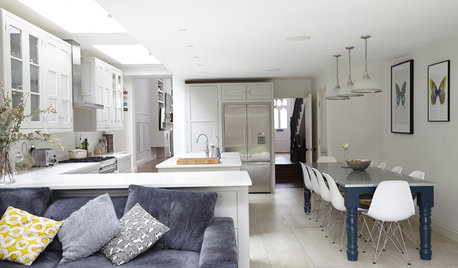
KITCHEN DESIGNKitchen of the Week: A Fresh Take on Classic Shaker Style
Quality craftsmanship and contemporary touches in a London kitchen bring the traditional look into the 21st century
Full Story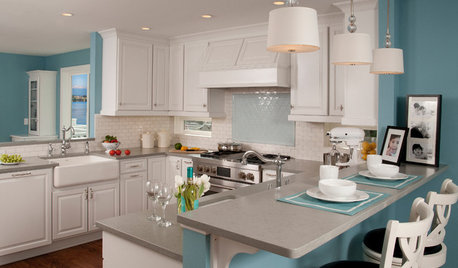
KITCHEN DESIGNKitchen of the Week: A Seattle Family Kitchen Takes Center Stage
A major home renovation allows a couple to create an open and user-friendly kitchen that sits in the middle of everything
Full Story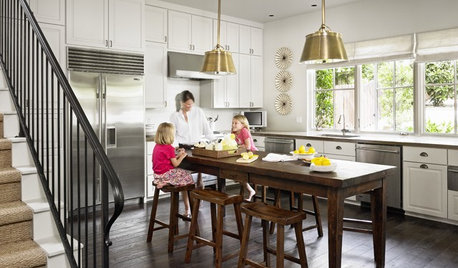
KITCHEN DESIGNTake a Seat at the New Kitchen-Table Island
Hybrid kitchen islands swap storage for a table-like look and more seating
Full Story
INSIDE HOUZZHouzz Prizewinners Take Their Kitchen From ‘Atrocious’ to ‘Wow’
A North Carolina family gets the kitchen they always wanted — and not a minute too soon — courtesy of the Houzz sweepstakes
Full Story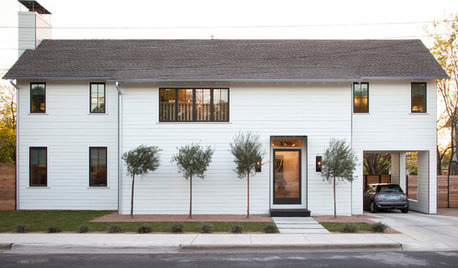
HOUZZ TOURSHouzz Tour: A Modern Take on a Traditional Texas Farmhouse
Contemporary details update the classic form in this Austin home with a kitchen designed for a professional baker
Full Story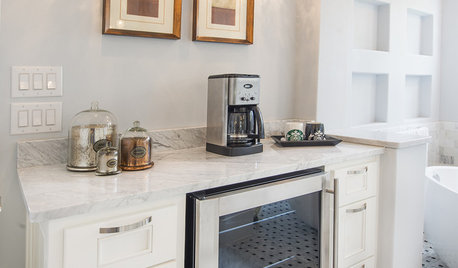
BATHROOM DESIGNUpload of the Day: A Mini Fridge in the Master Bathroom? Yes, Please!
Talk about convenience. Better yet, get it yourself after being inspired by this Texas bath
Full Story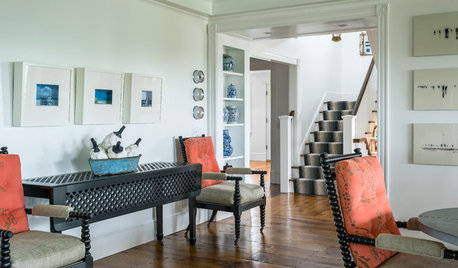
TRADITIONAL ARCHITECTUREHouzz Tour: Taking ‘Ye Olde’ Out of a Nantucket Shingle-Style Home
Vintage and modern pieces mix it up in a vacation house reconfigured to host casual gatherings of family and friends
Full Story
FUN HOUZZTaking Cover in a Former Nuclear Missile Silo
A Cold War relic is now a modern home, thanks to an Australian architect with a flair for the unusual
Full Story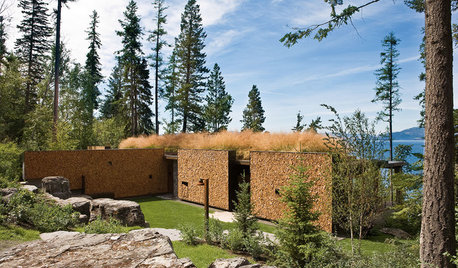
MODERN HOMESHouzz Tour: A Modern Take on a Montana Log House
Multiple buildings form a vacation compound that's more like environmental art than architecture
Full Story
INSIDE HOUZZHow Much Does a Remodel Cost, and How Long Does It Take?
The 2016 Houzz & Home survey asked 120,000 Houzzers about their renovation projects. Here’s what they said
Full StoryMore Discussions
chicagoans
Buehl
Related Professionals
Agoura Hills Kitchen & Bathroom Designers · Southampton Kitchen & Bathroom Designers · North Druid Hills Kitchen & Bathroom Remodelers · Shamong Kitchen & Bathroom Remodelers · Hopewell Kitchen & Bathroom Remodelers · Park Ridge Kitchen & Bathroom Remodelers · Rochester Kitchen & Bathroom Remodelers · Spanish Springs Kitchen & Bathroom Remodelers · Vienna Kitchen & Bathroom Remodelers · Wilmington Kitchen & Bathroom Remodelers · Langley Park Cabinets & Cabinetry · Jefferson Valley-Yorktown Cabinets & Cabinetry · Santa Monica Tile and Stone Contractors · Rancho Mirage Tile and Stone Contractors · Oak Hills Design-Build Firmschicagoans
Buehl
Buehl
cobragirl96Original Author