


? Wood for Cabinet to Hold Weight of Soapstone Sink?
enduring
12 years ago
Sort by:Oldest
Comments (7)
Related Stories

KITCHEN CABINETSHold Everything — Your White Kitchen Cabinets Just Got Better
These design moves will add even more to white kitchen cabinets’ appeal
Full Story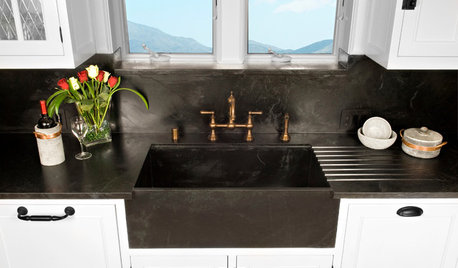
KITCHEN DESIGNKitchen Sinks: Soapstone for Germ-Free Beauty and Durability
Stains and bacteria? Not on soapstone's watch. But this sink material's benefits don't come cheap.
Full Story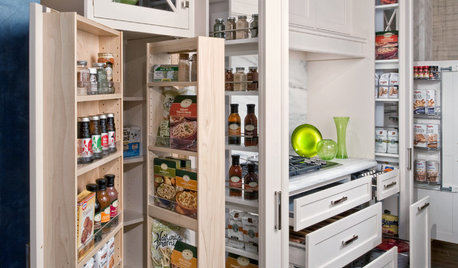
KITCHEN STORAGEGoing Up: Vertical Storage Holds More Kitchen Stuff
Fit more of what you need at hand by looking to narrow or shallow kitchen spaces and walls
Full Story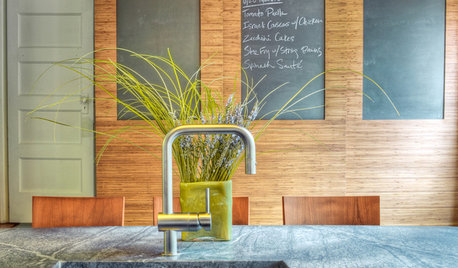
KITCHEN DESIGNKitchen Counters: Durable, Easy-Clean Soapstone
Give bacteria the boot and say sayonara to stains with this long-lasting material that's a great choice for kitchen and bath countertops
Full Story
KITCHEN COUNTERTOPS10 Top Backsplashes to Pair With Soapstone Countertops
Simplify your decision-making process by checking out how these styles work with soapstone
Full Story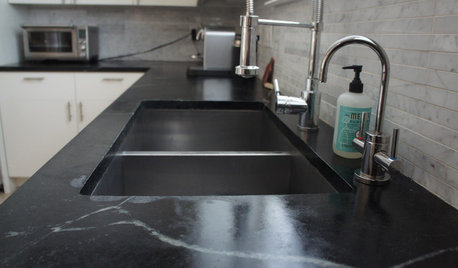
KITCHEN DESIGNSoapstone Counters: A Love Story
Love means accepting — maybe even celebrating — imperfections. See if soapstone’s assets and imperfections will work for you
Full Story
MOST POPULAR7 Ways to Design Your Kitchen to Help You Lose Weight
In his new book, Slim by Design, eating-behavior expert Brian Wansink shows us how to get our kitchens working better
Full Story
KITCHEN DESIGNWhat Goes With Wood Cabinets?
Make those high-quality cabinets look their best by pairing them with the right colors and materials
Full Story
KITCHEN CABINETSGet the Look of Wood Cabinets for Less
No need to snub plastic laminate as wood’s inferior cousin. Today’s options are stylish and durable — not to mention money saving
Full Story
KITCHEN CABINETS9 Ways to Save Money on Kitchen Cabinets
Hold on to more dough without sacrificing style with these cost-saving tips
Full StoryMore Discussions


Dando
oldhousegal
Related Professionals
Cuyahoga Falls Kitchen & Bathroom Designers · Highland Kitchen & Bathroom Designers · Newington Kitchen & Bathroom Designers · Plymouth Kitchen & Bathroom Designers · Alpine Kitchen & Bathroom Remodelers · Beverly Hills Kitchen & Bathroom Remodelers · Fort Myers Kitchen & Bathroom Remodelers · Phoenix Kitchen & Bathroom Remodelers · Hopkinsville Cabinets & Cabinetry · Los Altos Cabinets & Cabinetry · Universal City Cabinets & Cabinetry · Wheat Ridge Cabinets & Cabinetry · Chattanooga Tile and Stone Contractors · Fayetteville Tile and Stone Contractors · Whitefish Bay Tile and Stone ContractorsCircus Peanut
enduringOriginal Author
daveinorlado
oldhousegal
enduringOriginal Author