


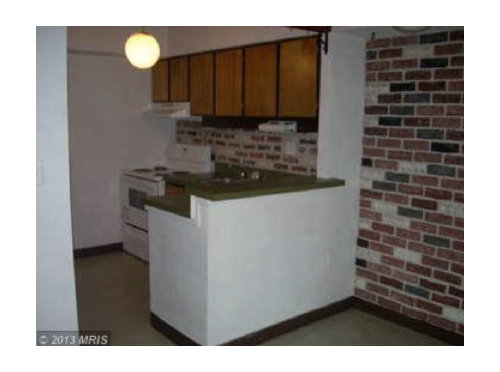
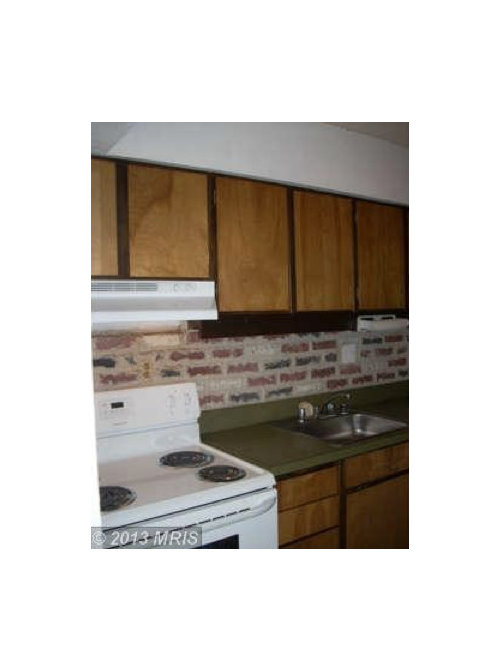
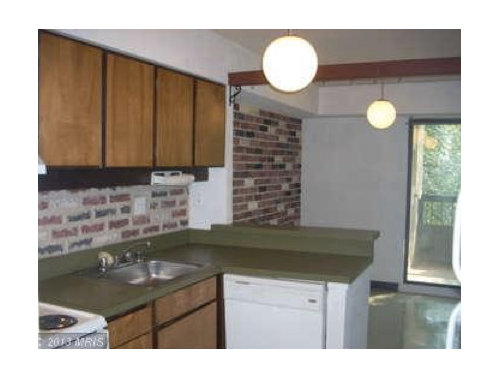
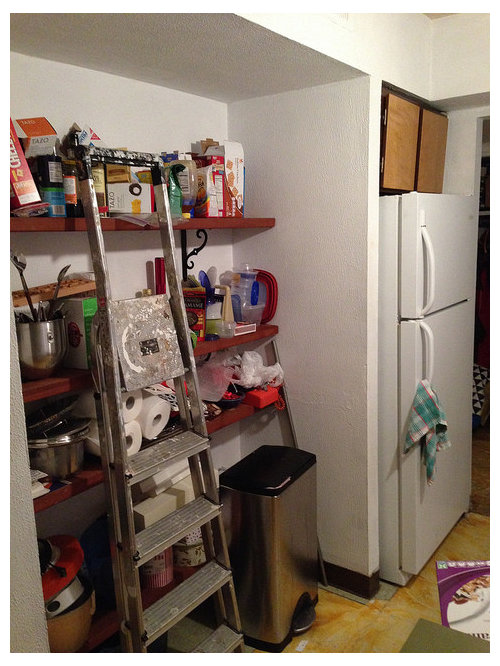
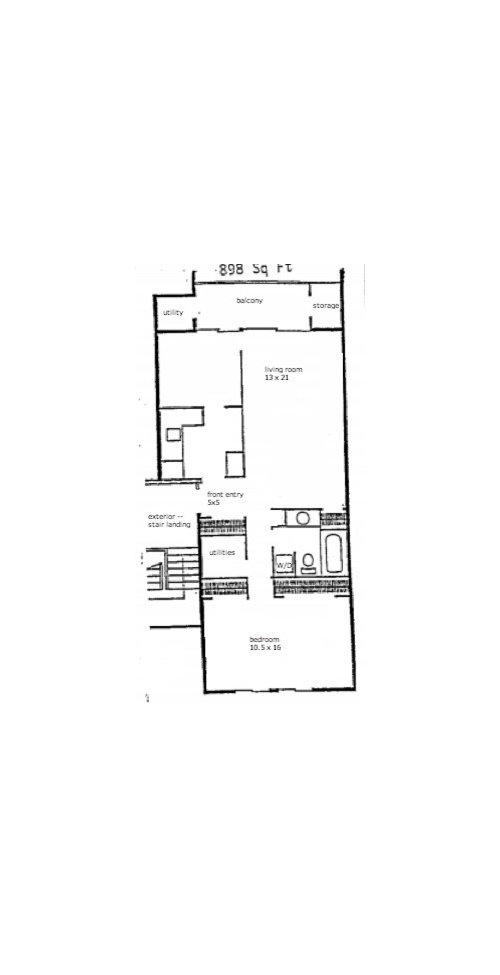
Holy 70s, Batman! Help with condo kitchen layout please!
emilymch
10 years ago
Sort by:Oldest
Comments (46)
Related Stories

BATHROOM WORKBOOKStandard Fixture Dimensions and Measurements for a Primary Bath
Create a luxe bathroom that functions well with these key measurements and layout tips
Full Story
DECORATING GUIDESDownsizing Help: Color and Scale Ideas for Comfy Compact Spaces
White walls and bitsy furniture aren’t your only options for tight spaces. Let’s revisit some decorating ‘rules’
Full Story
SELLING YOUR HOUSE10 Low-Cost Tweaks to Help Your Home Sell
Put these inexpensive but invaluable fixes on your to-do list before you put your home on the market
Full Story
Storage Help for Small Bedrooms: Beautiful Built-ins
Squeezed for space? Consider built-in cabinets, shelves and niches that hold all you need and look great too
Full Story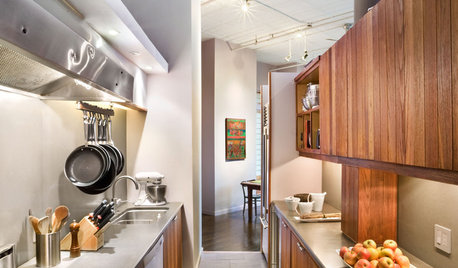
KITCHEN DESIGNKitchen Layouts: A Vote for the Good Old Galley
Less popular now, the galley kitchen is still a great layout for cooking
Full Story
SELLING YOUR HOUSEHelp for Selling Your Home Faster — and Maybe for More
Prep your home properly before you put it on the market. Learn what tasks are worth the money and the best pros for the jobs
Full Story
SELLING YOUR HOUSE5 Savvy Fixes to Help Your Home Sell
Get the maximum return on your spruce-up dollars by putting your money in the areas buyers care most about
Full Story
DECLUTTERINGDownsizing Help: Choosing What Furniture to Leave Behind
What to take, what to buy, how to make your favorite furniture fit ... get some answers from a homeowner who scaled way down
Full Story
KITCHEN DESIGN10 Ways to Design a Kitchen for Aging in Place
Design choices that prevent stooping, reaching and falling help keep the space safe and accessible as you get older
Full Story
VACATION HOMESPatience Pays Off for Owners Renovating Their Beach Condo
A Jersey Shore unit gets a bright new look, a more functional layout and increased space for extended family
Full StoryMore Discussions
canuckplayer
juliekcmo
Related Professionals
Clute Kitchen & Bathroom Designers · College Park Kitchen & Bathroom Designers · Commerce City Kitchen & Bathroom Designers · Frankfort Kitchen & Bathroom Designers · Hybla Valley Kitchen & Bathroom Designers · San Jacinto Kitchen & Bathroom Designers · Soledad Kitchen & Bathroom Designers · East Tulare County Kitchen & Bathroom Remodelers · Minnetonka Mills Kitchen & Bathroom Remodelers · Burr Ridge Cabinets & Cabinetry · Hammond Cabinets & Cabinetry · Highland Village Cabinets & Cabinetry · Tinton Falls Cabinets & Cabinetry · Santa Monica Tile and Stone Contractors · Oak Hills Design-Build FirmsemilymchOriginal Author
canuckplayer
feisty68
canuckplayer
fishymom
a2gemini
emilymchOriginal Author
fishymom
maggieq
badgergal
CEFreeman
nosoccermom
canuckplayer
emilymchOriginal Author
spanky_md
spanky_md
Debbie Downer
canuckplayer
canuckplayer
jimandanne_mi
spanky_md
canuckplayer
lee676
nosoccermom
spanky_md
emilymchOriginal Author
spanky_md
emilymchOriginal Author
Karenseb
Valerie Noronha
Buehl
emilymchOriginal Author
sena01
emilymchOriginal Author
canuckplayer
firstmmo
Texas_Gem
spanky_md
spanky_md
pricklypearcactus
texasgal47
spanky_md
Joseph Corlett, LLC
spanky_md