


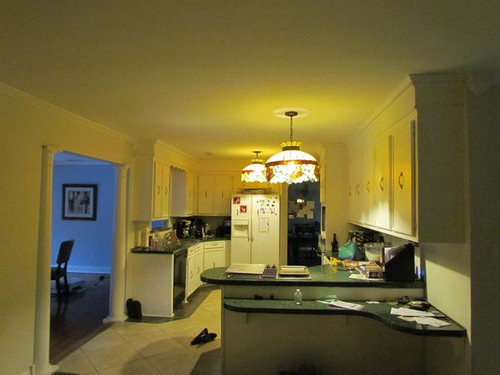
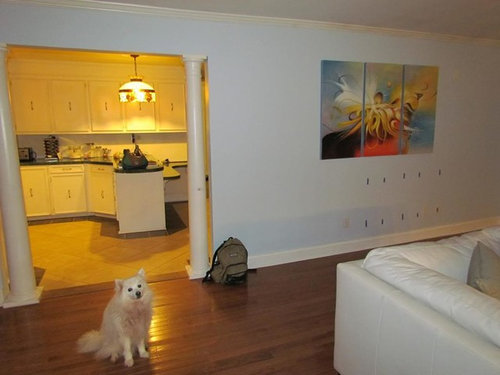
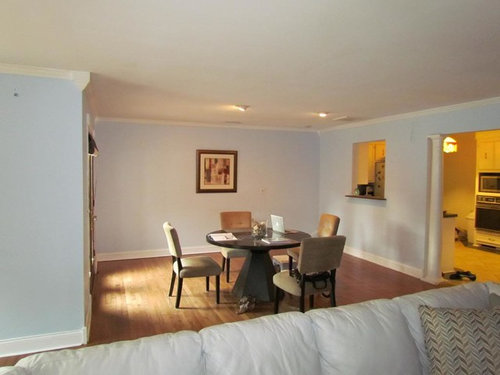
Kitchen-Family Room Complete Rebuild (Part 1)
schicksal
10 years ago


Related Stories
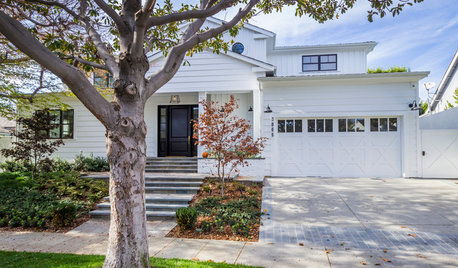
TRANSITIONAL HOMESHouzz Tour: Part Traditional, Part Modern and All Family Friendly
With clean lines, vintage touches and durable surfaces everywhere, this Los Angeles home balances tastes and needs beautifully
Full Story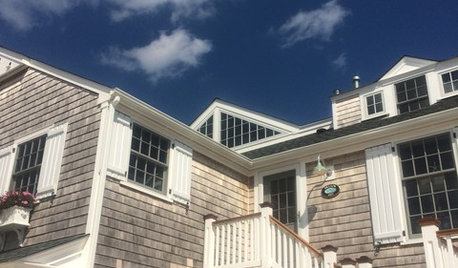
DISASTER PREP & RECOVERYHouzz Tour: Family Rebuilds Home and Community After Hurricane Sandy
This restored coastal New Jersey house — now raised 9 feet off the ground — offers inspiration for neighbors considering a return
Full Story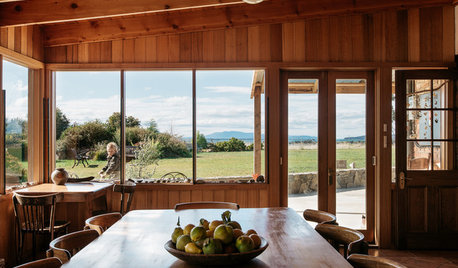
HOMES AROUND THE WORLDThe Great Escape: Family Rebuilds After a Devastating Wildfire
Tim and Tammy Holmes survived the 2013 Tasmanian bushfires but lost their home. See how they’ve started over
Full Story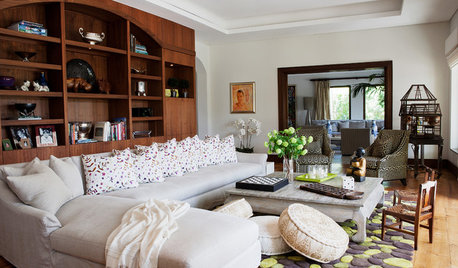
HOLIDAYSHoliday Party Prep: Add Sneaky Seating
Worry no more about where guests will sit. These 10 seating options can hide in plain sight
Full Story
LIFETime Travel to Houzzers' Childhood Homes, Part 1
Peek into home design's past and share the memories of Houzz community members with these personal photos and stories
Full Story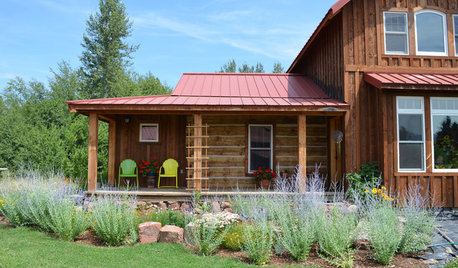
HOUZZ TOURSMy Houzz: An 1874 Cabin Completes a Rustic Oregon Home
It took 10 years and a hand-hewn log cabin to build this labor of love. See the results of one couple's patience and vision
Full Story
KITCHEN MAKEOVERSSee a Kitchen Refresh for $11,000
Budget materials, some DIY spirit and a little help from a friend turn an impractical kitchen into a waterfront workhorse
Full Story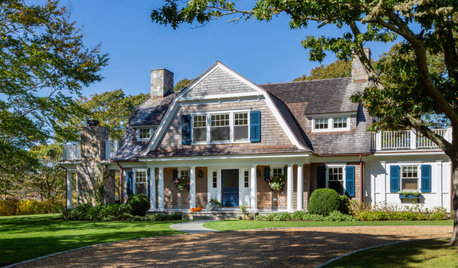
CONTRACTOR TIPSYour Complete Guide to Building Permits
Learn about permit requirements, the submittal process, final inspection and more
Full Story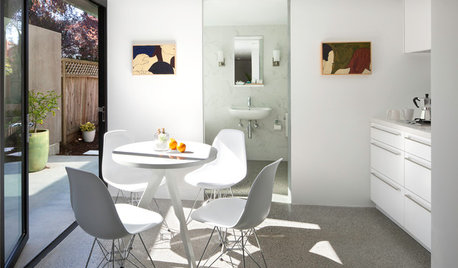
KITCHEN DESIGNKitchen of the Week: A Part-Time Space Fully Satisfies
A scaled-down approach doesn't mean sacrificing, in this heavenly white kitchen with all the modern conveniences
Full Story
More Discussions


mudhouse_gw
firstmmo
Related Professionals
Knoxville Kitchen & Bathroom Designers · North Druid Hills Kitchen & Bathroom Remodelers · Beachwood Kitchen & Bathroom Remodelers · Grain Valley Kitchen & Bathroom Remodelers · Andover Kitchen & Bathroom Remodelers · Los Alamitos Kitchen & Bathroom Remodelers · Trenton Kitchen & Bathroom Remodelers · Upper Saint Clair Kitchen & Bathroom Remodelers · Weston Kitchen & Bathroom Remodelers · Langley Park Cabinets & Cabinetry · Palos Verdes Estates Cabinets & Cabinetry · Liberty Township Cabinets & Cabinetry · Corsicana Tile and Stone Contractors · Gardere Design-Build Firms · Woodland Design-Build FirmsCindy103d
OOTM_Mom
schicksalOriginal Author
Cindy103d
CEFreeman
mudhouse_gw
schicksalOriginal Author
chispa
schicksalOriginal Author
mudhouse_gw
schicksalOriginal Author
mudhouse_gw
schicksalOriginal Author
blfenton
schicksalOriginal Author
sanjuangirl
deedles
schicksalOriginal Author
schicksalOriginal Author
schicksalOriginal Author
schicksalOriginal Author
mudhouse_gw
firstmmo
schicksalOriginal Author
mudhouse_gw
Peke
schicksalOriginal Author
schicksalOriginal Author
mudhouse_gw
schicksalOriginal Author
schicksalOriginal Author