


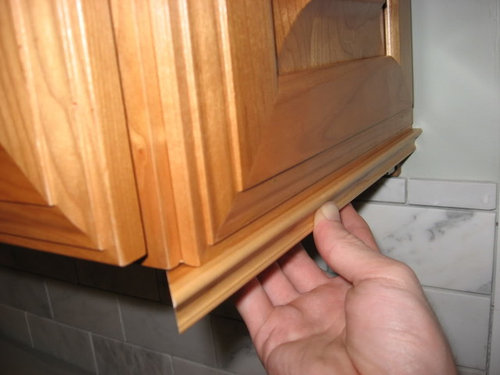
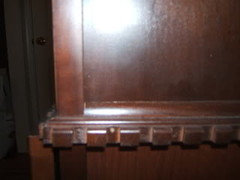
lower cabinet molding question
jdechris
15 years ago


Featured Answer
Sort by:Oldest
Comments (16)

Fori
15 years ago
bethv
15 years agoRelated Professionals
Hillsboro Kitchen & Bathroom Designers · Moraga Kitchen & Bathroom Designers · Mount Prospect Kitchen & Bathroom Designers · Olympia Heights Kitchen & Bathroom Designers · North Druid Hills Kitchen & Bathroom Remodelers · Holden Kitchen & Bathroom Remodelers · Normal Kitchen & Bathroom Remodelers · Hunters Creek Kitchen & Bathroom Remodelers · Sicklerville Kitchen & Bathroom Remodelers · Weston Kitchen & Bathroom Remodelers · Casas Adobes Cabinets & Cabinetry · Homer Glen Cabinets & Cabinetry · Norfolk Cabinets & Cabinetry · Lake Nona Tile and Stone Contractors · Whitefish Bay Tile and Stone Contractorsjdechris
15 years agobethv
15 years agoUser
15 years agojdechris
15 years agoUser
15 years agojdechris
15 years agoFori
15 years agosprengle1
15 years agosombreuil_mongrel
15 years agoscgirl816
15 years agojdechris
15 years agosprengle1
15 years agomudworm
13 years ago
Related Stories
LIGHTING5 Questions to Ask for the Best Room Lighting
Get your overhead, task and accent lighting right for decorative beauty, less eyestrain and a focus exactly where you want
Full Story
REMODELING GUIDESConsidering a Fixer-Upper? 15 Questions to Ask First
Learn about the hidden costs and treasures of older homes to avoid budget surprises and accidentally tossing valuable features
Full Story
REMODELING GUIDESCrown Molding: Is It Right for Your Home?
See how to find the right trim for the height of your ceilings and style of your room
Full Story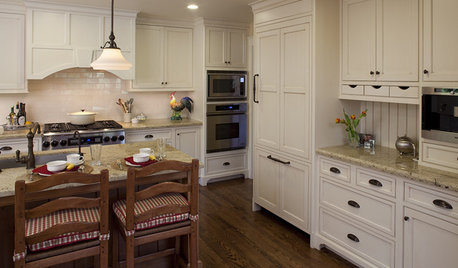
KITCHEN DESIGN9 Molding Types to Raise the Bar on Your Kitchen Cabinetry
Customize your kitchen cabinets the affordable way with crown, edge or other kinds of molding
Full Story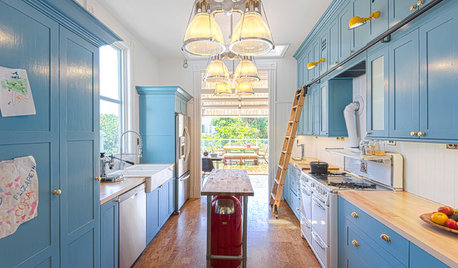
KITCHEN DESIGNKitchen of the Week: Pushing Boundaries in a San Francisco Victorian
If the roll-up garage door doesn’t clue you in, the blue cabinets and oversize molding will: This kitchen is no ordinary Victorian galley
Full Story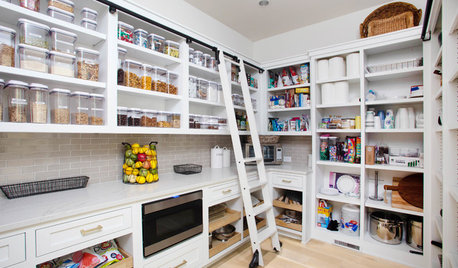
KITCHEN DESIGN9 Questions to Ask When Planning a Kitchen Pantry
Avoid blunders and get the storage space and layout you need by asking these questions before you begin
Full Story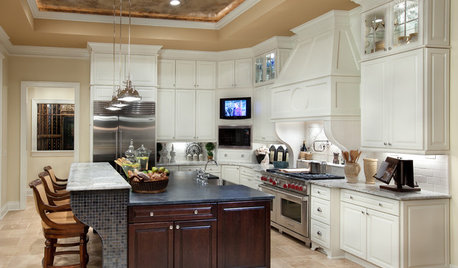
REMODELING GUIDESPlanning a Kitchen Remodel? Start With These 5 Questions
Before you consider aesthetics, make sure your new kitchen will work for your cooking and entertaining style
Full Story
MOST POPULAR8 Questions to Ask Yourself Before Meeting With Your Designer
Thinking in advance about how you use your space will get your first design consultation off to its best start
Full Story
REMODELING GUIDES9 Hard Questions to Ask When Shopping for Stone
Learn all about stone sizes, cracks, color issues and more so problems don't chip away at your design happiness later
Full Story

svwillow1