


Painting oak cabinets white
modernmissus
16 years ago
Sort by:Oldest
Comments (7)
Related Stories
WOODWoodipedia: Make a Solid Choice With Oak
Forget those low-end products of old. Red and white oak today are beautiful, versatile and relatively inexpensive
Full Story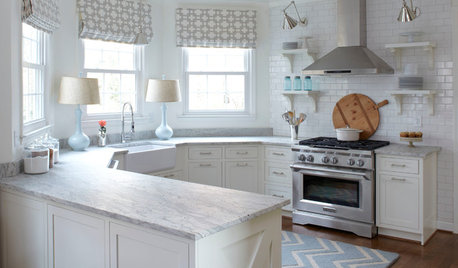
KITCHEN DESIGNHow to Keep Your White Kitchen White
Sure, white kitchens are beautiful — when they’re sparkling clean. Here’s how to keep them that way
Full Story
DECORATING GUIDES10 Reasons to Embrace White Walls
Do they strike you as even more boring than watching white paint dry? Consider what makes them the darling of so many
Full Story
WHITEHow to Pick the Right White Paint
White is white, right? Not quite. See 8 white paint picks for 8 very different effects
Full Story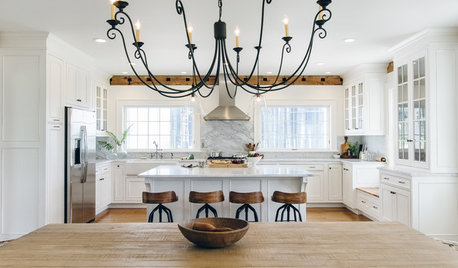
WHITE KITCHENS4 Dreamy White-and-Wood Kitchens to Learn From
White too bright in your kitchen? Introduce wood beams, countertops, furniture and more
Full Story
WHITEWhat to Know Before You Paint Your Walls White
A coat of white paint can do wonders in one room and wreak havoc in another. Here are tips for using the popular hue
Full Story
KITCHEN DESIGNNew This Week: Moody Kitchens to Make You Rethink All-White
Not into the all-white fascination? Look to these kitchens for a glimpse of the dark side
Full Story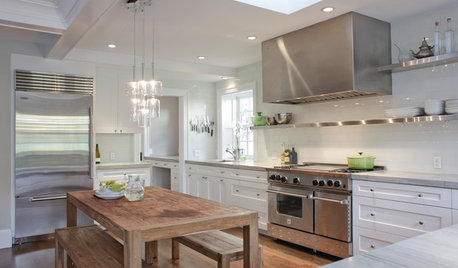
KITCHEN DESIGNCooking With Color: When to Use White in the Kitchen
Make sure your snowy walls, cabinets and counters don't feel cold while you're riding white's popularity peak
Full Story
REMODELING GUIDESRenovation Material: Cerused Oak
This traditional material adds welcome texture to the sleek surfaces of modern furniture, cabinetry and more
Full Story
KITCHEN DESIGNDream Spaces: 12 Beautiful White Kitchens
Snowy cabinets and walls speak to a certain elegance, while marble counters whisper of luxury
Full StoryMore Discussions

kitchendesigner
modernmissusOriginal Author
Related Professionals
La Verne Kitchen & Bathroom Designers · Lockport Kitchen & Bathroom Designers · Southbridge Kitchen & Bathroom Designers · Terryville Kitchen & Bathroom Designers · Adelphi Kitchen & Bathroom Remodelers · Apex Kitchen & Bathroom Remodelers · Avondale Kitchen & Bathroom Remodelers · Folsom Kitchen & Bathroom Remodelers · Green Bay Kitchen & Bathroom Remodelers · Gibsonton Kitchen & Bathroom Remodelers · Lindenhurst Cabinets & Cabinetry · New Castle Cabinets & Cabinetry · Wheat Ridge Cabinets & Cabinetry · Ardmore Tile and Stone Contractors · Palos Verdes Estates Design-Build FirmsFori
mama2c
wendi0906
Debbie Downer
jennifer_in_clyde