


Progress pics and grout color question!
angie_diy
12 years ago


Sort by:Oldest
Comments (33)
Related Stories

MOST POPULAR8 Questions to Ask Yourself Before Meeting With Your Designer
Thinking in advance about how you use your space will get your first design consultation off to its best start
Full Story
SELLING YOUR HOUSE15 Questions to Ask When Interviewing a Real Estate Agent
Here’s what you should find out before selecting an agent to sell your home
Full Story
FEEL-GOOD HOMEThe Question That Can Make You Love Your Home More
Change your relationship with your house for the better by focusing on the answer to something designers often ask
Full Story
GREEN BUILDINGConsidering Concrete Floors? 3 Green-Minded Questions to Ask
Learn what’s in your concrete and about sustainability to make a healthy choice for your home and the earth
Full StoryREMODELING GUIDESConsidering a Fixer-Upper? 15 Questions to Ask First
Learn about the hidden costs and treasures of older homes to avoid budget surprises and accidentally tossing valuable features
Full Story
BATHROOM DESIGNConvert Your Tub Space Into a Shower — the Tiling and Grouting Phase
Step 3 in swapping your tub for a sleek new shower: Pick the right tile and test it out, then choose your grout color and type
Full Story
TILEEpoxy vs. Cement Grout — What's the Difference?
Grout is grout, right? Nope. Cement and epoxy versions have different appearances, durability and rules of installation
Full Story
HOUSEKEEPINGHow to Clean Grout — Stains and All
If your grout is grossing you out, this deep-cleaning method will help it look new again
Full Story
REMODELING GUIDESThe 4 Stages of a Remodel: The Midproject Crisis
Prepare for the mechanical rough-in stage, and don't worry if things don’t look like they’re progressing on the surface
Full Story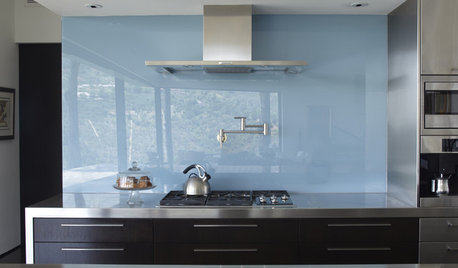
KITCHEN DESIGNThe Future of Backsplashes
Grout is out. Continuous sheets of glass, stone, metal and porcelain are saving cleaning time and offering more looks than ever
Full StoryMore Discussions
gr8daygw
angie_diyOriginal Author
dee850
brianadarnell
User
oldhousegal
angie_diyOriginal Author
pricklypearcactus
brianadarnell
mabeldingeldine_gw
angie_diyOriginal Author
enduring
pricklypearcactus
mabeldingeldine_gw
angie_diyOriginal Author
angie_diyOriginal Author
brianadarnell
Circus Peanut
angie_diyOriginal Author
User
Circus Peanut
angie_diyOriginal Author
brianadarnell
angie_diyOriginal Author
pricklypearcactus
Ann Scheley
Bunny
breezygirl
angie_diyOriginal Author
marcolo
mabeldingeldine_gw
angie_diyOriginal Author
angie_diyOriginal Author