


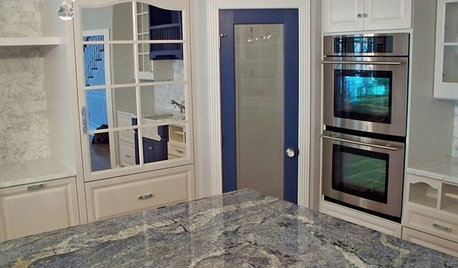
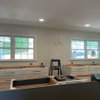
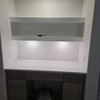
Try_Hard's granite layout experience (lots of PICS)
try_hard
16 years ago


Featured Answer
Sort by:Oldest
Comments (25)

plllog
16 years agolast modified: 9 years ago
try_hard
16 years agolast modified: 9 years agoRelated Professionals
Beavercreek Kitchen & Bathroom Designers · La Verne Kitchen & Bathroom Designers · Philadelphia Kitchen & Bathroom Designers · Pleasant Grove Kitchen & Bathroom Designers · Forest Hill Kitchen & Bathroom Remodelers · Rochester Kitchen & Bathroom Remodelers · Skokie Kitchen & Bathroom Remodelers · Tuckahoe Kitchen & Bathroom Remodelers · Waukegan Kitchen & Bathroom Remodelers · Princeton Kitchen & Bathroom Remodelers · Plant City Kitchen & Bathroom Remodelers · Christiansburg Cabinets & Cabinetry · White Center Cabinets & Cabinetry · Wilkinsburg Cabinets & Cabinetry · Suamico Design-Build Firmsraehelen
16 years agolast modified: 9 years agotry_hard
16 years agolast modified: 9 years agotry_hard
16 years agolast modified: 9 years agotheresab1
16 years agolast modified: 9 years agoraehelen
16 years agolast modified: 9 years agooruboris
16 years agolast modified: 9 years agoremodelfla
16 years agolast modified: 9 years agotry_hard
16 years agolast modified: 9 years ago
cat_mom
16 years agolast modified: 9 years agotry_hard
16 years agolast modified: 9 years agoallison0704
16 years agolast modified: 9 years agotry_hard
16 years agolast modified: 9 years agovwhippiechick
16 years agolast modified: 9 years agogneegirl
16 years agolast modified: 9 years agokortez15
16 years agolast modified: 9 years agotry_hard
16 years agolast modified: 9 years ago
Cloud Swift
16 years agolast modified: 9 years agotry_hard
16 years agolast modified: 9 years agostarpooh
16 years agolast modified: 9 years agocheri127
16 years agolast modified: 9 years agonapagirl
15 years agolast modified: 9 years agoathomesewing
9 years agolast modified: 9 years ago


Related Stories
LIFEThe Good House: An Experience to Remember
A home that enriches us is more than something we own. It invites meaningful experiences and connections
Full Story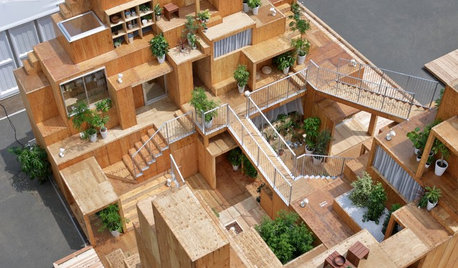
ARCHITECTUREWorld of Design: A Tokyo Exhibit Experiments With the Future of ‘Home’
Japan’s architects and housing industry explore new ideas for dwellings that respond to changes in society, tech and the natural world
Full Story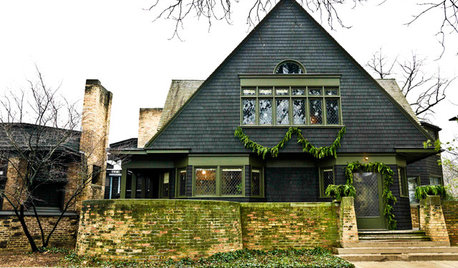
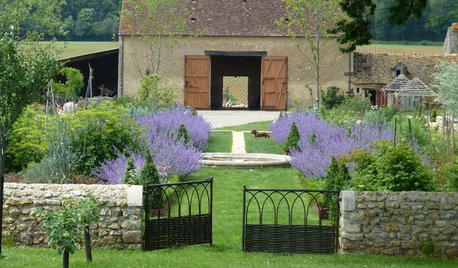
MOST POPULARExperience the Holidays at Frank Lloyd Wright's Home and Studio
Handmade decorations, greenery and gifts show how the famed architect and his family celebrated Christmas in their Oak Park home
Full Story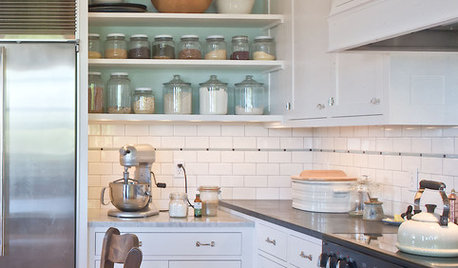
KITCHEN DESIGNLove to Bake? Try These 13 Ideas for a Better Baker's Kitchen
Whether you dabble in devil's food cake or are bidding for a bake-off title, these kitchen ideas will boost your baking experience
Full Story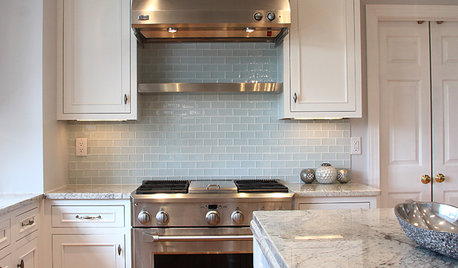
KITCHEN DESIGN5 Favorite Granites for Gorgeous Kitchen Countertops
See granite types from white to black in action, and learn which cabinet finishes and fixture materials pair best with each
Full Story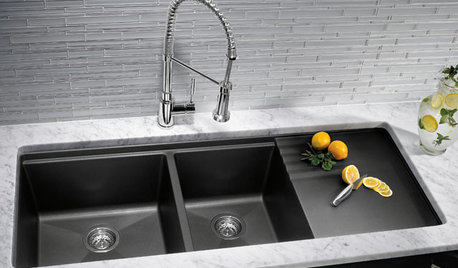
KITCHEN DESIGNKitchen Sinks: Granite Composite Offers Superior Durability
It beats out quartz composite for strength and scratch resistance. Could this kitchen sink material be right for you?
Full Story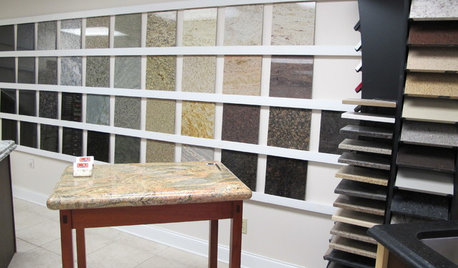
KITCHEN COUNTERTOPSWalk Through a Granite Countertop Installation — Showroom to Finish
Learn exactly what to expect during a granite installation and how to maximize your investment
Full Story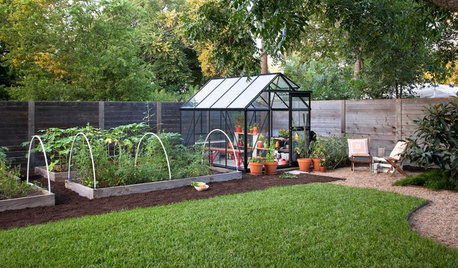
EDIBLE GARDENSA Formerly Weedy Lot Now Brims With Edibles and Honeybees
Photographers transform their barren backyard into an oasis filled with fruit, vegetables, honey, eggs and more
Full Story
KITCHEN COUNTERTOPSKitchen Counters: Granite, Still a Go-to Surface Choice
Every slab of this natural stone is one of a kind — but there are things to watch for while you're admiring its unique beauty
Full StorySponsored
Leading Interior Designers in Columbus, Ohio & Ponte Vedra, Florida
More Discussions

natesgramma