

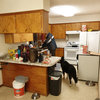
almost done & sharing banquette pics
lawjedi
11 years ago


Featured Answer
Sort by:Oldest
Comments (16)

sanjuangirl
11 years agolast modified: 9 years ago
ellendi
11 years agolast modified: 9 years agoRelated Professionals
Frankfort Kitchen & Bathroom Designers · Kalamazoo Kitchen & Bathroom Designers · Lenexa Kitchen & Bathroom Designers · Plymouth Kitchen & Bathroom Designers · White House Kitchen & Bathroom Designers · Apex Kitchen & Bathroom Remodelers · Green Bay Kitchen & Bathroom Remodelers · Oklahoma City Kitchen & Bathroom Remodelers · Waukegan Kitchen & Bathroom Remodelers · Jefferson Valley-Yorktown Cabinets & Cabinetry · Land O Lakes Cabinets & Cabinetry · Mount Holly Cabinets & Cabinetry · Richardson Cabinets & Cabinetry · Redondo Beach Tile and Stone Contractors · Bloomingdale Design-Build Firmsgwlolo
11 years agolast modified: 9 years ago
gr8daygw
11 years agolast modified: 9 years ago
laughablemoments
11 years agolast modified: 9 years ago
amck2
11 years agolast modified: 9 years agomvd80
11 years agolast modified: 9 years agorhome410
11 years agolast modified: 9 years ago
function_first
11 years agoscrappy25
11 years agolast modified: 9 years agolawjedi
11 years agolast modified: 9 years agobellsmom
11 years agolast modified: 9 years agoUser
11 years agolast modified: 9 years agoVJL147
9 years agolast modified: 9 years agolawjedi
9 years agolast modified: 9 years ago
Related Stories

MODERN HOMESHouzz TV: Seattle Family Almost Doubles Its Space Without Adding On
See how 2 work-from-home architects design and build an adaptable space for their family and business
Full Story
BEDROOMS10 Ways With (Almost) All-White Bedrooms
White rooms need a thoughtful tweak or two to bring on the sweet dreams
Full Story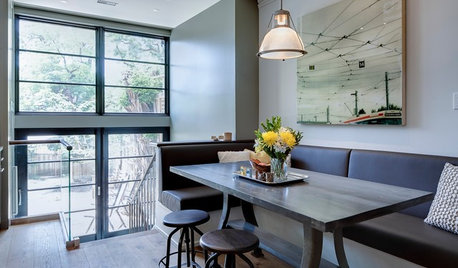
KITCHEN DESIGN10 Reasons to Love Banquettes (Not Just in the Kitchen)
They can dress up a space or make it feel cozier. Banquettes are great for kids, and they work in almost any room of the house
Full Story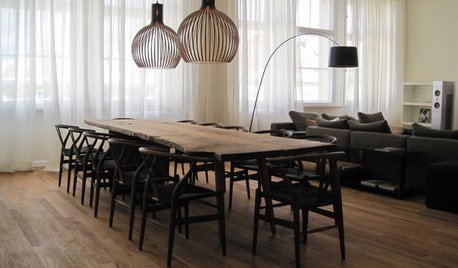
DECORATING GUIDESDanish Style Done Right
Bring the pure, clean look of Danish homes to your own interiors with these styling, palette and furniture ideas
Full Story
DECLUTTERINGGet It Done: Clean Out Your Bedroom Closet
You can do it. Sort, purge, clean — and luxuriate in all the extra space you’ll gain — with this motivating, practical how-to
Full Story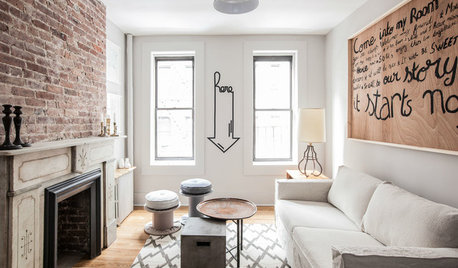
HOUSEKEEPINGThree More Magic Words to Help the Housekeeping Get Done
As a follow-up to "How about now?" these three words can help you check more chores off your list
Full Story
KITCHEN STORAGEGet It Done: How to Clean Out the Pantry
Crumbs, dust bunnies and old cocoa, beware — your pantry time is up
Full Story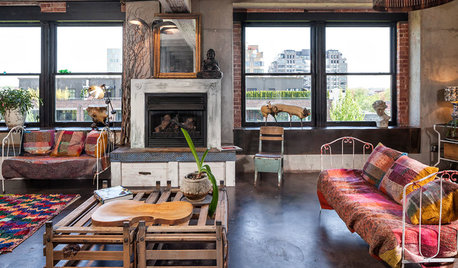
DECORATING GUIDESBean There, Done That: Coffee Table Alternatives
Get creative with these ideas for salvaged and DIY pieces that will get people talking
Full Story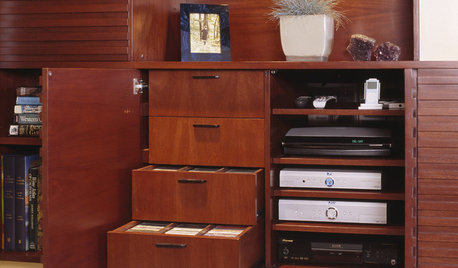
MEDIA ROOMSGet It Done: Organize the Media Cabinet
Ditch the worn-out VHS tapes, save valuable storage space and find hidden gems with this quick weekend spruce-up
Full Story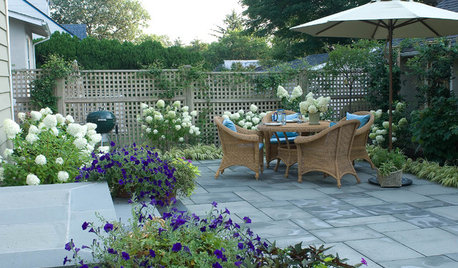
GARDENING AND LANDSCAPINGGet It Done: Clean and Prep the Patio
Haul out the hose and bid cobwebs farewell. It's time to renew your outdoor room for relaxing, dining and entertaining
Full StorySponsored
Professional Remodelers in Franklin County Specializing Kitchen & Bath
More Discussions


lawjediOriginal Author