


Tiling above top of upper cabinets? DIY? How?
pussuskattus
13 years ago
Related Stories
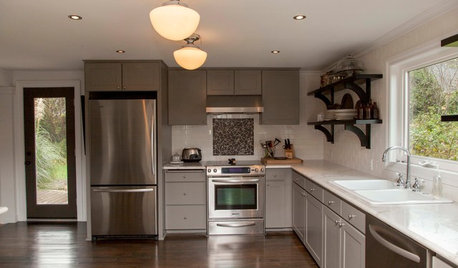
HOUZZ TOURSMy Houzz: Salvage Meets Chic in an Oregon Fixer-Upper
DIY determination and thrift store savvy give a run-down Lincoln City home a stylishly eclectic new look
Full Story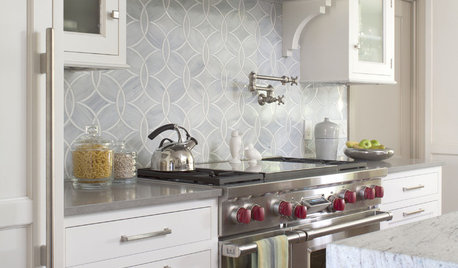
KITCHEN DESIGN8 Top Tile Types for Your Kitchen Backsplash
Backsplash designs don't have to be set in stone; glass, mirror and mosaic tiles can create kitchen beauty in a range of styles
Full Story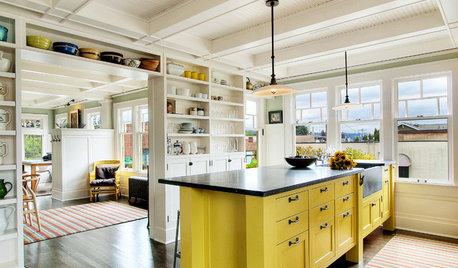
KITCHEN DESIGNHow to Lose Some of Your Upper Kitchen Cabinets
Lovely views, display-worthy objects and dramatic backsplashes are just some of the reasons to consider getting out the sledgehammer
Full Story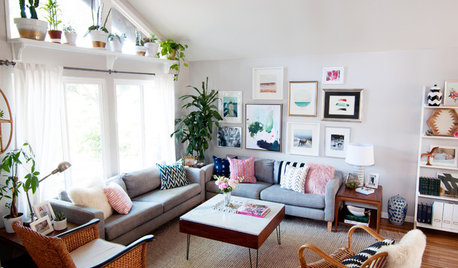
ECLECTIC HOMESMy Houzz: Eclectic Bohemian Style in a 1976 Fixer-Upper
These Southern California homeowners patiently added color, style and function to their outdated home
Full Story
MY HOUZZGet Ideas From the Top My Houzz Tours of 2015
Meet the DIY design-savvy personalities behind your favorite homes this year who know how to rock color and maximize square footage
Full Story
DECORATING GUIDESMake Your Fixer-Upper Fabulous on a Budget
So many makeover projects, so little time and money. Here's where to focus your home improvement efforts for the best results
Full Story
HOUZZ TOURSMy Houzz: A Country-Style Loft Comes Alive With DIY
Perched cozily above their shop, an Ontario couple's home brims with lovingly handmade and repurposed pieces
Full Story
KITCHEN DESIGN8 Top Hardware Styles for Shaker Kitchen Cabinets
Simple Shaker style opens itself to a wide range of knobs and pulls. See which is right for your own kitchen
Full Story
GARDENING AND LANDSCAPINGDream Spaces: 12 Decks That Rise Above It All
Tucked into upper levels, these inspiring outdoor spaces provide more privacy and relaxation above the fray
Full Story
BATHROOM DESIGNFloor-to-Ceiling Tile Takes Bathrooms Above and Beyond
Generous tile in a bathroom can bounce light, give the illusion of more space and provide a cohesive look
Full StoryMore Discussions

Circus Peanut
palimpsest
Related Professionals
Moraga Kitchen & Bathroom Designers · Redmond Kitchen & Bathroom Designers · Clovis Kitchen & Bathroom Remodelers · Deerfield Beach Kitchen & Bathroom Remodelers · Fort Washington Kitchen & Bathroom Remodelers · Kuna Kitchen & Bathroom Remodelers · Luling Kitchen & Bathroom Remodelers · Panama City Kitchen & Bathroom Remodelers · San Juan Capistrano Kitchen & Bathroom Remodelers · Sioux Falls Kitchen & Bathroom Remodelers · Tulsa Kitchen & Bathroom Remodelers · Eureka Cabinets & Cabinetry · Indian Creek Cabinets & Cabinetry · Marco Island Cabinets & Cabinetry · Whitney Cabinets & Cabinetryjakabedy
pussuskattusOriginal Author
marcydc
jakabedy
pussuskattusOriginal Author
taylor5846