


Beamed Ceilings and Help on Awkward Layout
Elisabeth0326
9 years ago

Related Stories
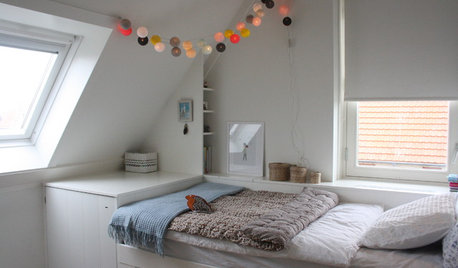
ATTICS14 Tips for Decorating an Attic — Awkward Spots and All
Turn design challenges into opportunities with our decorating ideas for attics with steep slopes, dim light and more
Full Story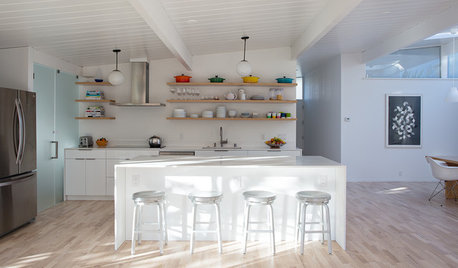
ROOM OF THE DAYRoom of the Day: Great Room Solves an Awkward Interior
The walls come down in a chopped-up Eichler interior, and a family gains space and light
Full Story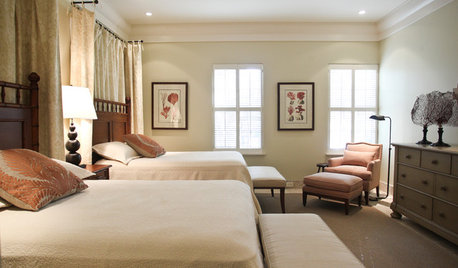
DECORATING GUIDESHow to Work With Awkward Windows
Use smart furniture placement and window coverings to balance that problem pane, and no one will be the wiser
Full Story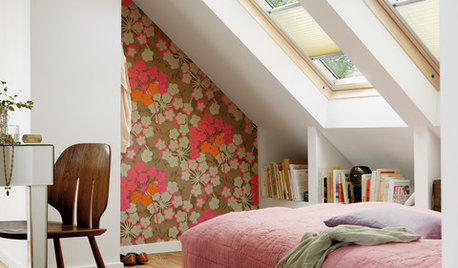
DECORATING GUIDESAsk an Expert: What to Do With an Awkward Nook
Discover how to decorate and furnish rooms with oddly shaped corners and tricky roof angles
Full Story
THE HARDWORKING HOMEFrom Awkward Corner to Multipurpose Lounge
The Hardworking Home: See how an empty corner becomes home to a library, an LP collection, a seating area and a beloved string bass
Full Story
BATHROOM WORKBOOKStandard Fixture Dimensions and Measurements for a Primary Bath
Create a luxe bathroom that functions well with these key measurements and layout tips
Full Story
ARCHITECTUREHouse-Hunting Help: If You Could Pick Your Home Style ...
Love an open layout? Steer clear of Victorians. Hate stairs? Sidle up to a ranch. Whatever home you're looking for, this guide can help
Full Story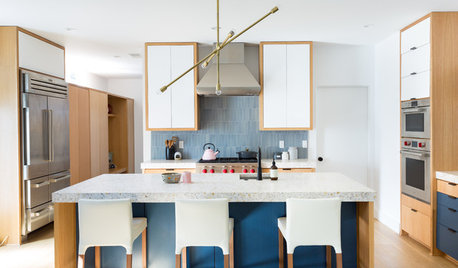
STANDARD MEASUREMENTSKey Measurements to Help You Design Your Home
Architect Steven Randel has taken the measure of each room of the house and its contents. You’ll find everything here
Full Story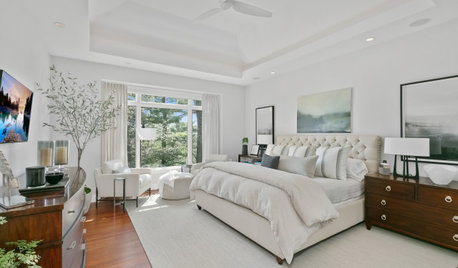
REMODELING GUIDESKey Measurements for a Dream Bedroom
Learn the dimensions that will help your bed, nightstands and other furnishings fit neatly and comfortably in the space
Full Story
DECORATING GUIDESDownsizing Help: Color and Scale Ideas for Comfy Compact Spaces
White walls and bitsy furniture aren’t your only options for tight spaces. Let’s revisit some decorating ‘rules’
Full StorySponsored
Columbus Area's Luxury Design Build Firm | 17x Best of Houzz Winner!
More Discussions

practigal
bellsmom
Related Professionals
Hammond Kitchen & Bathroom Designers · Leicester Kitchen & Bathroom Designers · Manchester Kitchen & Bathroom Designers · St. Louis Kitchen & Bathroom Designers · Hopewell Kitchen & Bathroom Remodelers · Independence Kitchen & Bathroom Remodelers · New Port Richey East Kitchen & Bathroom Remodelers · Pearl City Kitchen & Bathroom Remodelers · Wilson Kitchen & Bathroom Remodelers · Hawthorne Kitchen & Bathroom Remodelers · Bullhead City Cabinets & Cabinetry · Ham Lake Cabinets & Cabinetry · Tooele Cabinets & Cabinetry · Ardmore Tile and Stone Contractors · Mililani Town Design-Build FirmsElisabeth0326Original Author
mama goose_gw zn6OH
mama goose_gw zn6OH
Elisabeth0326Original Author
mama goose_gw zn6OH
szruns
laughablemoments
Elisabeth0326Original Author
mama goose_gw zn6OH
laughablemoments
rina_Ontario,Canada 5a
Elisabeth0326Original Author
rina_Ontario,Canada 5a
Elisabeth0326Original Author
mama goose_gw zn6OH
Elisabeth0326Original Author