


Help! Farmhouse sink install
15 years ago
Featured Answer
Sort by:Oldest
Comments (22)
 15 years agolast modified: 9 years ago
- 15 years agolast modified: 9 years ago
Related Professionals
Ballenger Creek Kitchen & Bathroom Designers · Sun City Kitchen & Bathroom Designers · Auburn Kitchen & Bathroom Remodelers · Calverton Kitchen & Bathroom Remodelers · Vancouver Kitchen & Bathroom Remodelers · York Kitchen & Bathroom Remodelers · Middletown Cabinets & Cabinetry · Whitehall Cabinets & Cabinetry · Liberty Township Cabinets & Cabinetry · Albertville Tile and Stone Contractors · Edwards Tile and Stone Contractors · Elmwood Park Tile and Stone Contractors · Oak Hills Design-Build Firms · Woodland Design-Build Firms · Yorkville Design-Build Firms- 15 years agolast modified: 9 years ago
- 15 years agolast modified: 9 years ago
- 15 years agolast modified: 9 years ago
- 15 years agolast modified: 9 years ago
- 15 years agolast modified: 9 years ago
- 15 years agolast modified: 9 years ago
- 15 years agolast modified: 9 years ago
- 15 years agolast modified: 9 years ago
- 15 years agolast modified: 9 years ago
- 15 years agolast modified: 9 years ago
- 15 years agolast modified: 9 years ago
- 15 years agolast modified: 9 years ago
- 15 years agolast modified: 9 years ago
- 15 years agolast modified: 9 years ago
- 15 years agolast modified: 9 years ago
- 15 years agolast modified: 9 years ago
- 13 years agolast modified: 9 years ago
 13 years agolast modified: 9 years ago
- 13 years agolast modified: 9 years ago


Related Stories
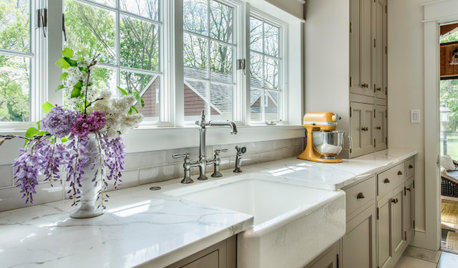
KITCHEN DESIGNHow to Choose the Best Sink Type for Your Kitchen
Drop-in, undermount, integral or apron-front — a design pro lays out your sink options
Full Story
REMODELING GUIDESContractor Tips: How to Install Tile
Before you pick up a single tile, pull from these tips for expert results
Full Story
BATHROOM DESIGNShould You Install a Urinal at Home?
Wall-mounted pit stops are handy in more than just man caves — and they can look better than you might think
Full Story
KITCHEN BACKSPLASHESHow to Install a Tile Backsplash
If you've got a steady hand, a few easy-to-find supplies and patience, you can install a tile backsplash in a kitchen or bathroom
Full Story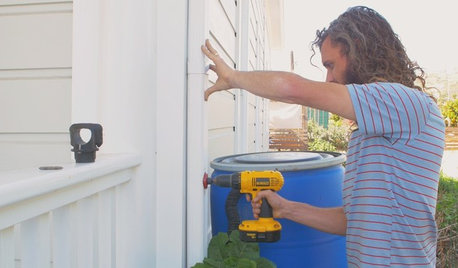
HOUZZ TVHouzz TV: How to Install a Rain Barrel
This DIY tutorial shows how easy it can be to capture rainwater from your roof to use in your garden later
Full Story
GREAT HOME PROJECTSHow to Install Energy-Efficient Windows
Learn what Energy Star ratings mean, what special license your contractor should have, whether permits are required and more
Full Story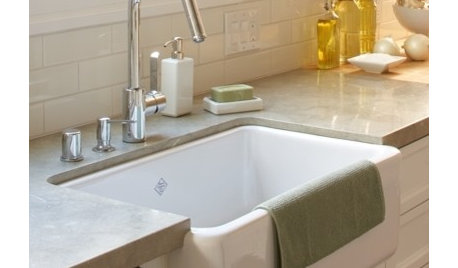
CONTRACTOR TIPSContractor Tips: Countertop Installation from Start to Finish
From counter templates to ongoing care, a professional contractor shares what you need to know
Full Story
REMODELING GUIDESFinishing Touches: Pro Tricks for Installing Fixtures in Your Tile
Cracked tile, broken drill bits and sloppy-looking fixture installations? Not when you follow these pro tips
Full Story
KITCHEN COUNTERTOPSWalk Through a Granite Countertop Installation — Showroom to Finish
Learn exactly what to expect during a granite installation and how to maximize your investment
Full Story
DOORS5 Questions to Ask Before Installing a Barn Door
Find out whether that barn door you love is the right solution for your space
Full Story
PoorOwner