


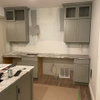
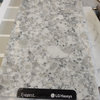
Bill V - Tile undermount sink help!
jenellecal
16 years ago
Sort by:Oldest
Comments (7)
Related Stories
SELLING YOUR HOUSE10 Tricks to Help Your Bathroom Sell Your House
As with the kitchen, the bathroom is always a high priority for home buyers. Here’s how to showcase your bathroom so it looks its best
Full Story
LIFE12 House-Hunting Tips to Help You Make the Right Choice
Stay organized and focused on your quest for a new home, to make the search easier and avoid surprises later
Full Story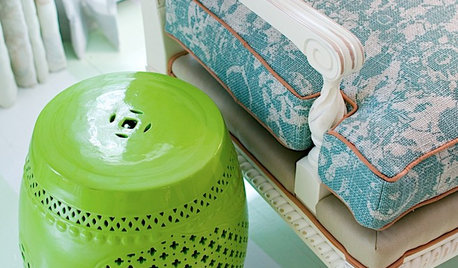
DECORATING GUIDESThe Most Helpful Furniture Piece You May Ever Own
Use it as a table, a seat, a display space, a footrest ... and indoors or out. Meet the ever-versatile Chinese garden stool
Full Story
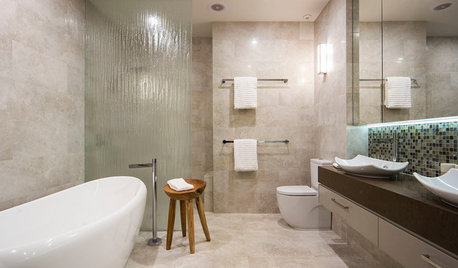
BATHROOM WORKBOOKStandard Fixture Dimensions and Measurements for a Primary Bath
Create a luxe bathroom that functions well with these key measurements and layout tips
Full Story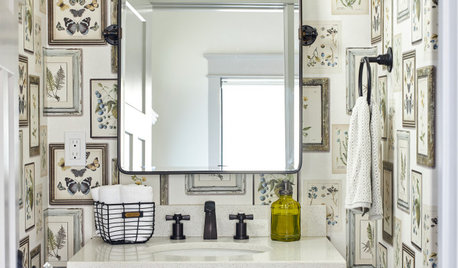
BATHROOM DESIGNKey Measurements to Help You Design a Powder Room
Clearances, codes and coordination are critical in small spaces such as a powder room. Here’s what you should know
Full Story
ORGANIZINGDo It for the Kids! A Few Routines Help a Home Run More Smoothly
Not a Naturally Organized person? These tips can help you tackle the onslaught of papers, meals, laundry — and even help you find your keys
Full Story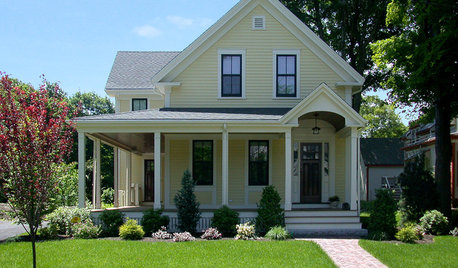
SELLING YOUR HOUSE10 Low-Cost Tweaks to Help Your Home Sell
Put these inexpensive but invaluable fixes on your to-do list before you put your home on the market
Full Story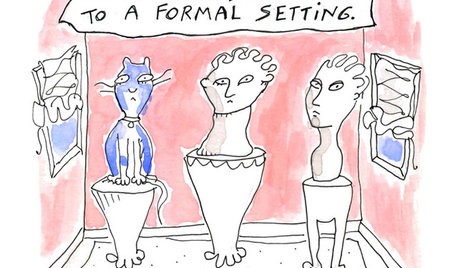
MOST POPULAR7 Ways Cats Help You Decorate
Furry felines add to our decor in so many ways. These just scratch the surface
Full Story
HOUSEKEEPINGWhen You Need Real Housekeeping Help
Which is scarier, Lifetime's 'Devious Maids' show or that area behind the toilet? If the toilet wins, you'll need these tips
Full Story
HOUZZ TOURSMy Houzz: Online Finds Help Outfit This Couple’s First Home
East Vancouver homeowners turn to Craigslist to update their 1960s bungalow
Full Story

bill_vincent
jenellecalOriginal Author
Related Professionals
College Park Kitchen & Bathroom Designers · Ridgewood Kitchen & Bathroom Designers · San Jose Kitchen & Bathroom Designers · Winton Kitchen & Bathroom Designers · Bay Shore Kitchen & Bathroom Remodelers · Fort Washington Kitchen & Bathroom Remodelers · Luling Kitchen & Bathroom Remodelers · Lynn Haven Kitchen & Bathroom Remodelers · Paducah Kitchen & Bathroom Remodelers · South Lake Tahoe Kitchen & Bathroom Remodelers · Spokane Kitchen & Bathroom Remodelers · Palestine Kitchen & Bathroom Remodelers · Gaffney Cabinets & Cabinetry · North Massapequa Cabinets & Cabinetry · Brookline Tile and Stone Contractorsstarpooh
bill_vincent
treetop682
debrak_2008
xoldtimecarpenter