


Leaking Furnace
shw001
17 years ago
Featured Answer
Comments (26)

bob_brown
17 years agomr_havac
17 years agoRelated Professionals
Half Moon Bay Solar Energy Systems · Riverside Solar Energy Systems · Moraga Solar Energy Systems · Easton Solar Energy Systems · Brentwood Home Automation & Home Media · Fayetteville Home Automation & Home Media · Miami Springs Home Automation & Home Media · Park Ridge Home Automation & Home Media · Roselle Home Automation & Home Media · Severn Home Automation & Home Media · Yeadon Home Automation & Home Media · Silver Spring Home Automation & Home Media · Lake Arrowhead Fireplaces · Romeoville Fireplaces · Winthrop Fireplacesshw001
17 years agomr_havac
17 years agoshw001
17 years agocasey_wa
17 years agoshw001
17 years agocasey_wa
17 years agoshw001
17 years agoshw001
17 years agomav411
17 years agokframe19
17 years agodglarsen
17 years agodglarsen
17 years agobk2000ext
17 years agojeffnette
17 years agomr_havac
17 years agodeepsnowutah
17 years agogsba
17 years agodglarsen
16 years agodglarsen
16 years agosudhs
16 years agoandrew99
15 years agogranddad314
10 years agoHU-573916085
3 years agolast modified: 3 years ago
Related Stories

HOUSEKEEPING12 Steps to a Safe, Cozy Home for a New Year
From smoke detectors to furnace filters, let January 1 be a reminder of some must-dos around the house
Full Story
HOUSEKEEPING5 Steps to Improve Your Heating System Now
Increase your heater's efficiency and safety for lower energy bills and greater peace of mind this winter
Full Story
DISASTER PREP & RECOVERYRemodeling After Water Damage: Tips From a Homeowner Who Did It
Learn the crucial steps and coping mechanisms that can help when flooding strikes your home
Full Story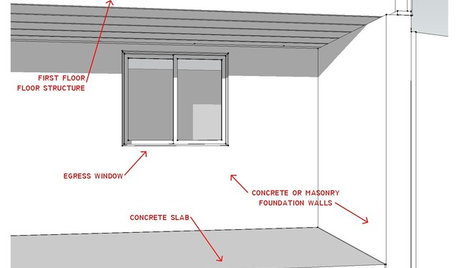
REMODELING GUIDESKnow Your House: The Steps in Finishing a Basement
Learn what it takes to finish a basement before you consider converting it into a playroom, office, guest room or gym
Full Story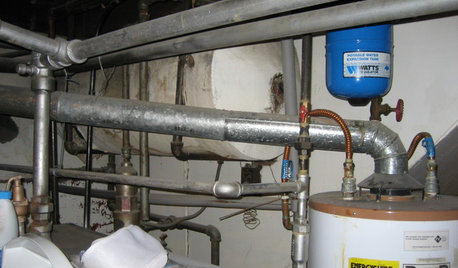
REMODELING GUIDES7 Bad Things Your Home May Be Hiding
What you don't know about your home could cost you during a remodel. Here's what to plan for
Full Story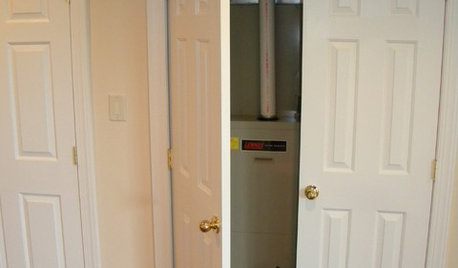
MOST POPULARA First-Time Buyer’s Guide to Home Maintenance
Take care of these tasks to avoid major home hassles, inefficiencies or unsightliness down the road
Full Story
DECORATING GUIDES10 Ways to Hide That Air Conditioner
Feeling boxed in designing around your mini-split air conditioner? Try one of these clever disguises and distractions
Full Story
REMODELING GUIDESThe Hidden Problems in Old Houses
Before snatching up an old home, get to know what you’re in for by understanding the potential horrors that lurk below the surface
Full Story
ARCHITECTURE15 Smart Design Choices for Cold Climates
Keep your home safe and comfortable in winter by choosing the right home features and systems
Full Story
GREEN BUILDING5 Common-Sense Ways to Get a Greener Home Design
You don't need fancy systems or elaborate schemes to make your home energy efficient and sustainable. You just need to choose wisely
Full Story
mr_havac