


Refinishing dining room table - sort of - help the rookie!
wow8kids
9 years ago
Related Stories
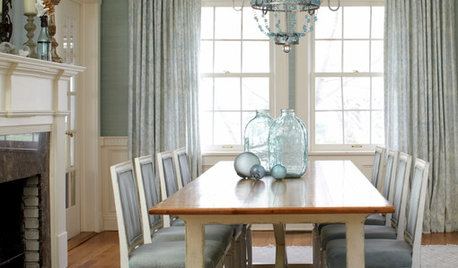
REMODELING GUIDESRoom of the Day: Antiques Help a Dining Room Grow Up
Artfully distressed pieces and elegant colors take a formerly child-focused space into sophisticated territory
Full Story
SMALL HOMESRoom of the Day: Living-Dining Room Redo Helps a Client Begin to Heal
After a tragic loss, a woman sets out on the road to recovery by improving her condo
Full Story
HOUSEKEEPINGDishwasher vs. Hand-Washing Debate Finally Solved — Sort Of
Readers in 8 countries weigh in on whether an appliance saves time, water and sanity or if washing by hand is the only saving grace
Full Story
KITCHEN DESIGNKey Measurements to Help You Design Your Kitchen
Get the ideal kitchen setup by understanding spatial relationships, building dimensions and work zones
Full Story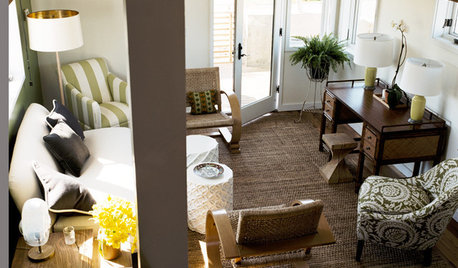
SMALL SPACESDownsizing Help: Think ‘Double Duty’ for Small Spaces
Put your rooms and furnishings to work in multiple ways to get the most out of your downsized spaces
Full Story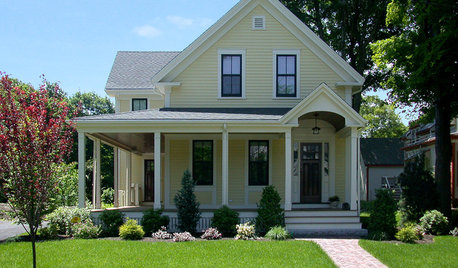
SELLING YOUR HOUSE10 Low-Cost Tweaks to Help Your Home Sell
Put these inexpensive but invaluable fixes on your to-do list before you put your home on the market
Full Story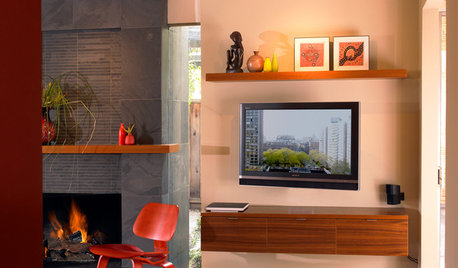
DECORATING GUIDESDecorate With Intention: Helping Your TV Blend In
Somewhere between hiding the tube in a cabinet and letting it rule the room are these 11 creative solutions
Full Story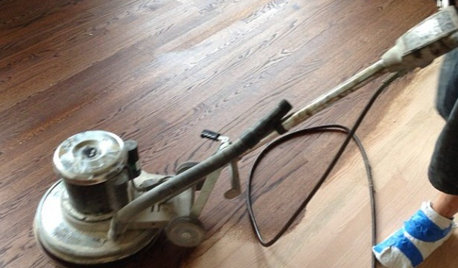
GREAT HOME PROJECTSWhat to Know Before Refinishing Your Floors
Learn costs and other important details about renewing a hardwood floor — and the one mistake you should avoid
Full Story
LIFEDecluttering — How to Get the Help You Need
Don't worry if you can't shed stuff and organize alone; help is at your disposal
Full Story


JAAune
wow8kidsOriginal Author
Related Professionals
Kirkland Furniture & Accessories · Madison Furniture & Accessories · Newton Furniture & Accessories · Hoffman Estates Furniture & Accessories · Arlington Carpenters · Carlsbad Carpenters · Whitney Carpenters · Windsor Carpenters · Warr Acres Cabinets & Cabinetry · North Bay Shore Cabinets & Cabinetry · Longmont Custom Closet Designers · Santa Monica Custom Closet Designers · Severna Park Custom Closet Designers · Orangevale Custom Closet Designers · Middle Island Interior Designers & DecoratorsJAAune